
Milk Bread Recipe


This Milk Bread Recipe creates the softest, fluffiest bread you’ll ever taste! Every slice feels like biting into a cloud.
Good bread recipes are hard to come by, so hold on to this one! It will make you feel like a pro. The recipe’s secret lies in the Tangzhong starter method, which you’ll learn more about!
The bread makes a perfect sandwich filling, can be transformed into delightful French toast, or enjoyed warm with a generous pat of butter and honey.

For an extra treat, try turning it into honey butter toast, which adds a delightful sweetness and richness to each bite. Seeing the whole family devour warm slices of this milk bread with melty butter and honey dripping down their fingers is a picture-perfect moment!
Milk Bread Recipe
Tangzhong is a unique Japanese technique in which flour is cooked with milk and water to create a paste. I know it sounds intimidating, but once you do it, it’s very straightforward!
My boys hover around the kitchen when this is baking. They’ve learned to recognize the distinct sweet, buttery aroma that fills our home. Even my husband, who usually sticks to his crusty sourdough, can’t resist a warm slice of this pillowy bread slathered with butter.
The milk bread comes to life when the Tangzhong is combined with the rest of the dough ingredients. Bread flour gives the perfect chewy texture, while the milk and butter create the rich, tender crumb that makes this bread stand out.
Even though it takes a few hours with all the proofing time, most of it is hands-off – giving me plenty of time to tackle other tasks while the dough does its thing.

Why does my milk bread collapse after baking?
The most common reason for collapsed milk bread is underproofing. When the dough hasn’t risen enough before baking, it will puff up dramatically in the oven but sink as it cools. I always make sure my dough doubles in size during both proofing stages.
Temperature also plays a crucial role. Too hot an oven can cause the outside to set before the inside is fully baked. I stick to 350°F and use a thermometer to check for an internal temperature of 190-205°F.
Another helpful tip is to avoid opening the oven door while baking. Sudden temperature changes can cause the delicate structure to collapse. Trust your timer and let it bake undisturbed!
This post contains affiliate links, which means I earn a commission when anything is bought. This is at no additional cost to you.
Specialty Ingredients:
The following ingredients are affiliate links on Amazon because they may be a bit hard to find in your normal store. I wanted you to be able to see exactly which things we are using.
Reminder, not all ingredients in the Japanese-Style Milk Bread Recipe are linked above, just the ones that may be a bit difficult to find or that you might be unsure of what to look for.
✨ June only
Earn this for FREE!
Host a Pampered Chef party this month and unlock up to $230 in free products — including double rewards. Message me and I’ll show you exactly how easy it is!
💬 Message me on FacebookTerms and conditions apply. June offer only.

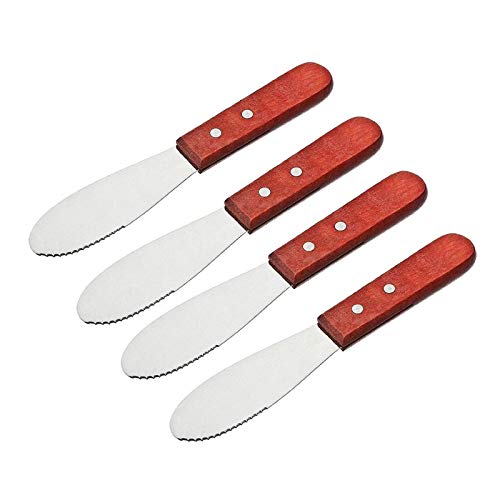
Must Have Resources:
When making Homemade Milk Loaf at home, you really need to have the following Amazon affiliate tools on hand.


Make it a Meal:
Many people think meal planning means eating the same bland food every day. I used to think that, too! But now I know it’s about creating delicious combinations that make every meal special. My weekly meal plans have transformed our dinners into something we all look forward to.
Would you like to save this?
Here’s one of my favorite dinner combinations with the milk bread served warm, sliced, and with a small dish of herb-infused butter on the side:
Main Dish: Braised Beef Burgundy Recipe
Vegetable Side: Asparagus on George Foreman Grill
Refreshing Drink: Lavender and Elderflower Mocktail Recipe
Don’t forget Dessert: Pink Lemonade Sorbet Recipe

Best Bread Recipes:
Do you know what’s impressive about baking bread? There’s always something new to try!
Here are some of my family’s favorites to make your kitchen smell heavenly!
The Flavorful Applesauce Wheat Rolls Recipe brings the perfect touch of sweetness to any meal!
This Snickerdoodle Banana Bread is my kids’ absolute favorite breakfast treat!
Want something rustic? This Easy Sourdough Artisan Bread Recipe is ready in just one day!
The Salami and Basil Ciabatta combine two incredible flavors for the perfect sandwich bread!
Maple Glazed Pumpkin Bread is perfect for fall gatherings!
The Blueberry Angel Biscuits Recipe brings a heavenly touch to any breakfast spread!
My kids adore the rainbow sprinkles in this Super Delicious Unicorn Bread Loaf Recipe!

Can I make milk bread without a stand mixer?
While most recipes call for a stand mixer, I often get asked if you can make milk bread by hand. The answer might surprise you!
Yes, you absolutely can make milk bread without a stand mixer. I’ve done it many times when my mixer was used for other things. But you have to be extra patient during the kneading process. You’ll need to work the dough by hand for about 15-20 minutes to develop the same gluten structure a mixer creates in 10 minutes.
The dough will initially be sticky, but resist the urge to add more flour. As you knead, it will gradually become smoother and more elastic. A good test is the windowpane test—if you can stretch a small piece of dough thin enough to see light through it without tearing, you’ve kneaded enough!
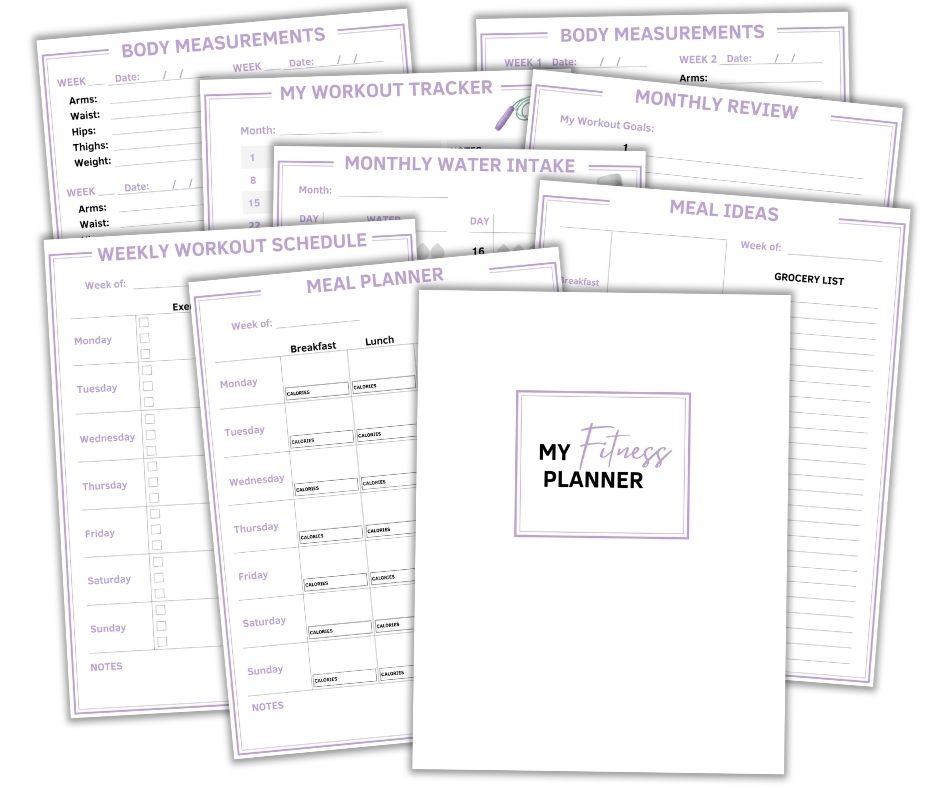
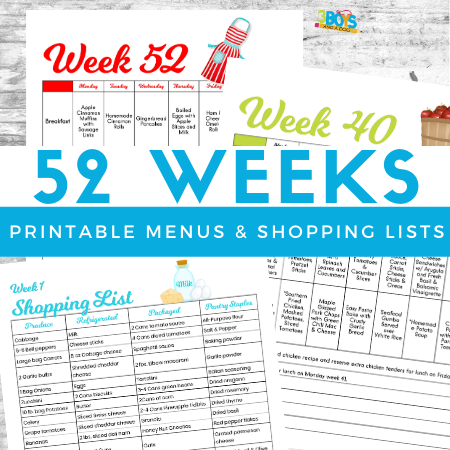
Shop My Printables
These printables are great for meal planning and organizing! Simply click the image to check out my shop products!

More Milk-Based Recipes:
- Banana Cream Pie Cupcakes Recipe
- Incredible Lemon Blueberry Buttermilk Bread Recipe
- No Churn Homestyle Vanilla Ice Cream Recipe
- Macaroni and Cheese Revolution Recipe
- Corn Chowder with Bacon and Potatoes

Milk Bread Recipe
Equipment
Ingredients
Milk Bread Starter Ingredients:
- ½ Cup(s) of Water
- ⅓ Cup(s) of Bread flour
- ½ Cup(s) of Milk
Milk Bread Dough Mixture:
- 2 ⅔ Cup(s) of Bread flour
- ¼ Cup(s) of Sugar
- 1 large room temperature egg
- 1 package of dry active yeast
- ½ Cup(s) of Warm milk
- ¼ Cup(s) of Warm milk or 1 egg white (for brushing bread)
- 4 Tbsp Salted butter
Instructions
Bread starter:
- Add 1/2 cup water to a saucepan. Add 1/3 cup bread flour and whisk until smooth. There should be no lumps.
- Add 1/2 cup milk and whisk.
- Heat the mixture over medium heat, whisking constantly, until it becomes thick.
- Pour the mixture into a bowl and cover the bowl with plastic wrap. Let the plastic wrap touch the surface of the mixture so that it doesn’t form a skin on top.
- Let the starter cool to room temperature.
- Milk Bread Dough Mix
- Pour 1/2 cup lukewarm milk into a mixing bowl. Dissolve 1 teaspoon of the sugar in the liquid, and then sprinkle the yeast over the milk. Mix carefully until combined.
- Let the mixture stand for 10-20 minutes to activate the yeast. You should start to notice bubbles and a frothy surface.
- Once the yeast starts to activate, add the rest of the sugar, the starter, egg, and flour.
- Mix with a spatula to combine and create a raggedy-looking dough.
- Put the dough hook attachment onto a mixer, and knead the dough for about 5 minutes on low. Be aware that the dough will be sticky, but as you knead it, it will become less sticky.
- Once 5 minutes has passed, add the butter in 3-4 increments. Mix for about 20 seconds between in addition. Be sure to scrape down the sides of the bowl as well during the process.
- After all the butter has been added, turn the mixer speed to medium and knead for 5-7 minutes. Scrape the bowl again. The dough should become smooth during this timeframe and pull away from the bowl sides.
- Put the dough onto a lightly floured surface and make it into a ball. Once done, add the dough ball to a lightly greased bowl and cover with plastic wrap.
- Put the bowl in a warm place and let it double in size. This typically takes about 1-2 hours.
- Form the Milk Bread Loaf
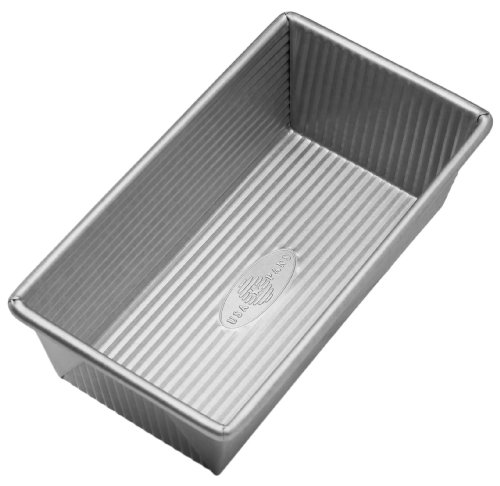
- Prepare the loaf pan once the dough is proofed.
- Use a 4 1/2 X 9-inch loaf pan. Add butter and flour on the sides and bottom. You can also use a nonstick cooking spray and flour that lightly.
- Put the dough onto a lightly floured surface and press out the excess air.
- Divide the dough into 4 sections that are equal.
- Roll out each portion into a 6-inch square.
- Fold the opposite corners into the middle and then roll or shape each piece into a smaller loaf shape.
- Once the dough has been rolled, fold the pointed edge in and pinch the seam. This will seal it.
- Put the rolled dough into the prepared loaf pan with the seam side facing down. Keep in mind that there will be four rolls added to the bread pan.
- Repeat with all the dough and place them into the pan.
- Cover the pan with plastic wrap and let it proof in a warm place to double in size. This will take 1-2 hours. The dough should stop right below the top of the pan.
- Baking the Bread
- Preheat the oven to 350 degrees.
- Brush the top of the proofed bread with an egg white and 1 Tbsp of water. This will give the top a glossy look. You can also use milk if you don’t want a shiny look.
- Put the pan in the oven and bake for 30-35 minutes.
- If the bread starts to brown too much, add a piece of foil on top to stop it from burning.
- Bake the bread until the internal temperature is 190-205 degrees.
- Remove the pan from the oven and let it cool for a few minutes.
- Take it out of the pan and have it finish cooling on a cooling rack.
Nutrition
Once you try this bread warm from the oven, you’ll never want store-bought again! Let me know how yours turns out!


