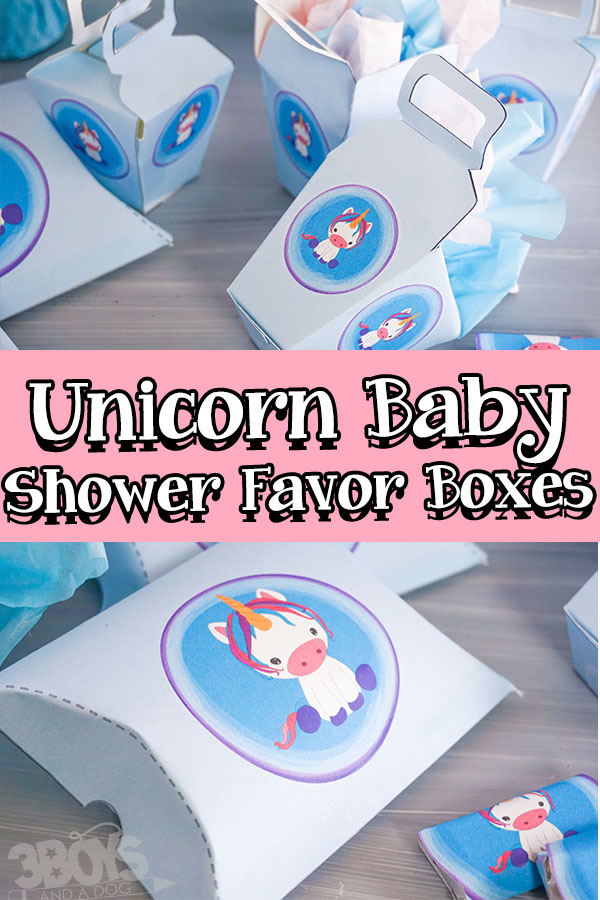
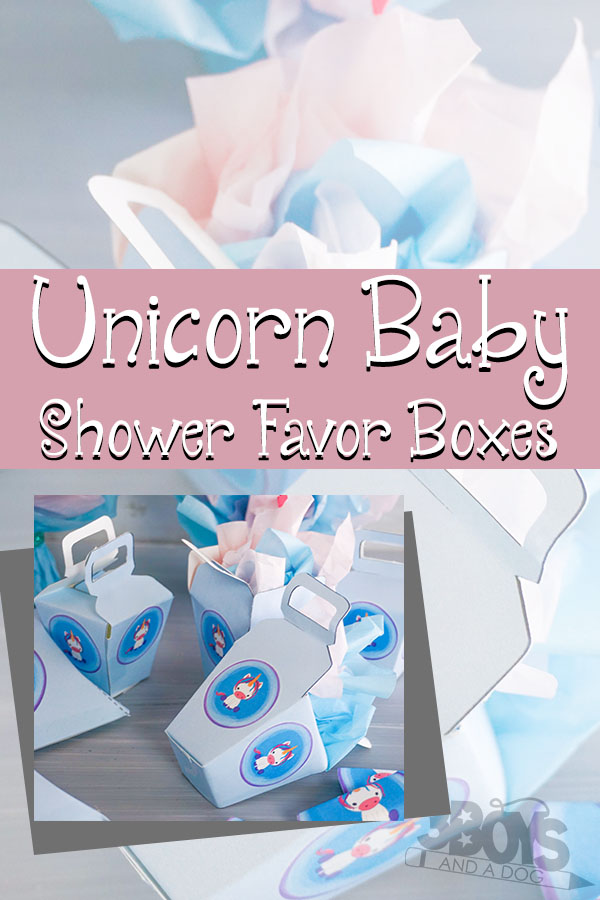
Unicorn Baby Shower Favor Boxes
No baby shower is complete without a fun favor, so I made these adorable unicorn baby shower favor boxes to give guests a little present of their own. Plus, because this is a quick print-and-cut Cricut project, it’s a little present to me that it’s just so easy.
If you’re serious about making your unicorn baby shower on point, check out these great unicorn baby shower ideas. They’re all easy, fun and they’re going to make for a super fun party!
Disclosure: I work with Cricut as a Brand Ambassador. This post also contains affiliate links.
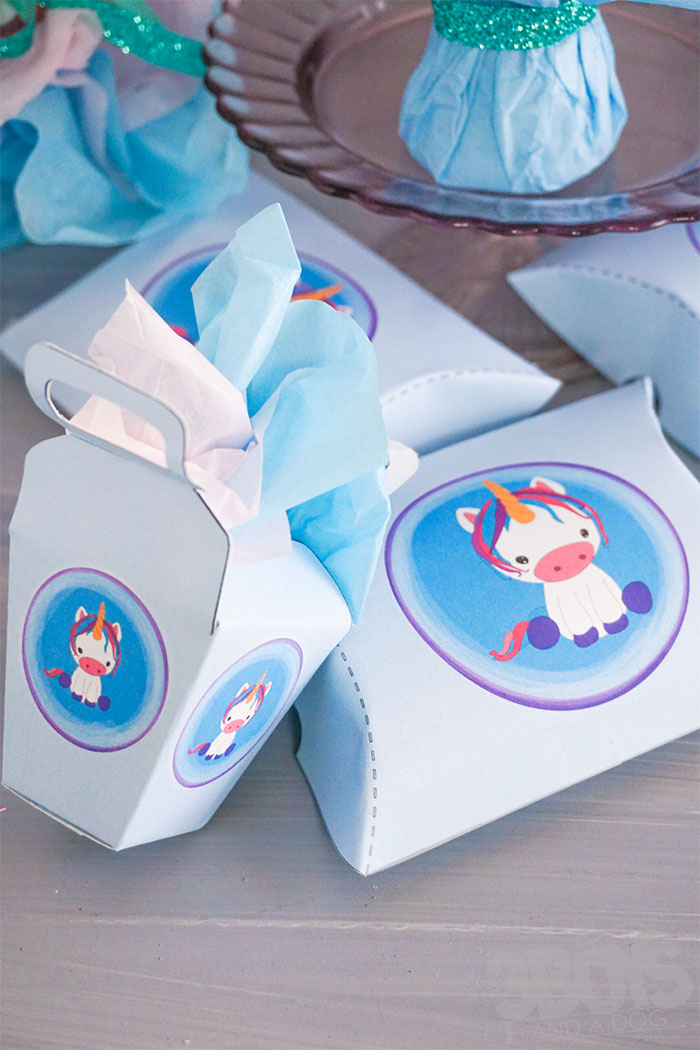
But these boxes…I’ve got two designs here that kind of open up your options for your favors. You can fill them with the little candies in the small take-out box or you can find some kind of larger gift like a gift card or whatnot in the bigger boxes.
So many great options that I really am excited about sharing how awesome these little gift boxes are. I plan to put some surprises inside for the kids like unicorn tattoos and stickers in addition to treats, because why not?!
I guess it’s time now to break out the paper and get ’em printed!
These would also be super cute for baby girl baby shower ideas!
Other Options for Unicorn Favor Boxes:
So, I don’t know about you, but my printer runs out of ink or I just don’t want to dig it out–or I don’t want to mess with hitting the store for card stock. So, I pulled together some alternative options for favor boxes that will totally go with the unicorn party theme.
- Geometric Unicorn Boxes
- Fun Unicorn Pinata Favor Boxes
- Simple Favor Boxes with Unicorn Horns
- Adorable Unicorn Bags
Necessary Materials to Make Your Own Unicorn Party Favor Box:
But, you don’t need to buy favor boxes, if you have just a handful of supplies. For real, you can just make them–they’re a blast and won’t take long at all. Making these awesome unicorn treat boxes is so easy, you only really need three things:
- Quality Card Stock Paper
- Glue Stick, Tape or Glue Dots
- Free Printable for the Favor Boxes
Oh, and my Cricut and the light grip mat. I needed that, too.
Would you like to save this?
Necessary Tools:
I’ll be honest, this is a pretty magical project, mostly because it’s so simple. All the hard work has been done for you. So, you really just need two tools to make this project.
- Cricut Explore Air 2 or Cricut Maker
- Desktop Printer

Tips and Tricks:
To make this go as smoothly as possible, even if this is your first time ever to do a print and cut Cricut project, I’ve got some tips here that you can check out.
- Be sure to print your favor boxes at 100%. Don’t adjust the design sizing in Design Space or Silhouette Studio. Just print and cut as it is. The little boxes are already as big as they can be to fit on a standard mat but they’re also small enough–trust me.
- When you’re putting your card stock onto the mat, be sure to smooth it down very well. The last thing you want is to be mid-final-cut and the paper shifts and the Cricut cuts your favor box in half.
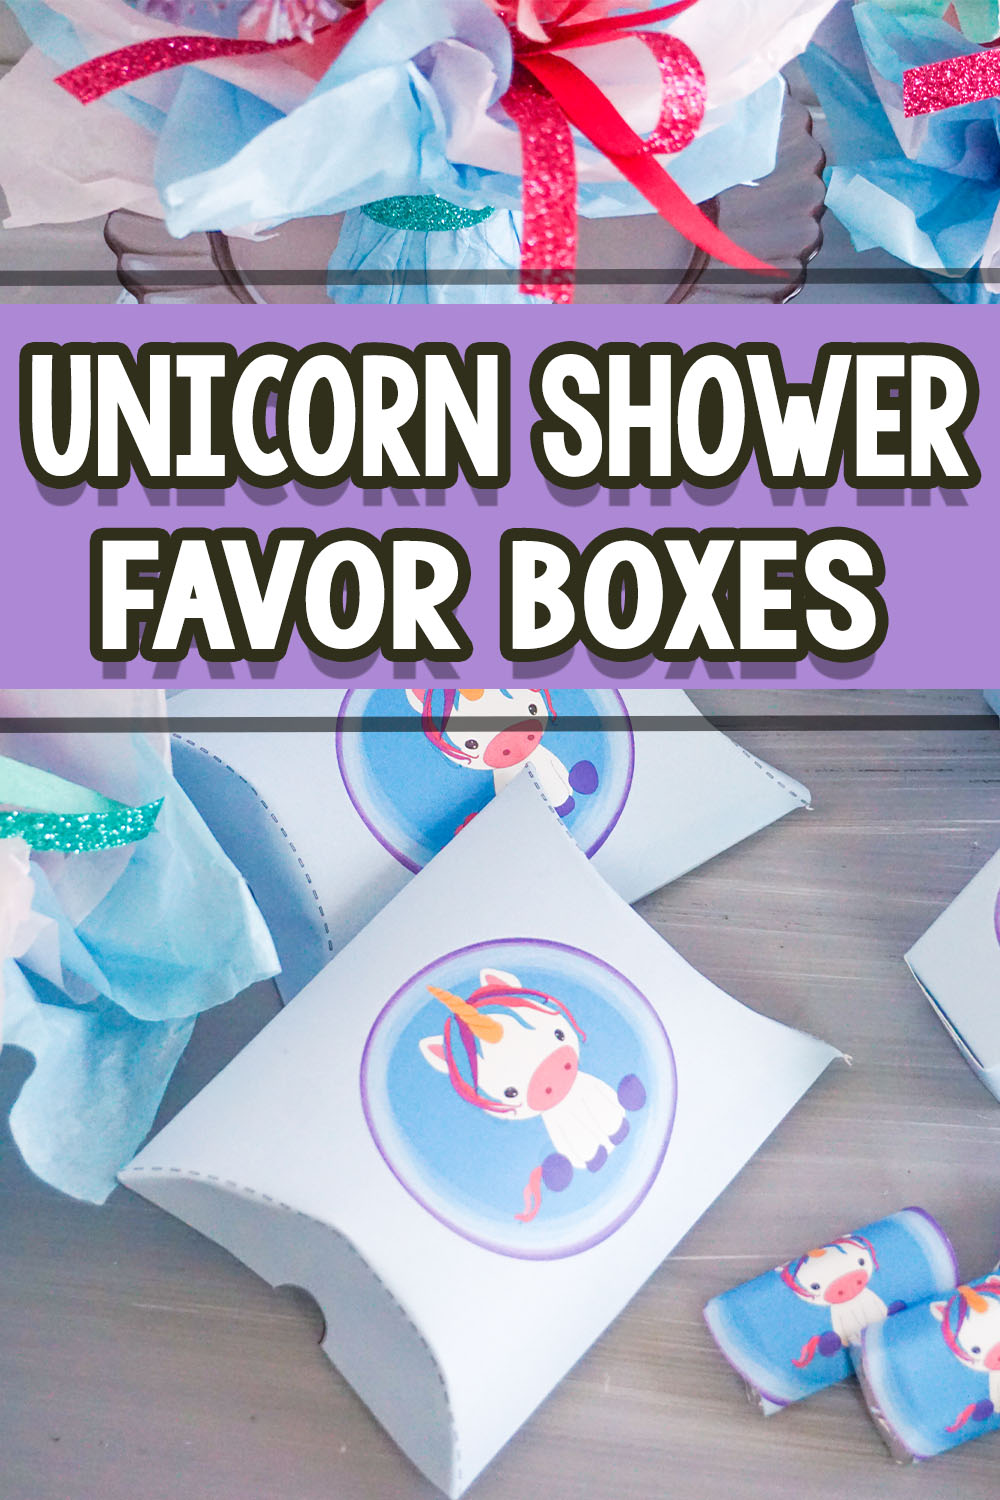
- On the bigger boxes, fold along the dotted lines carefully and that will make the side flaps. You can then just tape them in place or put a glue dot on the sides to hold them down.
- With the smaller favor boxes, you can tape the bottom, if desired, but because of the way the file was designed, if you use card stock paper and press the seams nicely, the box should stay closed. However, if you plan to put anything heavy in the bottom, I do recommend some tape, just to make sure it will stay snug.
- To press your seams nicely, you can grab a credit card or a stiff piece of cardboard even, then run it along the seam. This will press them down and make sharp corners that will help the boxes stay closed.
More Unicorn Baby Shower Items:
I just adore having full-on coordinated sets whenever I’m planning a baby shower or birthday party or gathering of any purpose. So, of course, I’m working on a whole set of fun goodies to coordinate with these favor boxes. Here’s what I’ve got so far:
- Unicorn Shower Invitations
- Favor Boxes for a Unicorn Party
- DIY Unicorn Centerpiece
- Unicorn Baby Shower Decorations
- Fun Unicorn Baby Shower Games
- Food Ideas for a Unicorn Party
- Layered Unicorn Fudge Recipe
Baby Shower Food Ideas:
- Unicorn Baby Shower Food Ideas – If you are having a unicorn baby shower, you need all of these fun themed foods.
- Pink non-alcoholic drink recipes – Over 20 recipes for pink colored, non-alcoholic drinks for your party.
- Pink Desserts – these 22+ pink colored desserts are sure to help you in your baby shower food planning!

Unicorn Baby Shower Favor Box
Equipment
- Cricut
- Light Grip Mat
Materials
- Quality Card Stock Paper
- Glue Stick Tape or Glue Dots
- Free Printable for the Favor Boxes
Instructions
- Working with one sheet at a time, download the PNG Files, then upload each to Cricut Design Space.
- Select "complex" image type. On the next screen, select "continue" and the following screen, select "save as a print and cut project".
- Insert the image onto the next screen, then select "make it".
- Load the white card stock into your printer and print the project.
- Place the printed card stock paper onto your light grip mat as shown on the screen in Cricut Design Space.
- Select medium-thickness card stock as the material.
- Load the light grip mat into your Cricut cutting machine and tell it to cut.
- When the cut is complete, weed the design and repeat with the remaining number of favor boxes you plan to make.
- Fold the boxes into a box shape and fold the bottom closed, adding a dot of glue or tape to hold it closed.
- Fill with candies and fold the top closed, adding a dot of glue or tape to hold it closed and enjoy!
I just love it! So easy and so much fun. And you can have them made in about 15 minutes. Who doesn’t love baby shower decoration that is that quick to pull together?!