
Birthday Dessert Board Recipe


A Birthday Dessert Board Recipe brings party treats to a new level of fun! I love how dessert charcuterie boards have become the heart of every celebration. My guests’ eyes always light up when they see this colorful spread of sweet treats before them.
I create these loaded boards because they remind me of my favorite childhood birthday parties but with a fresh, Instagram-worthy style. It’s like having all your favorite desserts together on one beautiful platter.

This birthday dessert board recipe makes everyone smile – an explosion of sprinkles, frosting, and pure joy! The white birthday cake sits proudly in the center, surrounded by treats that will complete your celebration.
How to Arrange Your Birthday Dessert Board Recipe
Creating this sweet board is my favorite part of party planning! I start by placing the birthday cake in the center – it anchors the entire design and helps me plan where everything goes.
I mix different textures and heights to keep things interesting: soft cupcakes beside crispy cookies and tall lollipops nestled between chocolate-covered pretzels.
Fresh apple slices add the perfect touch. They offer a refreshing break from the sweet treats and bring beautiful pops of red and green to the board.
When I arrange the treats, I consider how guests will serve themselves. No one wants to play dessert Jenga! I leave space between items so everyone can quickly grab their favorites without disturbing the rest of the display.

Can I make this board the night before?
This is one of my most asked questions, but the answer isn’t as straightforward as you might think.
While you can prep some elements beforehand, I’ve learned through trial and error that assembling the entire board the night before isn’t the best idea.
Fresh items like apple slices will brown, and cookies might get soft from sitting next to treats. Instead, I prep my space and non-perishable items the night before, then do the final assembly about 2-3 hours before party time.
I also keep backup treats in sealed containers. So, I can quickly refresh the board during parties if it starts looking picked over.
This post contains affiliate links, which means I earn a commission when anything is bought. This is at no additional cost to you.
Specialty Ingredients:
The following ingredients are affiliate links on Amazon because they may be a bit hard to find in your normal store. I wanted you to be able to see exactly which things we are using.
Reminder, not all ingredients in the Birthday Party Dessert Spread Recipe are linked above, just the ones that may be a bit difficult to find or that you might be unsure of what to look for.
✨ June only
Earn this for FREE!
Host a Pampered Chef party this month and unlock up to $230 in free products — including double rewards. Message me and I’ll show you exactly how easy it is!
💬 Message me on FacebookTerms and conditions apply. June offer only.

Must Have Resources:
When making this Sweet Birthday Display at home, you really need to have the following Amazon affiliate tools on hand.
- Large Wooden Serving Board
- Small Cake Stand (for center display)
- Food-Safe Marker for Writing on Cookies


Make it a Meal:
I used to think meal planning was just for super-organized people. But trust me, it’s a game-changer for party planning! After figuring out the whole menu, you can focus on making this dessert board extra special.
Main Dish: Emmi Swiss Cheese Sliders
Would you like to save this?
Vegetable Side: Classic Coleslaw Recipe
Starch Side: Loaded Mashed Potatoes Recipe
Refreshing Drink: Strawberry Thyme Lemonade

Best Party Dessert Recipes:
This sweet celebration board is just the beginning of your party-planning journey! Get ready for more amazing treats that’ll make your parties unforgettable.
Your guests will go crazy for this creative Cake Charcuterie Board Recipe!
Nothing brings people together like gathering around a DIY Smores Party Bar Recipe!
Watch kids’ eyes radiate excitement when they see this Gone Fishing Party Jello Dessert!
These Super Easy to Make Easter Chick Cupcake Toppers are adorable!
The Homemade Dunkaroo Cookie Recipe brings back the best childhood memories!
Cool off with this incredible Birthday Cake Flavored Ice Cream Recipe!
These Pink Party Snack Ideas will make any celebration extra special!
What’s the best way to write on cookies for the board?
This one is such a fun question that not many people think about!
I’ve discovered that food-safe markers are absolute game-changers for personalizing cookies on dessert boards. They give you so much more control than traditional icing, and they don’t smear when you’re moving things around.
Plus, they’re perfect for adding last-minute personalized touches like names or birthday messages.
Just make sure your cookies are completely cool and dry before writing. I learned this the hard way when I tried writing on slightly warm cookies—it was a total mess! Now, I bake my cookies the day before, let them cool overnight, and decorate them about an hour before assembling the board.
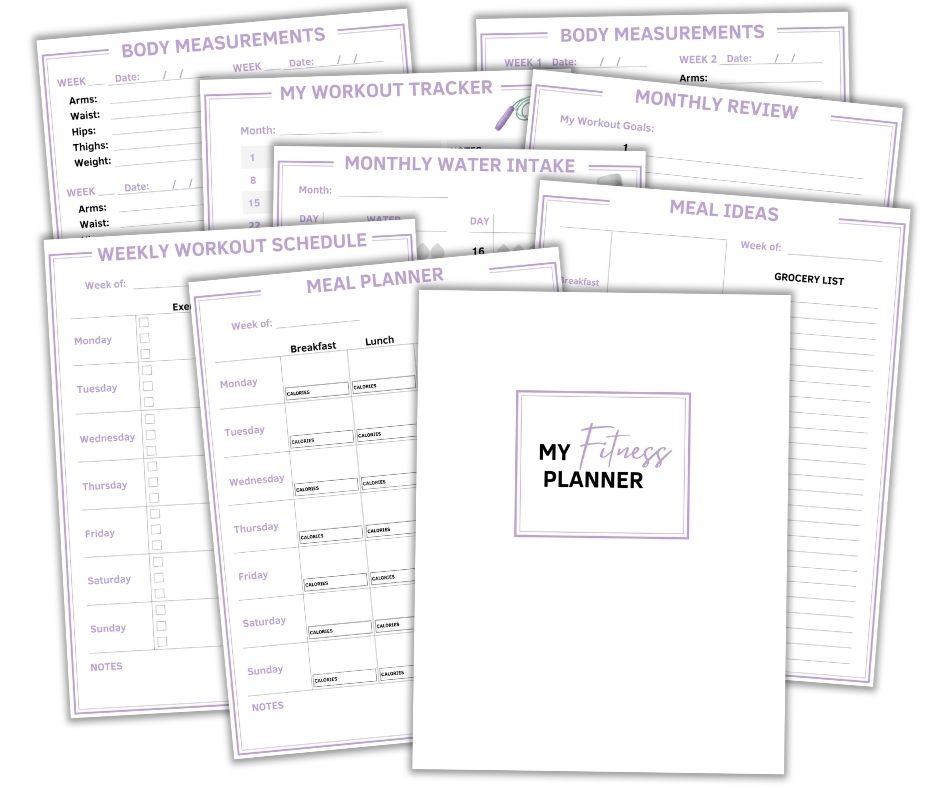
Shop My Printables
These printables are great for meal planning and organizing! Simply click the image to check out my shop products!

More Sprinkle Recipes:
- French Vanilla Funfetti Cupcakes Recipe
- Unicorn Donut Recipe
- Confetti Popcorn Recipe
- Birthday OREO Fudge Recipe
- Insanely Easy Unicorn Funfetti Bars

Birthday Dessert Board Recipe
Equipment
Ingredients
- 16 Ounce(s) Small Frosted Birthday Cake
- 2-4 Donuts with Sprinkles
- Sugar Cookies with Sprinkles
- Golden Oreos
- Oreos
- Mini Cupcakes
- Rainbow Suckers
- Swirl Suckers
- Cindy Coated chocolates
- Mini Pop Tarts
- Sour Candy
- Starburst
- Caramel Popcorn
- White Popcorn
- White Chocolate covered Pretzels
- Birthday Flavored Kit Kat Bars
- Apple slices
Instructions
- Put the small cake in the middle of the board.
- Add two sugar cookies above the cake, and two cookies below the cake.
- Put a donut at the end of the cookies, and be sure that the donut touches the edge of the board.
- Stack the Oreo cookies on each side of the donut.
- Put the mini cupcakes in the four spaces next to the cookies.
- Grah one rainbow and one swirl sucker and put them next to the small cupcakes. If you don't have space, you can put just one.
- Put the candy coated chocolates in the gap areas between the Oreo cookies and suckers.
- Pile the mini pop-tarts in the open space between the cupcake and the cake.
- Make a pile of the sour candies and Starbucks behind the mini pop tarts.
- On the other side of the cake, in the open gap, add the popcorn.
- Place chocolate covered pretzels and Kit Kats in the pile of popcorn.
- in the other remaining areas, layer the slices of apple.
Nutrition
Birthdays are about creating memories, and what better way to do that than with a dessert board that’s as fun to look at as it is to eat? Let the celebrations begin!


