
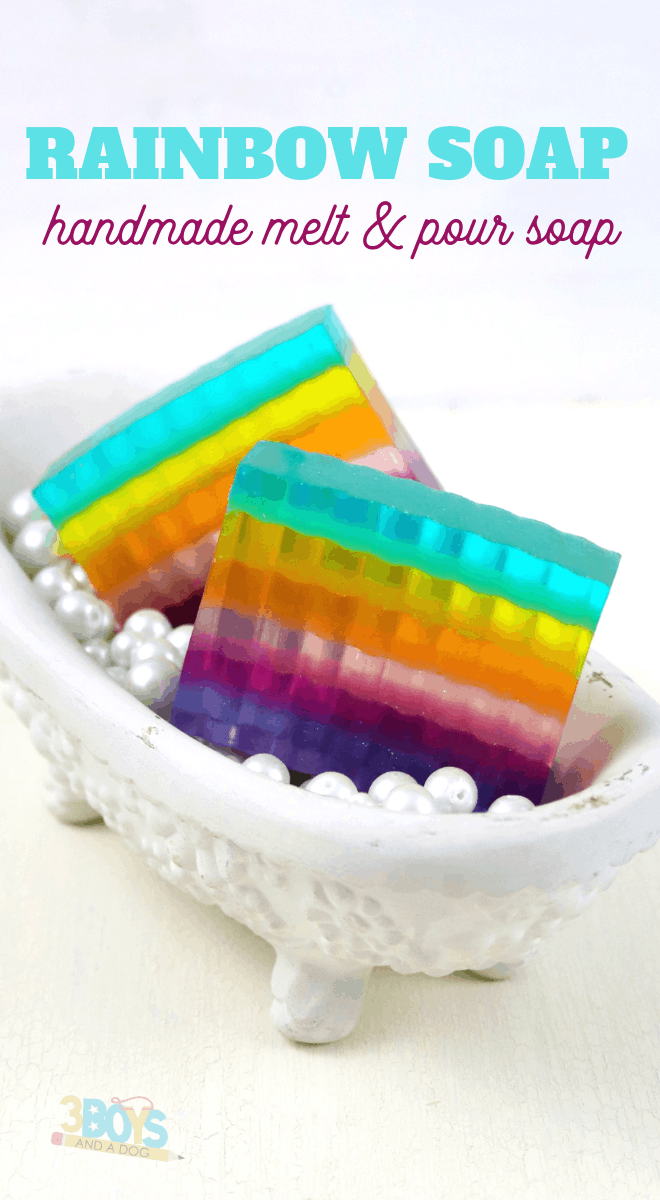
Rainbow Sparkle Layered Soap Recipe
This rainbow layered soap recipe is beautiful and fun to make! It’s time to make this sparkle rainbow soap and make washing hands fun and interesting!
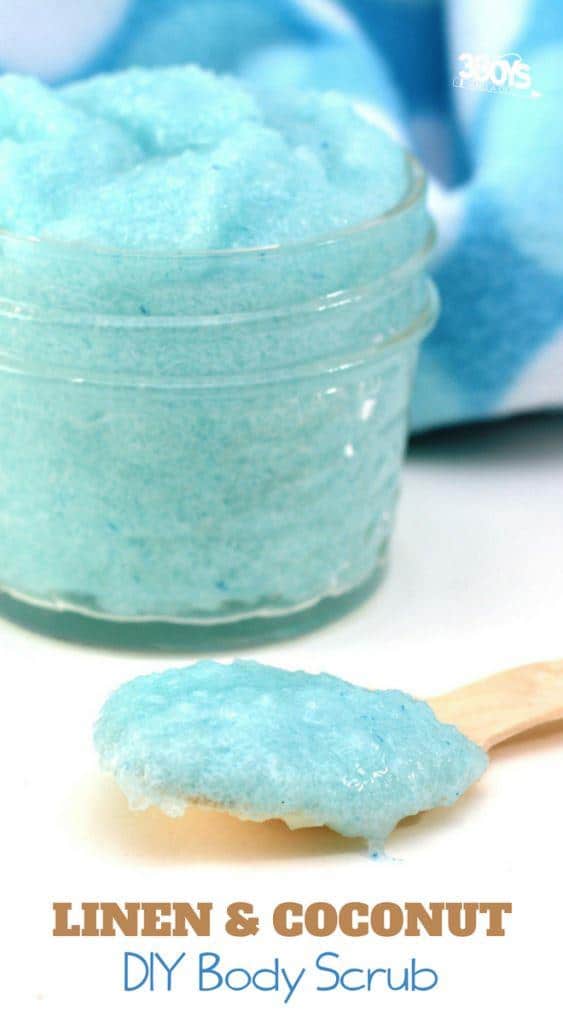
Homemade soap is simple and easy to do and this red, orange, yellow, green, blue, indigo, violet soap proves just that! And if you like this soap, don’t forget to check out our Invigorating Lemon Soap Recipe as well!
While this soap recipe does have quite a few steps, don’t let that deter you! All you’re need is a small amount of patience and a good soap mold, and you’ll find this it’s pretty easy peasy after all!
Rainbow Layered Soap Recipe
Disclaimer: The links used within this post are affiliate links, so I do make a bit off things if you purchase using my links. However, the opinions stated are my very own.
If you’re excited about making this rainbow soap, that’s awesome! The good news is that it’s not very hard to make. In fact, in a short amount of time, you’ll be scrubbing away with some super colorful and homemade soap!
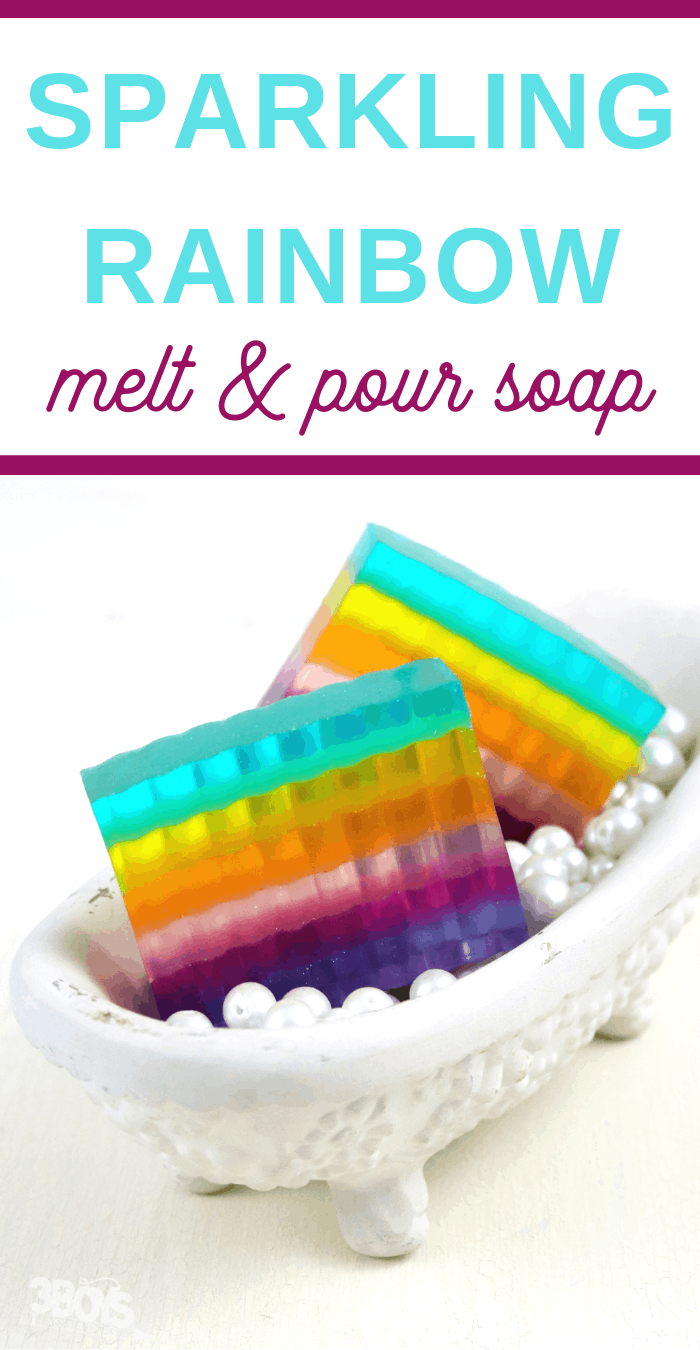
What gives this Sparkle Rainbow Layered Soap it’s shine?
This soap uses cosmetic grade glitter to give it the sparkle and shine. Doesn’t ever rainbow need a little bit of glitter?! (and if you want it to really sparkle and shine, all you need to do is add in some more!)
Tips about Cosmetic Grade Glitter
Cosmetic grade glitter is different than craft glitter, so that’s something important to be aware of and know! Here are a few other tips about cosmetic grade glitter:
- Cosmetic Grade Glitter is non-toxic
- Cosmetic Grade Glitter is colored with FDA approved pigments
- There are different processing plants for cosmetic grade glitter so you can rest easy knowing that there are certain standards that they abide by
Would you like to save this?
More Homemade Soap Recipes:
Essential Oil Soap Recipe for Men
Island Coconut Rose Soap Recipe
Invigorating Peppermint Soap Recipe Using Essential Oils

How do you store homemade soap?
Storing homemade soap isn’t hard to do. All you need to do is make certain that you have it in a container with a lid or a bag with a closure. That way, it’s safe and secure until you’re ready to use it.
How can you share this homemade soap with others?
This Sparkle Rainbow Layered Soap recipe makes an amazing gift! If you are wanting to give someone an awesome gift, this is the one that you need to pay attention to. Not only is it perfect for birthdays or Christmas, but it’s also a fun teacher’s gift as well.
Are you excited about this homemade soap recipe?!
How to make Rainbow Layered Soap

Sparkle Rainbow Layered Soap
Equipment
- [Silicone soap mold]
- Spray bottle
- Wooden stir stick
Materials
- 1 Pound(s) melt and pour clear soap cut into cubes each cube is approx. 1 ounce
- 1-2 drops each of teal yellow, orange, pink, purple and violet soap coloring
- Teal yellow, orange, pink, purple and violet cosmetic grade glitter
- Fresh apple soap scent
- Rubbing alcohol
Instructions
Teal Layer:
- Step 1: Add 8 cubes of the soap base into a microwave safe bowl or measuring cup.
- Step 2: Add 1/2 teaspoon of the apple soap scent into the container.
- Step 3: Melt soap cubes in 30 second intervals, stirring after each until completely melted.
- Steps 4-5: Into the container, add 1-2 drops of teal coloring, stirring until desired color is achieved.
- Step 6: Add teal glitter into container.
- Step 7: Pour teal soap mixture into loaf mold.
- Step 8: Spray soap with the rubbing alcohol to prevent air bubbles in soap. Allow to dry completely before adding next layer (approx. 45 minutes). If you blow on the soap and you see ripples, the soap is not hard enough for the next layer.
- Step 9: Completely wash and dry your measuring cup while waiting for the soap to harden as you will need it again.
Yellow Layer:
- Spray the hardened previous layer with rubbing alcohol. This helps the layers adhere to each other.
- Repeat all 9 steps above, replacing the teal colorant and glitter with yellow.
Orange Layer:
- Spray the hardened previous layer with rubbing alcohol. This helps the layers adhere to each other.
- Repeat all 9 steps again, replacing the teal colorant and glitter with orange.
Pink Layer:
- Spray the hardened previous layer with rubbing alcohol. This helps the layers adhere to each other.
- Repeat all 9 steps again, replacing the teal colorant and glitter with pink.
Purple Layer:
- Spray the hardened previous layer with rubbing alcohol. This helps the layers adhere to each other.
- Repeat all 9 steps again, replacing the teal colorant and glitter with purple.
Violet Layer:
- Spray the hardened previous layer with rubbing alcohol. This helps the layers adhere to each other.
- Repeat all 9 steps again, replacing the teal colorant and glitter with violet.
- Allow to dry completely overnight. Cut soap evenly and store in an airtight container until ready to use.
Notes
Please be a friend and share this image, please!


Hi Kelli! Thank you for sharing your fun rainbow soap recipe at last week’s Share Your Style. I’ll be featuring your post this week at SYS #217, thank you!!
Love reading your bio everytime I stop over ~ my mother had a plethora of dogs after all four of us kids moved out and my father passed. Five of the furry beasts!
Happy summer to you and your family,
Barb 🙂
I love all of the pretty colors! It would definitely make a great back to school teacher gift! Thanks for sharing with us at The Blogger’s Pit Stop!