
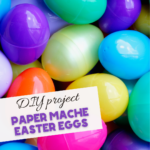
DIY Paper Mache Easter Eggs
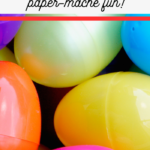
This DIY Paper Mache Easter Eggs project is a fun, if messy, one to do with the kids! Prepare for Easter and keep the kids busy with this fun paper mache project.
If you’re looking for an easy Easter activity that doubles as décor and can actually last beyond one season, this one checks all the boxes.
Why This Version Works Better
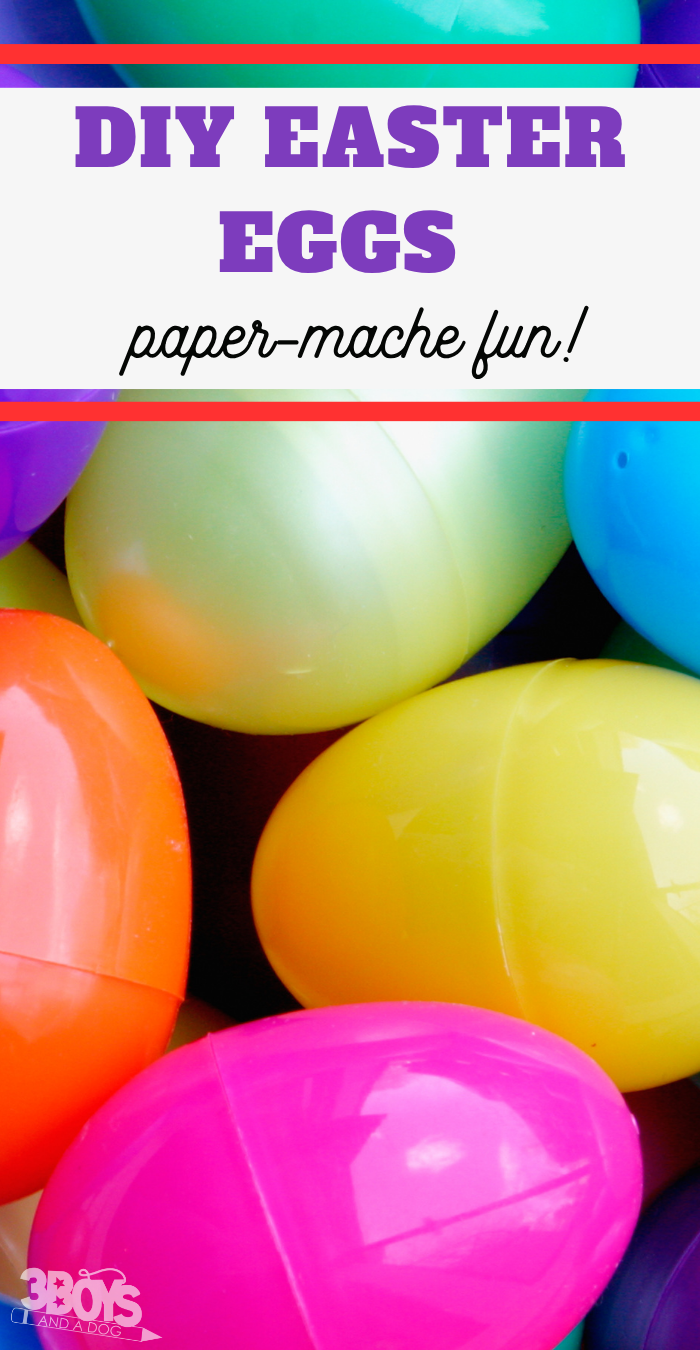
The traditional balloon method sounds simple, but it often turns into a sticky mess that doesn’t hold its shape well. Using plastic eggs as a base solves that instantly.
The structure is already there, so kids can focus on decorating instead of trying to keep everything from falling apart. It also means the finished eggs are strong enough to reuse year after year, whether for decorating, egg hunts, or just displaying around the house.
This post contains affiliate links, which means I earn a commission when anything is bought. This is at no additional cost to you.
Shop My Homeschool Room:
The following homeschool picks of mine can be found on Etsy or Amazon. Simply click the image that interests you – yes, they do contain affiliate links.


How to Make Paper Mache Easter Eggs
This process is simple and forgiving, which makes it perfect for kids of all ages.
Step 1: Color Your Paper
Start with plain drawing paper and let kids go all in with coloring. The more color and pattern, the better the final eggs will look.
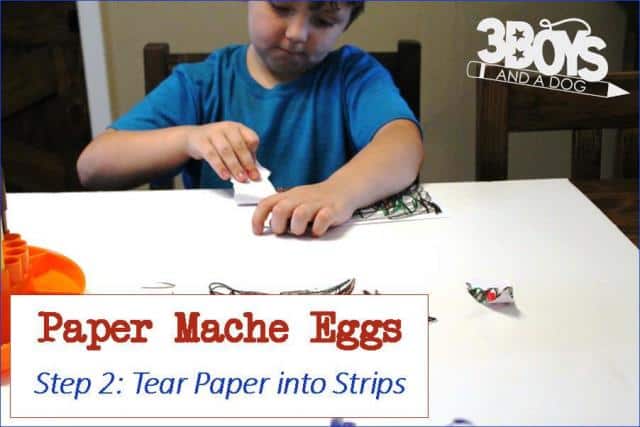
Step 2: Tear Into Strips
Tear the paper into strips and small pieces. Thinner pieces are easier to work with and help create a smoother finish.
Step 3: Prep the Glue
Pour white school glue onto a plate or a piece of wax paper. You can thin it slightly with water if needed, but it works just fine as is.
Step 4: Protect Your Space
Cover your work surface before starting. This part gets messy quickly. Keep damp paper towels nearby for sticky fingers.
Step 5: Dip and Wrap
Drag each strip through the glue, then wipe off the excess with your fingers. Wrap the strip around the plastic egg in different directions to cover it fully.
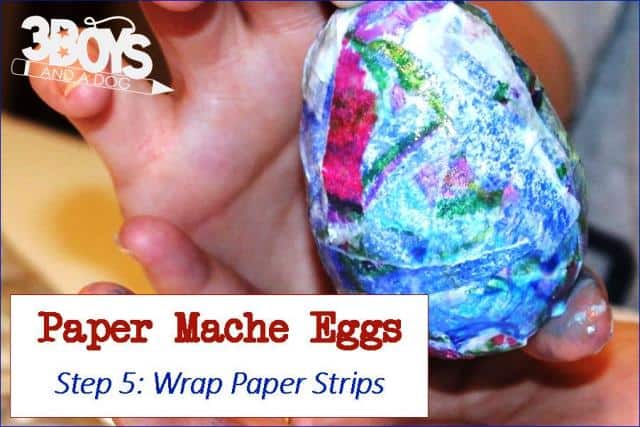
Step 6: Layer It Up
Keep adding strips until the entire egg is covered. A couple of layers will make it stronger and more durable.
Would you like to save this?
Step 7: Let It Dry
Set the eggs aside to dry completely. Depending on how thick the layers are, this can take several hours or overnight.
Once dry, the eggs are ready to use and surprisingly sturdy.


Tips to Make It Easier (and Less Messy)
Use thinner paper pieces
They stick better and help avoid bulky spots or peeling edges.
Don’t overload the glue
Too much glue makes everything slippery and harder to manage. A light coating works best.
Work in batches
Have kids do a few eggs at a time instead of all at once. It keeps things more controlled and less chaotic.
Dry on a non-stick surface
Wax paper or a plastic tray prevents the eggs from sticking while drying.
Expect some mess
This isn’t a clean craft, and that’s part of the fun. Planning for it ahead of time makes it much more enjoyable.
Easy Ways to Customize
Once you’ve got the basic method down, you can switch things up depending on the look you want.
- Use tissue paper for a softer, layered effect
- Try solid color themes instead of mixed patterns
- Add a final layer of clear glue for a glossy finish
- Sprinkle glitter on top before drying for a little sparkle
Each egg ends up slightly different, which is part of what makes them feel more special than store-bought ones.
Easter Learning Activities and Printables
Check out these other great Easter learning printables and resources. These items are from my shop and are a great educational addition.

Crafts like this do more than fill an afternoon. They give kids something hands-on, creative, and a little unpredictable. It’s not about perfection. It’s about the process, the experimenting, and the small moment of pride when they see the finished result.
It also turns a simple holiday activity into something reusable, which adds a practical side to the fun.
These paper-mache Easter eggs are easy to make, sturdy enough to last, and just messy enough that they don’t feel overwhelming.
Fun DIY Projects to Tackle Today:
- Jungle Themed Candy Bar Wrappers
- DIY Aprons for Women
- Make This Elderberry Soap Recipe
- Easy DIY Recipe for Essential Oil Aftershave
- 7 DIY Dog Treats
DIY Paper Mache Easter Eggs
Materials
- Plastic easter eggs
- Paper
- Crayons
- White school glue
Instructions
- Start with plain drawing paper and let kids go all in with coloring. The more color and pattern, the better the final eggs will look.
- Tear the paper into strips and small pieces. Thinner pieces are easier to work with and help create a smoother finish.
- Pour white school glue onto a plate or a piece of wax paper. You can thin it slightly with water if needed, but it works just fine as is.
- Cover your work surface before starting. This part gets messy quickly. Keep damp paper towels nearby for sticky fingers.
- Drag each strip through the glue, then wipe off the excess with your fingers. Wrap the strip around the plastic egg in different directions to cover it fully.
- Keep adding strips until the entire egg is covered. A couple of layers will make it stronger and more durable.
- Set the eggs aside to dry completely. Depending on how thick the layers are, this can take several hours or overnight.


