Scarecrow Paper Bowl Art Project
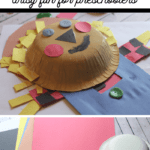
This scarecrow paper bowl art project is so much fun to put together and perfect for the fall season. I wanted to have the kids make this super cute scarecrow as part of our decorations in the entryway…and then it turned into making several to decorate the whole house.
If you’re looking for more great ideas to keep little hands curious, check out these 12+ Fine Motor Skills Activities for preschoolers. So many great ideas for fall fun.

The good news is that our house is now quite protected from any potential crows. The bad news? I have so many paper plate craft scarecrows in my house I may have to call a scarecrow exterminator come spring. LOL!
If you’re ready to get fill your house with scarecrows, let’s start crafting!
What You Need To Make This Scarecrow Paper Bowl Art Project
You can make your preschool craft scarecrow as simple or as detailed as you like. We started with a pretty simple version but gave him a little dimension and texture. Initially, I was going to make craft stick scarecrows, but we were out of craft sticks, so paper bowl it was!
To make your scarecrow paper bowl craft, you will need some pretty basic craft supply items.
The following items are affiliate links on Amazon because they may be a bit hard to find in your normal store. I wanted you to be able to see exactly which things we are using.
- Black, Blue, Red, Brown and Yellow Construction Paper
- 3 Large Buttons
- A Black Sharpie or Black Crayon
- Sticky craft glue
- Straw/hay or cut up bits of yellow paper
- Light Brown Craft Paint
- Paintbrush
- Paper Bowl or Paper Plate for the Scarecrow Face
Reminder, not all items for the fall craft are linked above, just the ones that may be a bit difficult to find or that you might be unsure of what to look for.
How to Make this Scarecrow Paper Bowl Craft:
Ok. So, you can do a number of things for this fun fall craft idea. But, what we did was very simple and I liked that, because it’s fun to do something simple sometimes. That way the kids can almost do it all by themselves without much supervision.
So, to start our scarecrow kid craft, I had the kids paint the backside of the paper bowl with the light brown craft paint.
This didn’t take very long, and the paint dried pretty quick. So, we just went on with our project while we waited for that to dry.
We cut out all the parts for our scarecrow while the paint dried, which made this project go super fast. If you want to drag it out, though, you can have your kiddo watch the paint dry. Just kidding. Here’s what we cut out:
- 2 small red construction paper circles about 1-2 inches in diameter
- 1 small black construction paper triangle about 1-2 inches on the base
- 1 large “T” shape from the red construction paper
- 1 large “H” shape from the blue construction paper
- 15-20 1×1 inch squares of black construction paper
- 20-30 randomly sized strips of yellow construction paper
- 1 large circle, bigger than the paper bowl
There’s no free printable template or anything because this isn’t all that hard, and all the measurements are very nonspecific, so just go with it.
Would you like to save this?
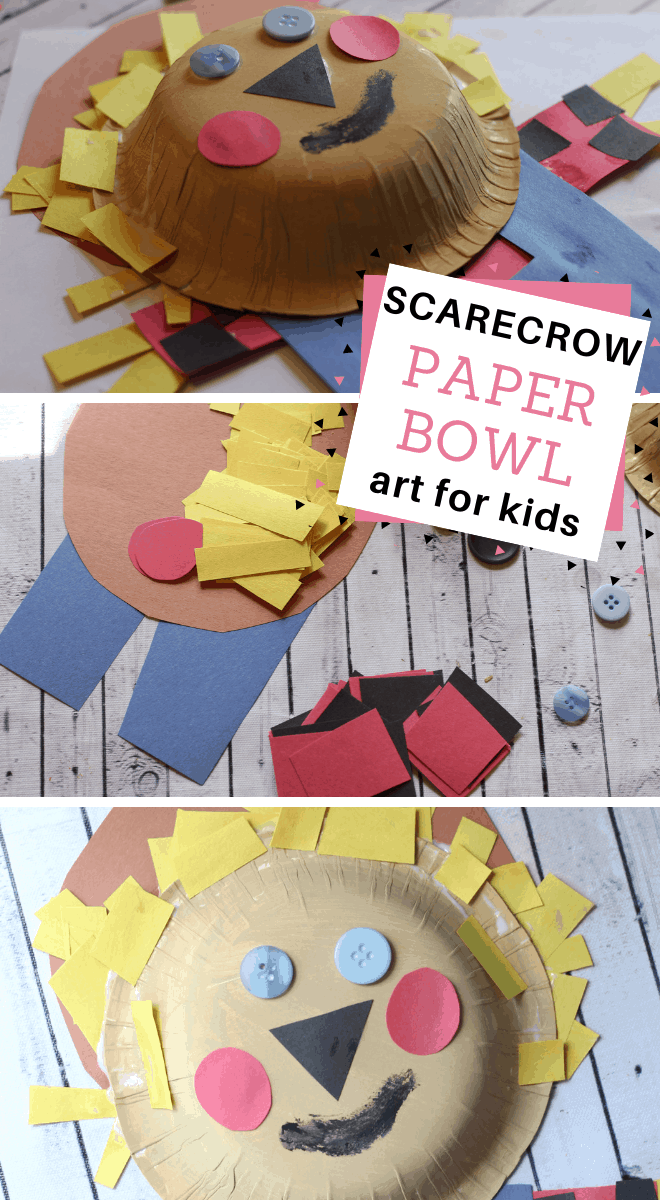
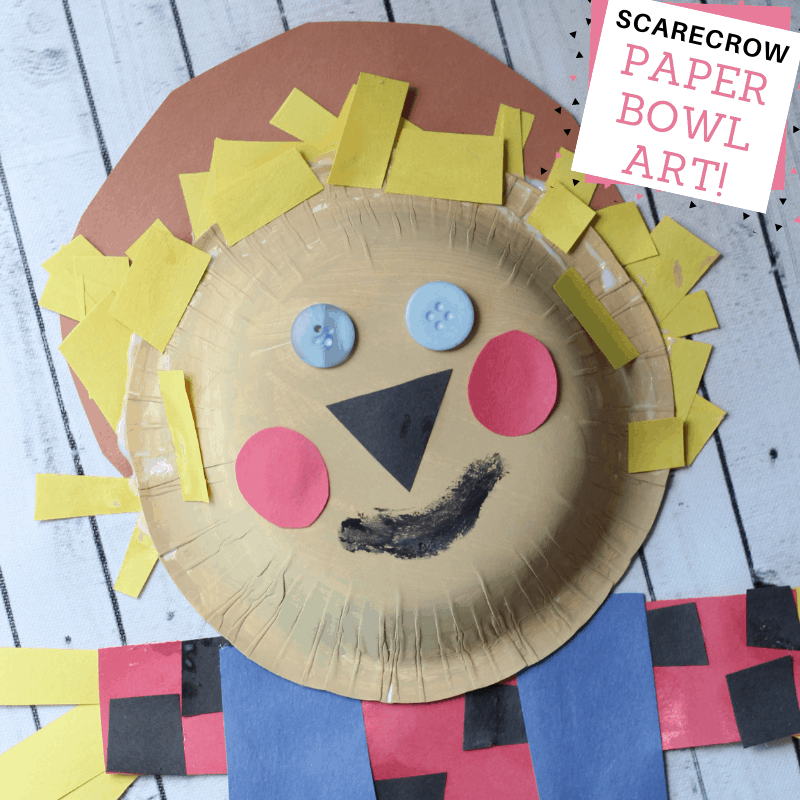
Once the bowl was dry and ready, we put together our scarecrow’s face first. By that, I mean we pasted on the two small red circles for cheek blushes and the small black triangle for a nose; and we drew-on a smile with our sharpie (or crayon).
When the face was done, it was time to get this scarecrow dressed! Our idea was to do a buffalo check flannel shirt for him, so the kiddos pasted on the black squares onto the red “T” shape.
Next, we glued the blue “H” shape on top of the shirt, to make overalls, and pasted a button on top of that at the top. Because buttons are cool.
Then, we put the yellow strips of construction paper onto the bottom of the legs, on the ends of the sleeves, and around the top of the bowl for straw. If you’re using real straw, you can mix in both real straw and yellow construction paper. That might look really neat.
After that, we pasted the bowl to the brown circle of construction paper and the shirt/overalls.
And finally we added two more buttons for eyes.
At that point, our scarecrow was complete!

The Best Preschool Fall Activities:
Check out the fun activities below! In addition, these Easy Tissue Paper Crafts for Preschoolers are a great activity for learning fun!
- Free Fall Activities to Do as a Family
- Pumpkin Fall Activities for Preschoolers
- Contact Paper Activities for Kids
More Fun Scarecrow Crafts for Kids:
- Scarecrow Popsicle Stick Puzzle
- The Best Scarecrow Crafts and Activities for Kids
- Toilet Paper Roll Scarecrow

Scarecrow Paper Bowl Art Project
Equipment
- Paintbrush
- Craft Glue
- A Black Sharpie or Black Crayon
- [Scissors]
Materials
- Black Blue, Red, Brown and Yellow Construction Paper
- 3 Large Buttons
- Straw/hay or cut up bits of yellow paper
- Light Brown Craft Paint
- Paper Bowl or Paper Plate for the Scarecrow Face
Instructions
- Paint the backside of the paper bowl with the light brown craft paint. Allow paint to dry.

- Cut out all the parts for the scarecrow while the paint dries. Cut out: 2 small red construction paper circles about 1-2 inches in diameter; 1 small black construction paper triangle about 1-2 inches on the base; 1 large "T" shape from the red construction paper; 1 large "H" shape from the blue construction paper; 15-20 1×1 inch squares of black construction paper; 20-30 randomly sized strips of yellow construction paper; 1 large circle, bigger than the paper bowl

- Put together the scarecrow’s face first by pasting on the two small red circles for cheek blushes and the small black triangle for a nose; and draw-on a smile with our sharpie (or crayon).

- When the face is done, it’s time to get this scarecrow dressed! To do a buffalo check flannel shirt for him, paste on the black squares onto the red "T" shape.

- Glue the blue "H" shape on top of the shirt, to make overalls, and paste a button on top of that at the top.

- Put the yellow strips of construction paper onto the bottom of the legs, on the ends of the sleeves, and around the top of the bowl for straw.

- Paste the bowl to the brown circle of construction paper and the shirt/overalls.
- Add two more buttons for eyes.
- Scarecrow was complete!