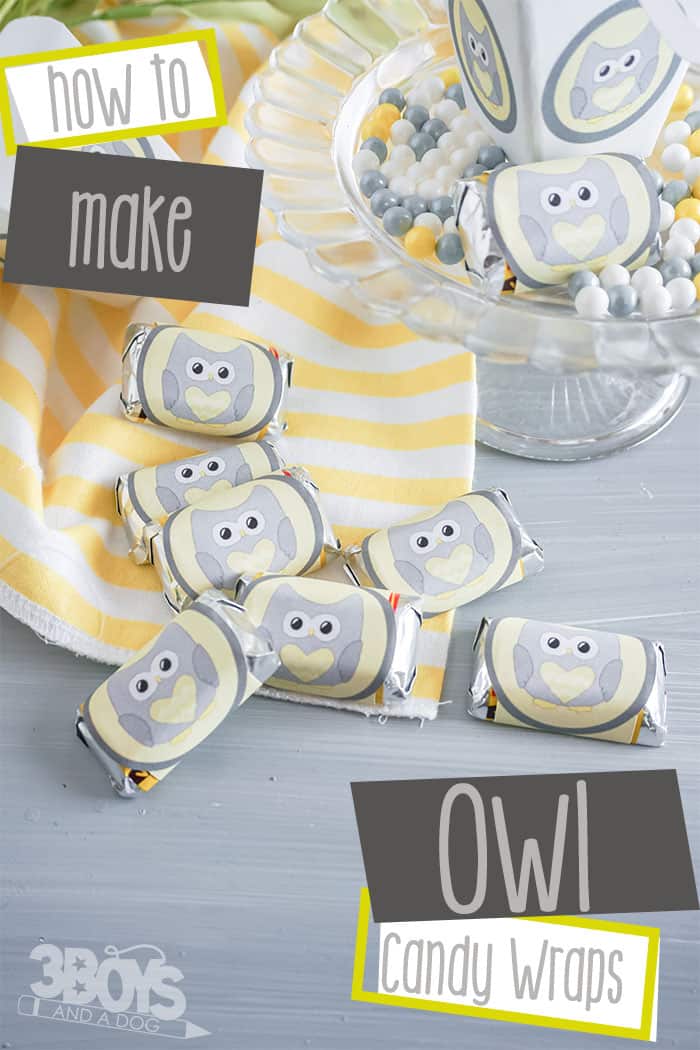
DIY Owl Chocolate Bar Wrappers

I made these Owl Chocolate Bar Wrappers to go with the set of owl themed baby shower supplies I’ve been making recently. Mostly because I love the owl, but also because every good baby shower has tiny matching candy bar wrappers. Right?!
If an owl baby shower is in your near future and need more inspiration, be sure to take a loooooook at my 12+ owl baby shower ideas that’ll make heads turn. I mean, you know, since owl’s heads turn a lot. LOL!
Disclosure: I work with Cricut as a Brand Ambassador. This post also contains affiliate links.
Basically, this is the easiest way to add a little something extra to your baby shower to make it look more polished, a little more like a professional party planner put it together rather than just your own DIY.
And having this fun (and easy) print-and-cut Cricut project in your back pocket makes it so that you don’t have to figure out shipping options and shipping charges and all that mess with having something shipped.
No keeping the extras in their original packaging, so you can return them–just print as many as you need, then eat the rest with no upset. Because you made them. LOL!
Also, let’s just be clear–no matter if you like doing little DIY projects or not, these candy wrappers are so easy to put together, it’s kind of a no-brainer to add to your baby shower favors.
So, grab your copy paper and let’s do this.
Necessary Tools:
I know this might seem a little daunting, if you’re not so into crafting like I am, but I’ll tell you now that I only needed two tools to make these. Seriously, here’s what I used to make these awesome baby sprinkle candy wrappers.
- Cricut Explore Air 2 or Cricut Maker
- Desktop Printer

Necessary Materials to Make DIY Owl Chocolate Bar Wrappers:
And the materials to make these Hershey nuggets wrappers are simple, too. To make these easy DIY owl candy bar favors, I only needed three things:
- Regular Copy Paper
- Glue Stick, Tape or Glue Dots
- Mini Chocolate Bars
- Free Printable for the Chocolate Wrappers
Would you like to save this?
Now, let me explain myself a little about the paper choice here…normally, for my DIY baby shower projects, I recommend card stock paper because it’s thicker and going to stand up better to the little bit of a beating the project will receive.
But in this case, you need a lot of wiggle in your paper. Because you’re wrapping it around the tiny candy, card stock is simply going to be too stiff.
So, copy paper is best. Trust me on this.
Oh, and also, I needed my Cricut and the light grip mat. Kind of a given, but just in case.

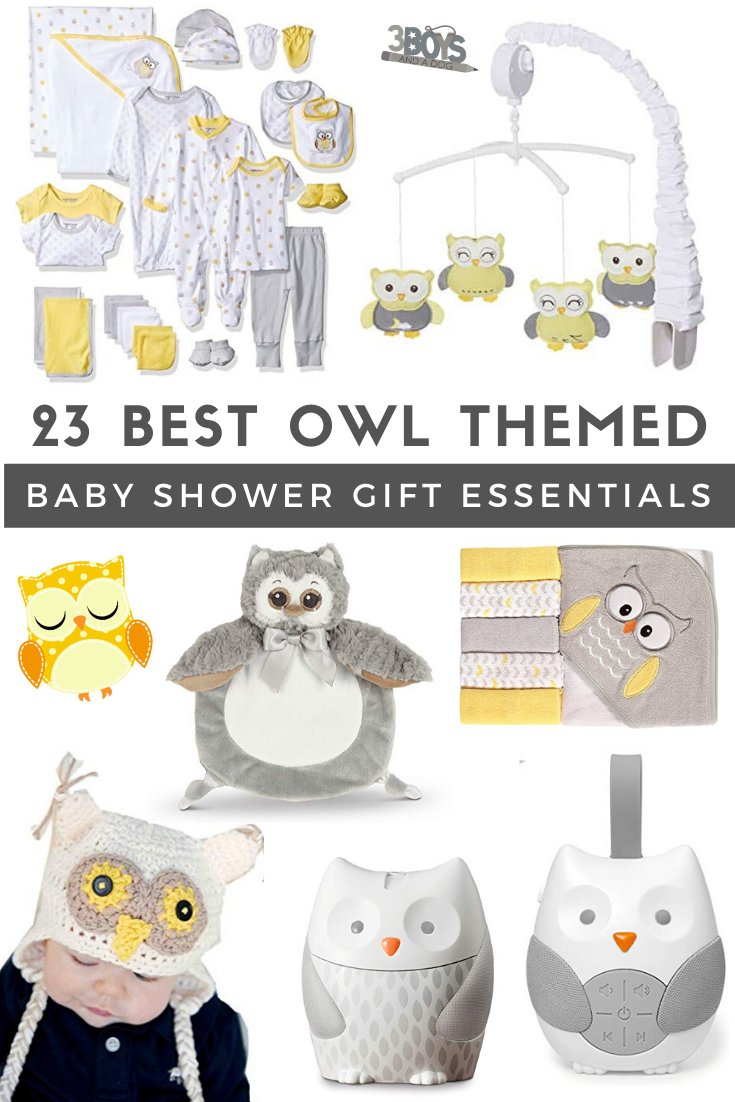
More Fun Owl Baby Shower Supplies:
If you’re into the owl baby shower theme as much as I am, you want more than just some random candies, right?! Right. Good news for you, I’ve got your back with a whole set of awesome owl shower goodies.
- Owl Baby Shower Diaper Cake
- Owl Themed Shower Decoration Pieces (the mini-banner, big banner, cupcake toppers, bow centerpiece and table scatter)
- Owl Baby Shower Invitations

More Owl Baby Shower Ideas
Just in case you need more awesome ideas for your owl themed shower. I mean, if you love a great owl party, this is what you need.
Baby Shower Food Ideas:
- Unicorn Baby Shower Food Ideas – If you are having a unicorn baby shower, you need all of these fun themed foods.
- Pink non-alcoholic drink recipes – Over 20 recipes for pink colored, non-alcoholic drinks for your party.
- Pink Desserts – these 22+ pink colored desserts are sure to help you in your baby shower food planning!

Owl Chocolate Bar Wrappers
Equipment
- Cricut
- Light Grip Mat
Materials
- Quality Copy Paper
- Glue Stick Tape or Glue Dots
- Mini Chocolate Bars
- Free Printable for the Chocolate Wrappers
Instructions
- Working with one sheet at a time, download the PNG Files, then upload each to Cricut Design Space.
- Select "complex" image type. On the next screen, select "continue" and the following screen, select "save as a print and cut project".
- Insert the image onto the next screen, then select "make it".
- Load the copy paper into your printer and print the project.
- Place the printed copy paper onto your light grip mat as shown on the screen in Cricut Design Space.
- Select copy paper as the material.
- Load the light grip mat into your Cricut cutting machine and tell it to cut.
- When the cut is complete, weed the design and repeat with the remaining number of chocolate wrappers you plan to make.
- Wrap a chocolate wrapper around your chocolate bar and place a dot of glue or tape on the bottom to hold the wrapper in place and enjoy!