
Festive and Fun DIY Christmas Serving Tray


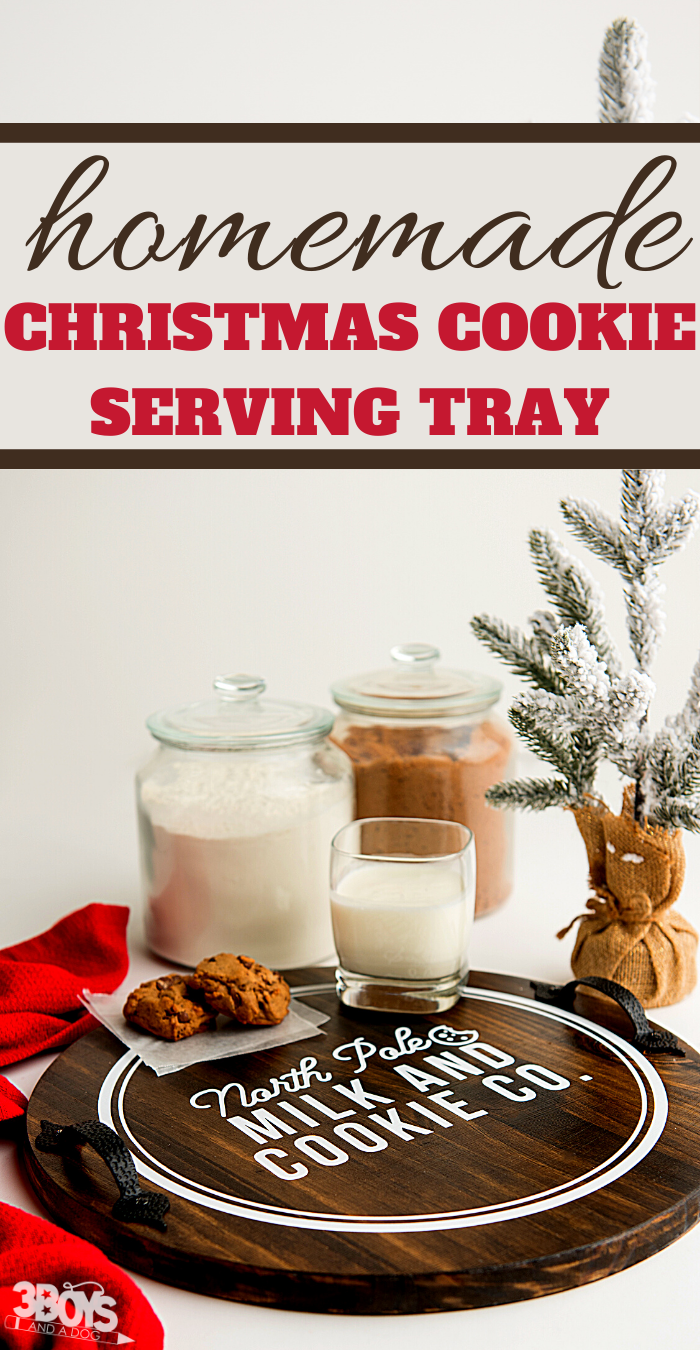
This DIY Christmas Serving Tray is such a great Cricut project to make for the holidays. Not only does it have that rustic look and feel but it’s really fun to add something homemade to your own holiday decor. We think of this as our Santa tray as well because it’s a great way to leave out cookies and hot cocoa for the big guy!
And if you have some chalkboard paint, you can even make a secondary version of this try and leave off the vinyl completely!

Disclosure: I work with Cricut as a Brand Ambassador. This post also contains affiliate links.
What I love most about this DIY Cookies for Santa Tray is that it’s really unique and fun. Sure, it might be easier to buy something at the store but knowing that I can make this myself is such a confidence booster!
Plus, the kids love knowing that I created something that holds the goodies for Santa. (or at least they did when they were younger!)
Be sure to check out my Craft Guide for more fun tips and ideas!
Necessary Materials:
These are some of the materials that I used but you can always use whatever works best for you as well.
- Cookie Co. & Hot Cocoa Design
- Mod Podge
- Wooden Round
Reminder, not all the supplies in the tutorial are linked above, just the ones that may be a bit difficult to find or that you might be unsure of what to look for.
✨ June only
Earn this for FREE!
Host a Pampered Chef party this month and unlock up to $230 in free products — including double rewards. Message me and I’ll show you exactly how easy it is!
💬 Message me on FacebookTerms and conditions apply. June offer only.

Necessary Tools:
You can use whatever brand and types of tools that you cant, but I choose to use this Cricut Machine. You’ll see a list of the rest of the tools below as well.
Tips and Tricks:
These are just a few simple tips and tricks to keep in mind when you’re making this simple serving tray.
- Make certain that you let the sealant dry or the vinyl is never going to stick. You can’t rush this part of the craft.
- Don’t try to stretch the vinyl when you first lay it on the wood round. Be gentle or you’ll make it stretch and be awkward.
- If you don’t want to seal the wood, you can paint it. Chalkboard paint tends to work the best and is a lot of fun to write on with chalk as well.


Would you like to save this?
DIY Christmas Serving Tray Questions:
No matter how straightforward a craft seems there will always be a few questions. Here are some questions that tend to come up related to a craft such as this.
Why does my vinyl have air bubbles in it?
This happens sometimes when you’re applying the vinyl onto another surface. You’ll just need to carefully use your scraper tool and smooth out the bubbles. Oftentimes starting from the middle and pushing the bubbles out is the best way to handle it.
Is there any truth to the temperature having an effect on the vinyl sticking?
There is a bit of truth to this. If it’s a super hot or humid day, the vinyl will not stick as well or you may find that you have more air bubbles. Just be patient with it and smooth them out to the best of your ability.
Do I need to put a sealant over the top of the vinyl once applied?
This is entirely up to you but it’s not necessary. If you’re worried about the vinyl not sticking or tearing, a layer of clear sealant over the top may be a good option. Just let it sit and dry before using it.
More Holiday Crafts:

DIY Christmas Serving Tray
Equipment
- Sponge Brushes (2)
- 7/64th drill bit & Drill
- Phillips Head screwdriver
- Cricut machine
- Blue light grip mat
- Weeding tool
- Scraper tool
- Design program
Materials
- Wood Round – 15”
- Wood Stain or paint color of your choice
- Mod Podge
- Cabinet Handles
- Contact paper
- Oracle 651 permanent vinyl
Instructions
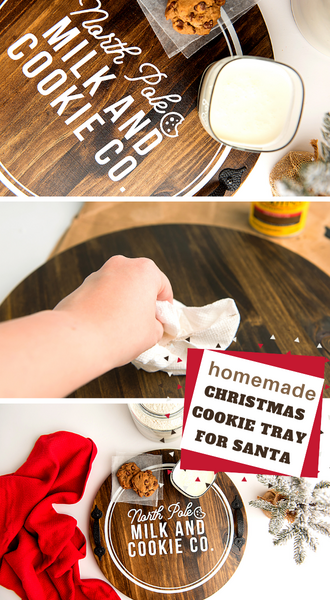
- Start by staining the wood round with the stain of your choice. Using the sponge brush to put on the staining. (Make certain you’re in a well-ventilated area)

- Make certain that you’re adding the stain along the grain of the wood. (You can do this with paint too if you’re not wanting to stain.)
- Once the stain is added, use old cloth and wipe off 90% of the stain. Act quickly so you don’t have too much drying on it and setting in.

- Once you’ve wiped clean, let it sit for at least 12-24 hours or until the stain is dry.
- Once the stain is dry to the touch, it’s time to add on a sealant. You have to seal it before adding on any vinyl so this is important. (I use Mod Podge)
- Apply a thin layer of Mod Podge with other sponge brush. Make certain that it’s straight and thin.

- Once dry, repeat.
- Before applying the vinyl, both coats of the mod podge need to be dry.
- Once the sealant is dry, it’s time to start working on the vinyl.
- Upload the SVG file to your machine’s design program.

- Your sizing can vary but what I did for my sizing was: Wood – 15" diameter | Handles – ~5" tall | Cookie Co design – 11.4" in width | Hot Cocoa design – 11.5" in width
- Once you have your sizes set, adjust your machine setting to vinyl. Load the Oracle 651 vinyl on the blue grip mat and hit "go".
- After it’s done cutting, grab your weeding tool and pull the letters away.

- Once the letters are weeded, use the transfer paper and apply it to your vinyl. (if the transfer paper isn’t laying smooth, use the scraper tool to press down little by little as you pull away)
- Turn the entire thing upside down and start to pull the backing away. Starting at a corner and rolling it down tends to work the best.
- When done successfully, you’ll be able to see through the paper with the vinyl actually attached.
- Located your wood round and find the center of it.
- Lay the transfer paper with the vinyl down on the wood round gently. (Don’t pull or stretch it as this may mess it up)
- Do not push down on it until you’re happy with how it is placed. If happy, apply pressure and use the scraper tool to spread it out.
- Once you’ve applied the pressure, start to pull away on one of the corners to remove the transfer paper. Be careful and go slowly so that all the letters stick.
- Once the vinyl is down, it’s time to add on the handles.
- Locate the middle of the handles and start to drill down into the wood.

- You’ll be making small holes for the screws.
- Screw in the holes and you’re done!

What will you serve on your Christmas Serving Tray?


One Comment