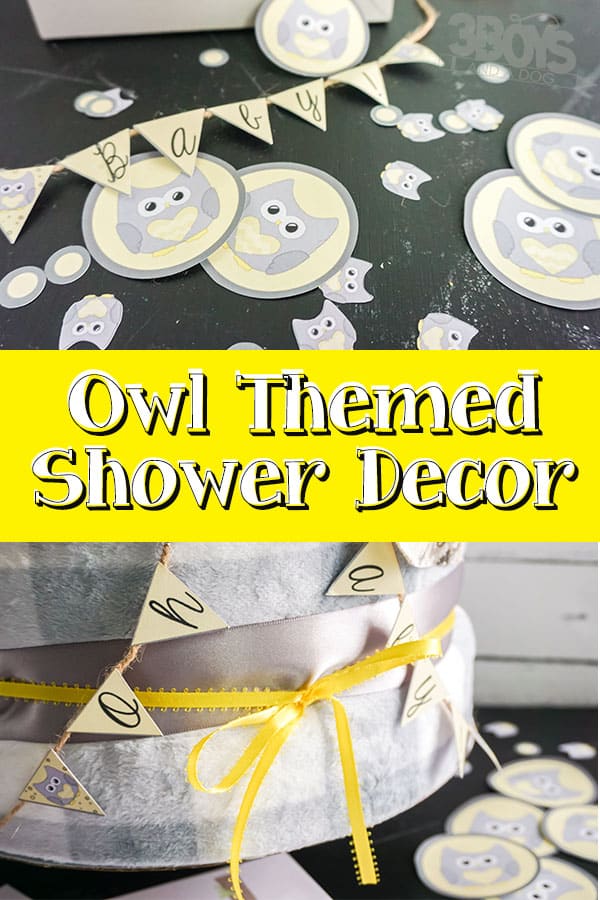
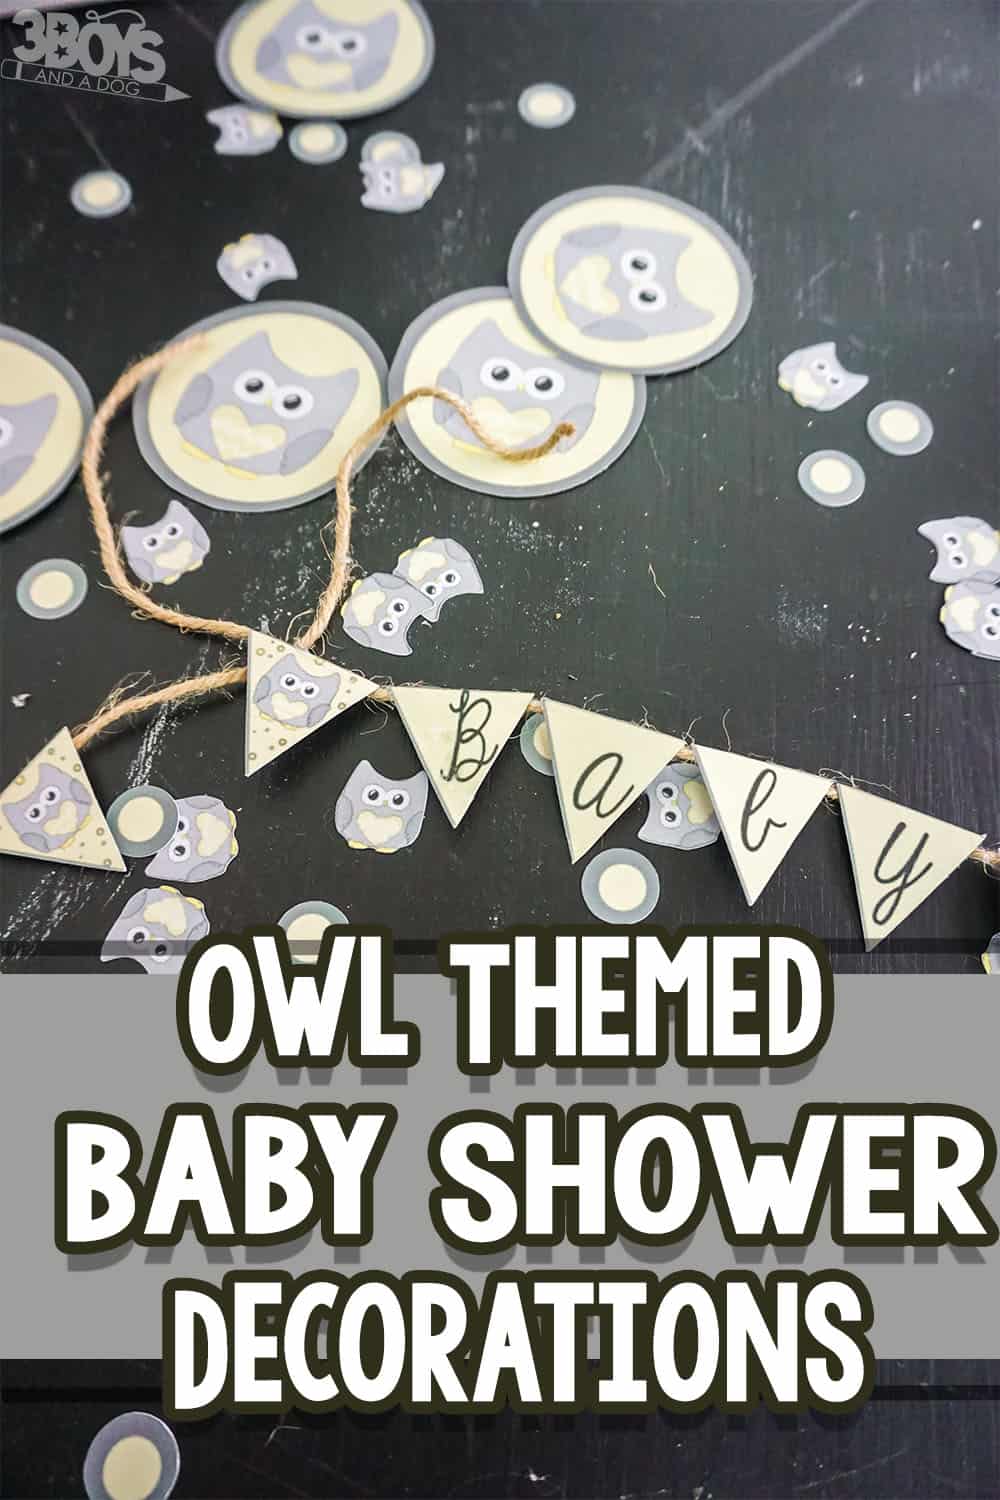
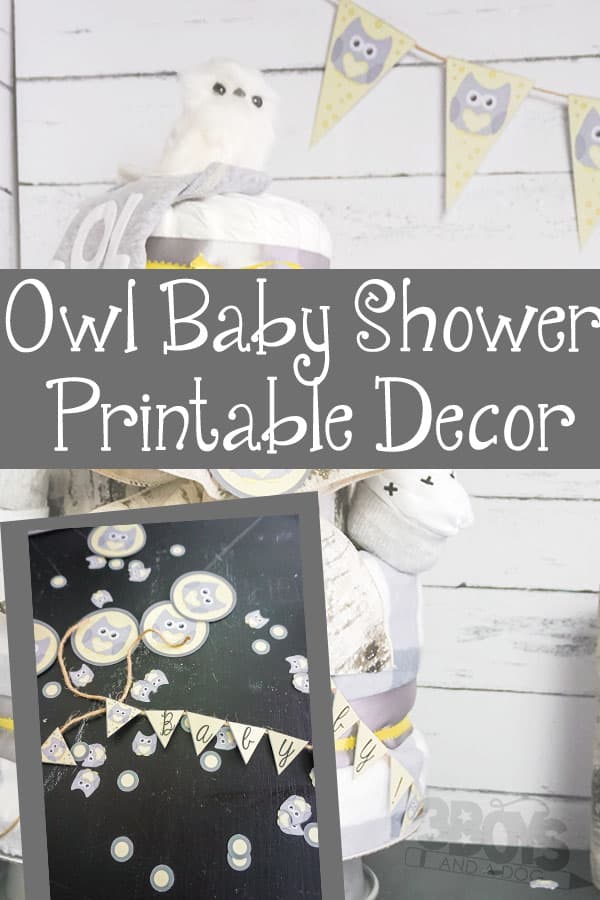
Print-and-Cut Owl Baby Shower Decorations

One of the things I love about my group of friends is that I’m the designated baby shower coordinator. And these print-and-cut owl baby shower decorations made my most recent baby shower the most easy one I’ve ever decorated for!
And don’t forget to check out my 12+ owl baby shower ideas to really set your owl shower apart from the other birds. Heh.
Disclosure: I work with Cricut as a Brand Ambassador. This post also contains affiliate links.
But back to these owl decorations for a baby shower and their epic cuteness. Do you see just how fantastic these are for gender neutral party supplies?!
And the best part is that they literally took me 10 minutes to make. Way less time than it would have taken for me to run to the store, search around and try to find some…seriously.
I think the longest amount of time it took me to do anything on this project was figuring out how to open the paper drawer on my printer so I could get this project going.
Once that was done, though, it was super fast and I was ready to start decorating!
Owl Baby Shower Decorations
Even if you’re not into the whole DIY crafty thing, you can still make a fun owl themed baby shower. I even found some killer-cute hoot owl decorations that you can grab:
- Teal and Grey Baby Shower Invitations with Owls
- Grey and Sweet Owl Invites
- Elegant Watercolor Owls Baby Shower Invitations
- Icy Blue Hoot Owl Invites
- Yellow and Grey Owl Invites for Baby Showers
- Pink and Beige Baby Sprinkle Invitations for a Baby Girl
Necessary Materials:
You can use whatever you want to make these shower decorations for an owl baby shower, but I thought you’d appreciate knowing what I used to make these cuties.
- Quality White Card Stock Paper
- Twine or Ribbon
- Free Print-and-Cut Files (there are several of these, so scroll on down)
Necessary Tools:
Making this owl baby sprinkle set of shower decorations was a breeze. I only needed a few tools that I regularly use in my craft room:
Would you like to save this?
- Hot Glue Gun & Glue
- Cricut Explore Air 2 or Cricut Maker
- Desktop Printer
Tips and Tricks:
Like with anything else, it can be a little daunting to figure out what you need for a gender neutral baby shower. So, I have some ideas to make this just that much more easy for you to get your owl baby shower pulled together lickety split.
- Turn the big owl circles into owl cupcake toppers by simply taping one on each side of a toothpick with double-stick tape.
- Use the mini banner pieces to decorate a diaper cake or on a real cake as a mini banner across the top (I love those).
- If you’re being just waaaaay extra (even more than me), you can use the table scatter as confetti (just shrink it down a bit smaller in Cricut Design Space) in the boy or girl baby shower invitations. Just stuff some in the envelopes–you know you want to.
- Add some of the table scatter and that crushed paper shred nonsense to a basket and stuff your party favors on top for a cute display!
More Fun Owl Baby Shower Supplies:
Being the serious over-thinker that I am, I came up some some additional owl themed shower supplies that you can make along with these decorations!
- Owl Baby Shower Games (no diaper raffle, but some good ones)
- Owl Baby Shower Diaper Cake
- Owl Baby Shower Invitations
- Adorable Owl Centerpiece
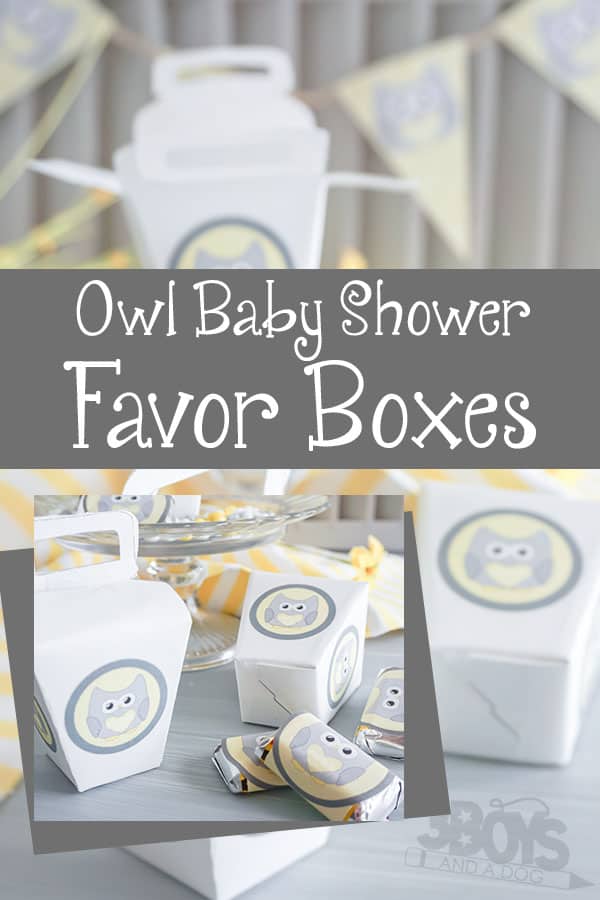
- Favor Boxes for Shower Guests

More Owl Baby Shower Ideas

Owl Themed Baby Shower Decorations
Equipment
- Cricut Explore Air 2 or Cricut Maker
- [Scissors]
- Hot Glue Gun & Glue
- Desktop Printer
- Light Grip Mat
Materials
- 4 Sheets White Card Stock Paper
- Small Amount of Twine or Ribbon
- Large Banner PNG File
- Small Banner PNG File
- Large Circles PNG File for use as cupcake toppers or other
- Table Scatter PNG File
Instructions
- Working with one sheet at a time, download the PNG Files, then upload each to Cricut Design Space.
- Select "complex" image type. On the next screen, select "continue" and the following screen, select "save as a print and cut project".
- Insert the image onto the next screen, then select "make it".
- Load the white card stock into your printer and print the project.
- Place the printed card stock paper onto your light grip mat as shown on the screen in Cricut Design Space.
- Select medium-thickness card stock as the material.
- Load the light grip mat into your Cricut cutting machine and tell it to cut.
- When the cut is complete, weed the design and repeat with the remaining sheets of the decorations.
- When you have cut the banners, lay them out on the table face-down in approximately the position you want them to be on the twine or ribbon.
- Hot glue your twine or ribbon in place on the back of the banner pieces.
- Start decorating!
Baby Shower Food Ideas:
- Unicorn Baby Shower Food Ideas – If you are having a unicorn baby shower, you need all of these fun themed foods.
- Pink non-alcoholic drink recipes – Over 20 recipes for pink colored, non-alcoholic drinks for your party.
- Pink Desserts – these 22+ pink colored desserts are sure to help you in your baby shower food planning!