Bottle Cap Counting {And Bonus Activity!}
We drink a lot of Soy milk at our house. Not only do the cartons make great bird feeders, but I discovered an upcycled use for the lids as well! They are the perfect size for little hands to practice numbers and letters. Let’s get started!
What You Need:
- Milk Carton Lids (10)
- Free Printable Counting Template
- Sharpie Marker
- Bonus Printable Counting Template
What You Do:
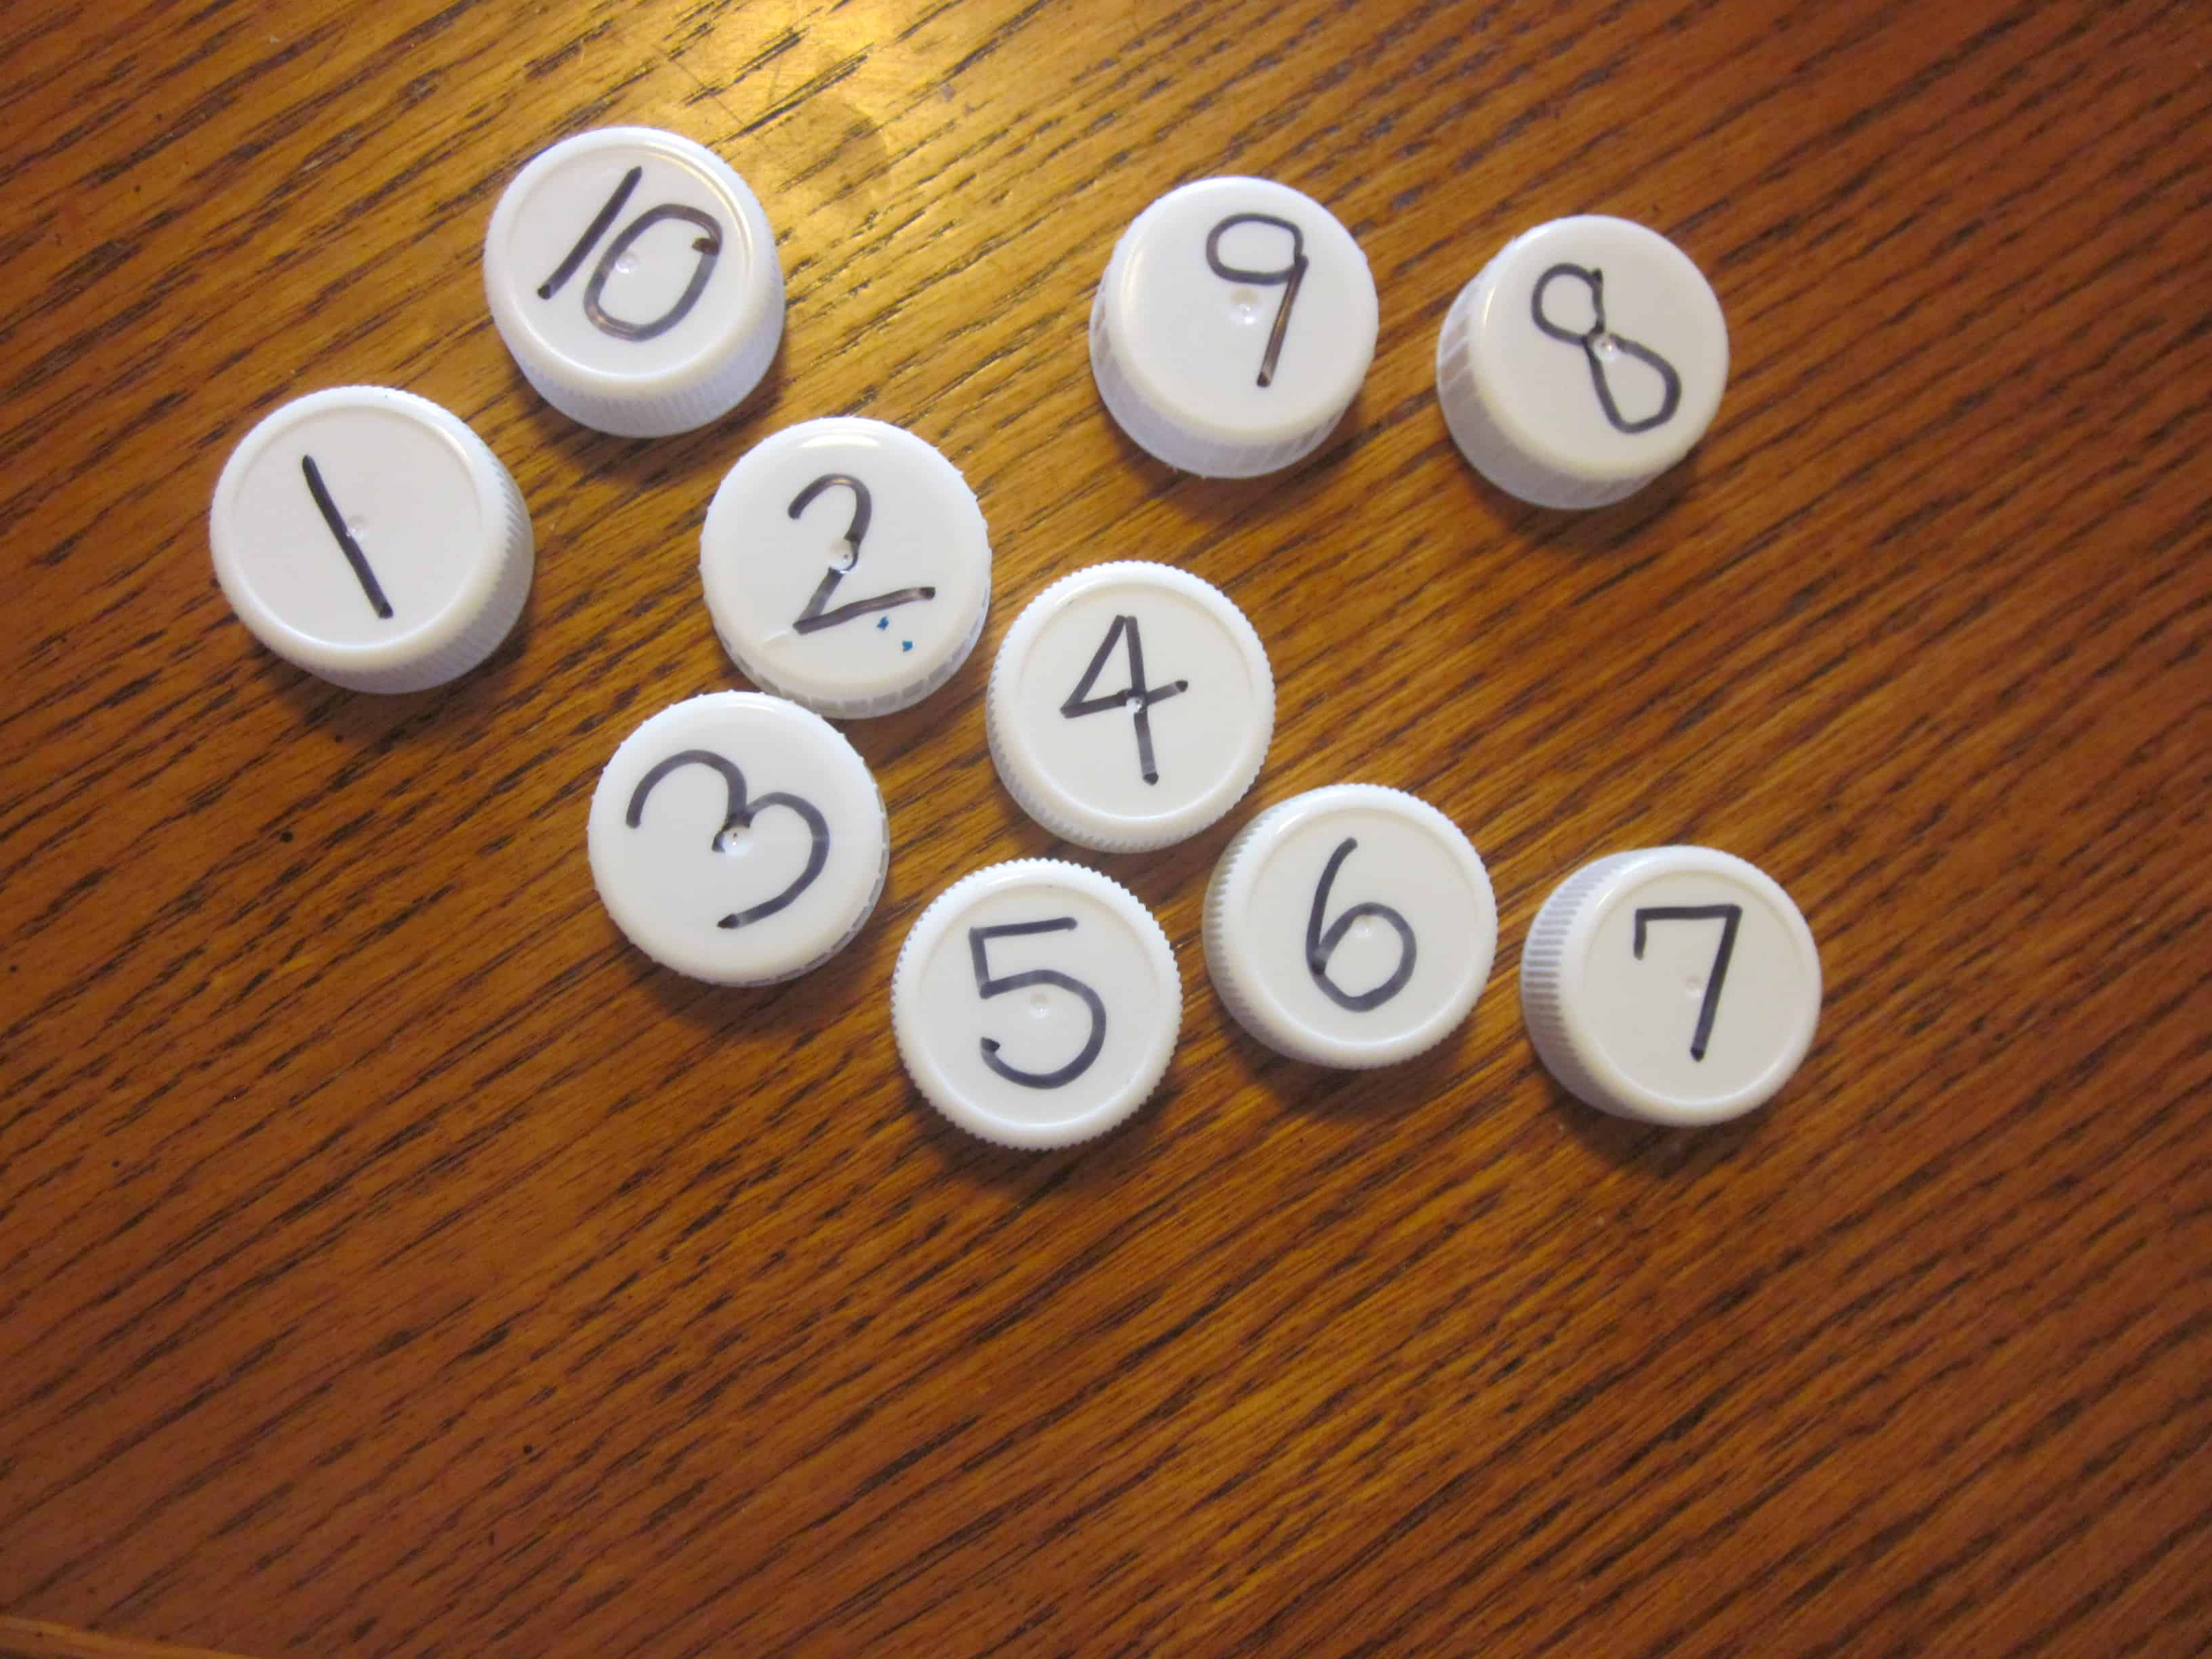
Write numbers 1-10 on the bottle caps with Sharpie marker.
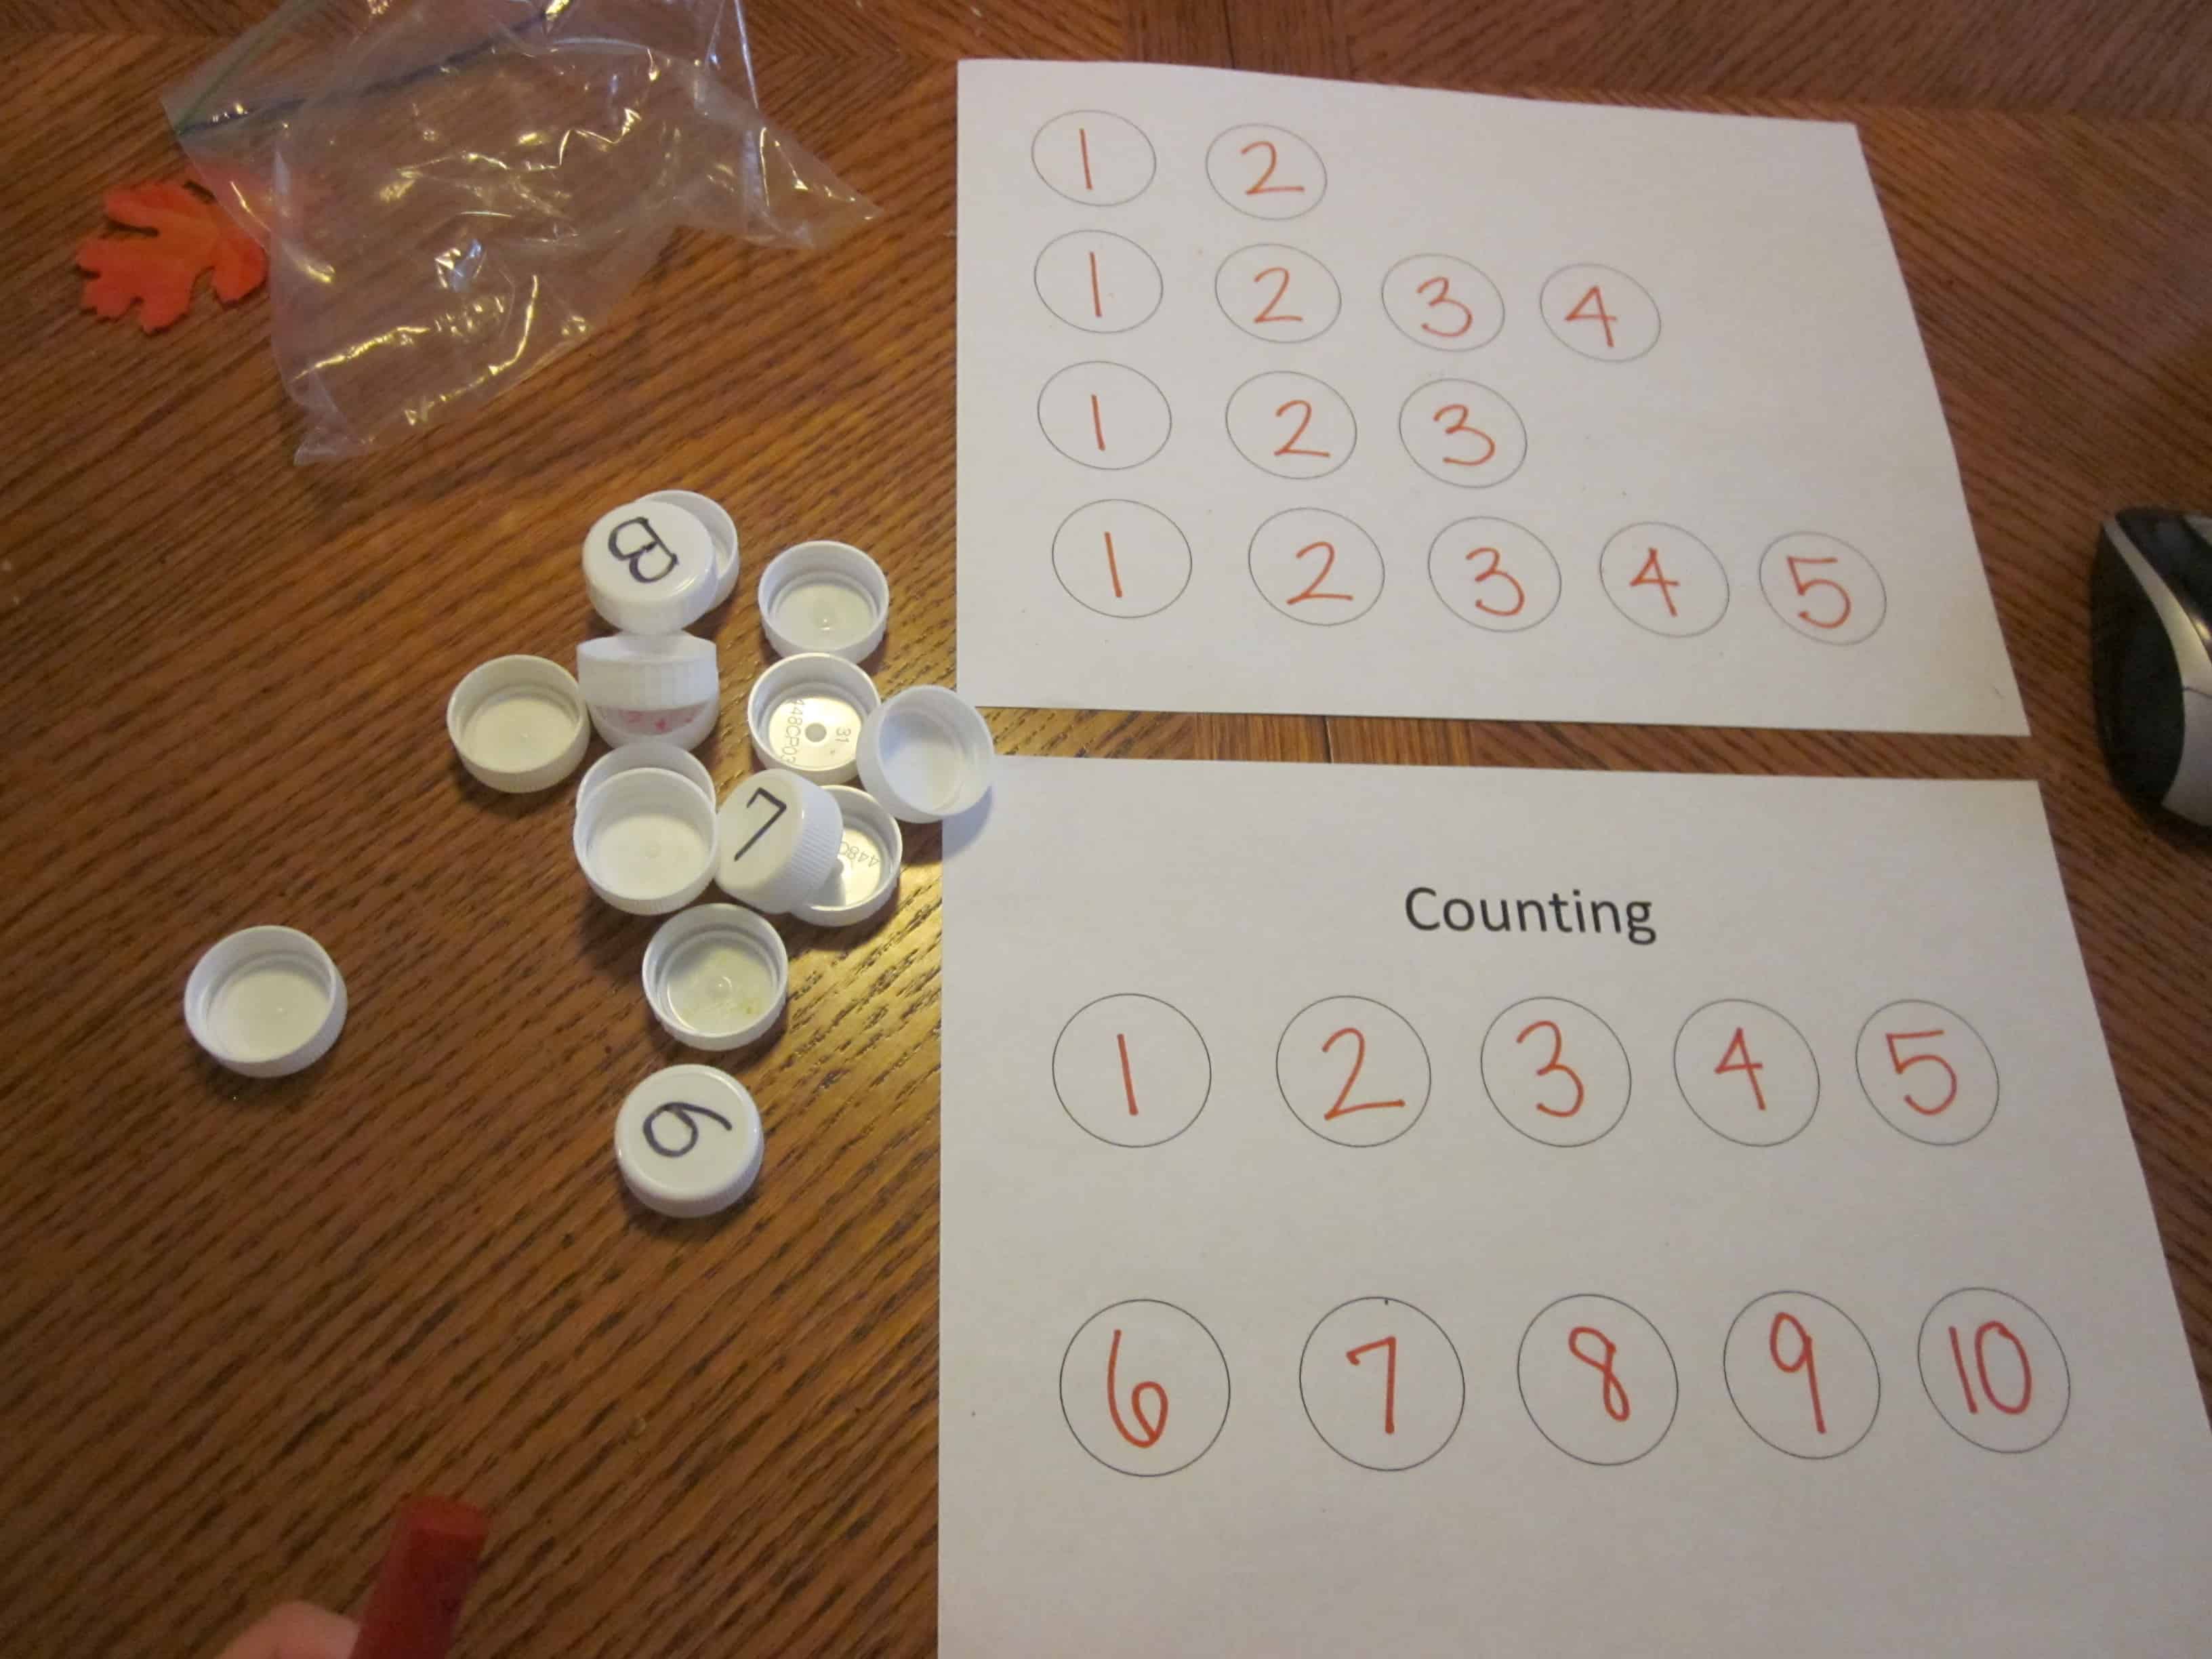
On the first Printable Counting template, simply write numbers 1-10, one each circle. For the bonus template (picture on top), you can fill the circles however you like. We talked about how many circles in each row and then match the numbers up as we counted along.
You could also use the bonus template to write out some words you’re learning about and then draw letters on some extra caps and match up the letters.

Would you like to save this?
Matching! Matching!

Hey, this is fun!
You could lay out all the numbers and have her match at her own pace, or you could hand her numbers one by one and have her put them on the correct circle. Chipmunk really enjoyed this activity!
Bonus Activity:
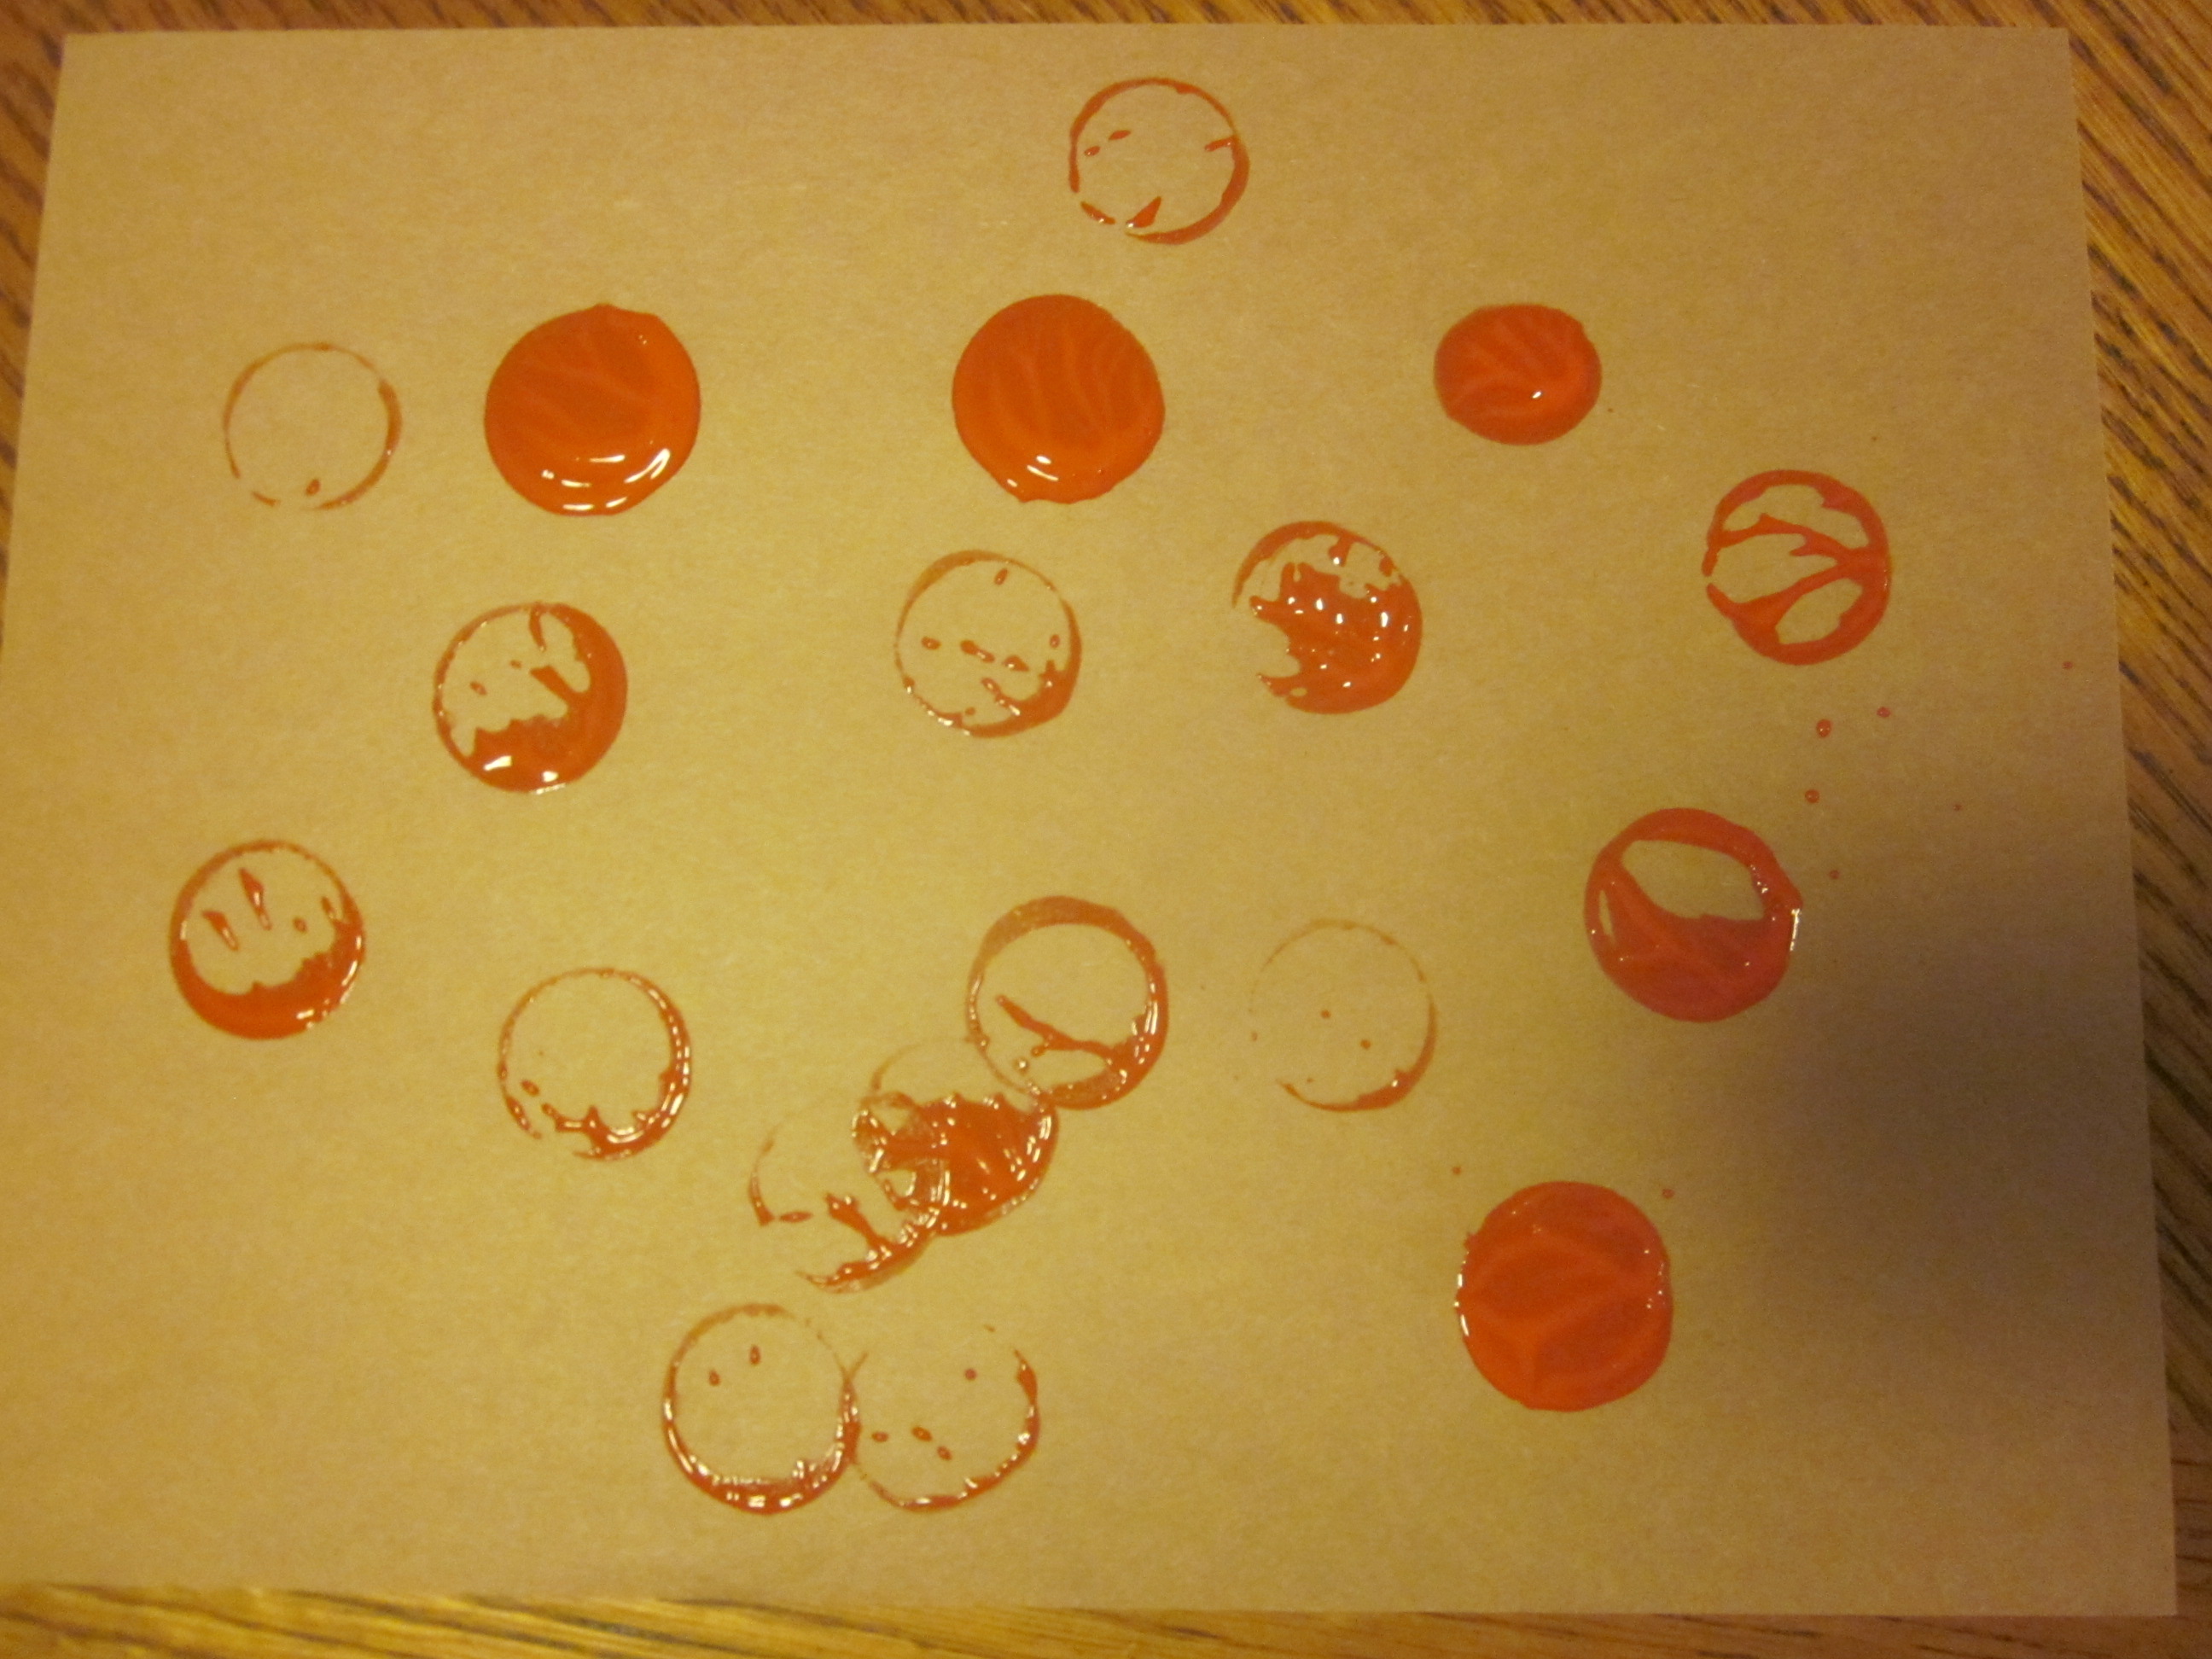
If you’ve got a couple of carton caps, flip them over, dip them in orange paint and make a fun little pumpkin patch to celebrate the season!
About the Author:
Lindsey Whitney is a blogger over at Growing Kids Ministry. A blog designed to help parents, teachers, and Children’s Ministry workers who want to help the kids they love grow in their faith. You can connect with her via twitter or on facebook.