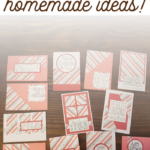
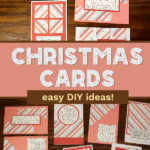
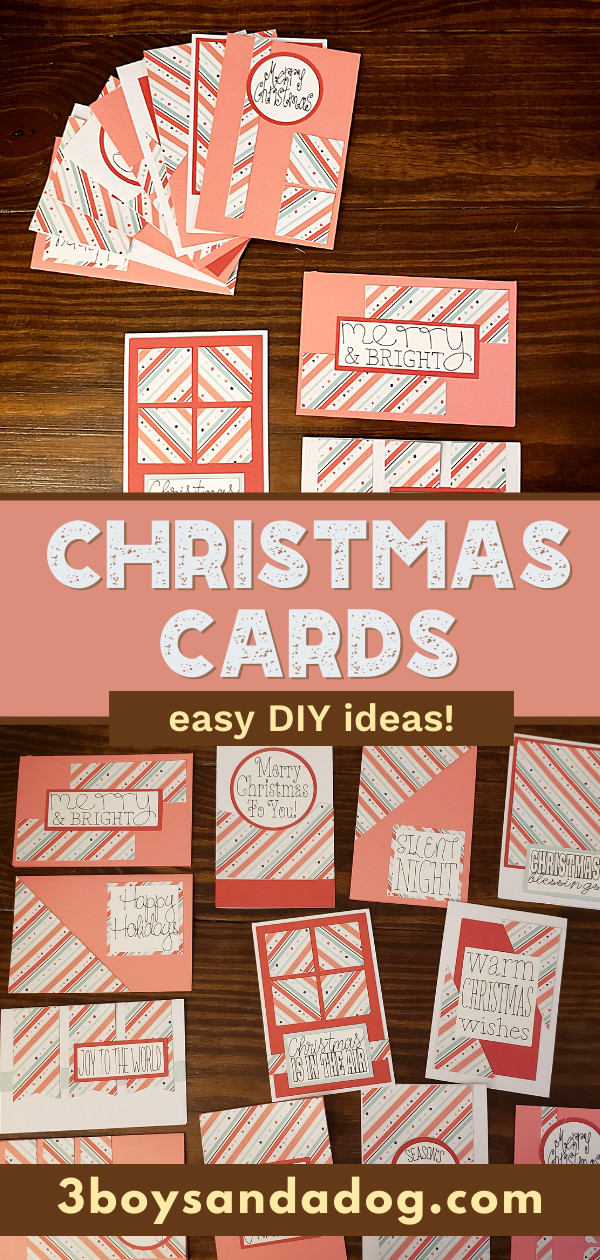
Easy DIY Christmas Cards to Make In Minutes!

I decided to make easy DIY Christmas cards this year to send to friends and family instead of the boring ‘ole holiday card you get at the drugstore. Be sure to check out my Christmas Posts on 3 Boys and a Dog!
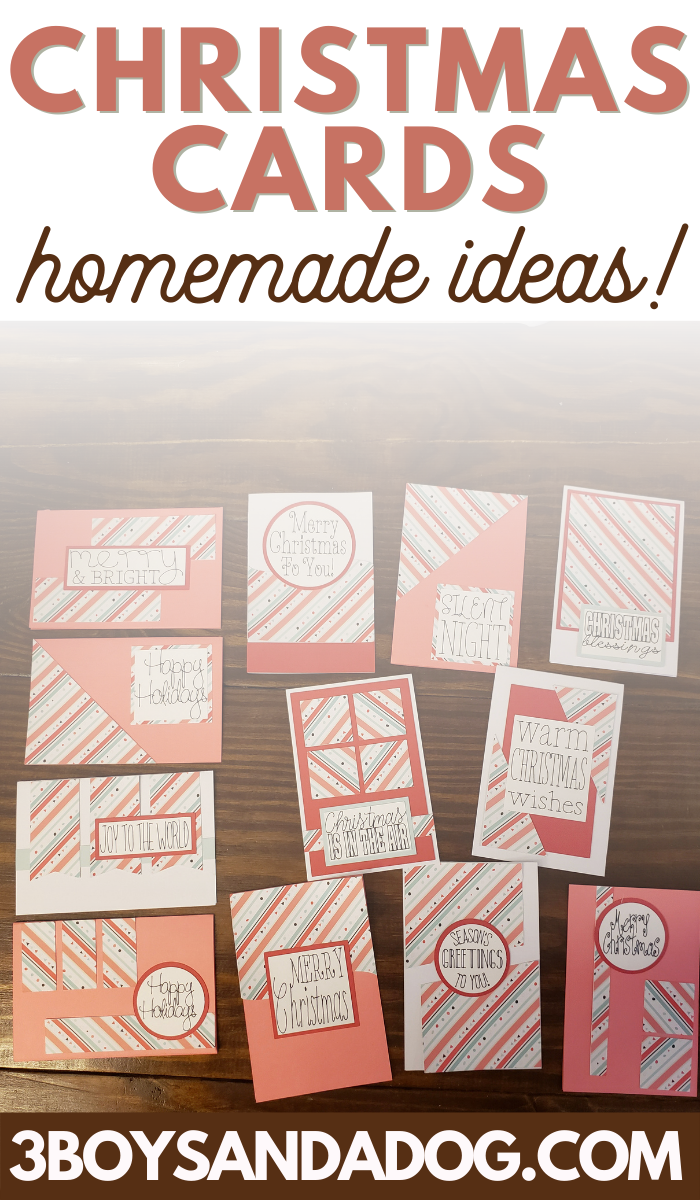
And WOW! I am so impressed by how cool these homemade Christmas cards came out. I pulled together the cards in no time, too, because I used my cutting machine, which was a super fun time.
Best craft this holiday season so far.
Disclosure: I work with Cricut as a Brand Ambassador. This post also contains affiliate links.
Now, if you’re way more into crafting with the Cricut than I am, maybe you’re a little more advanced than my handmade Christmas card. Maybe you’ve worked out how to include family photos or make a pop-up card.
But, for me, as a just-past-the-starting-line beginner, I like to think that I’m doing pretty good, and I’m confident that a beginner could absolutely make my cards again with little or no confusion.
Next, maybe I’ll tackle making a Christmas tree card with a tree shape cut off of a paint chip with some washi tape. Big plans.
But for now, let’s stick with this one.
If you’re ready to make your holiday cards, let’s get makin’! Be sure to check out my Craft Guide for more DIY projects!
Necessary Materials:
Ok, so I used a lot of card stock and kind of just pilfered items I already had in my craft room. That’s exactly what I recommend because, at the end of the day, if you’ve got something, you can make it work.
Downloadable Files:
In addition to the materials and tools, you will need to download the following digital materials that I have created for you.
- The free printable PDF document shows the example cards, which pieces go where, etc.
- Christmas Card Cuts Project in Cricut Design Space
- Christmas Card Sentiments in Cricut Design Space
2 – 12×12 Sheets of Matching (same) Patterned Paper or Cardstock
I used the diagonally striped scrapbook paper sheets from Cricut’s Kaleidoscope Deluxe Paper Pack. I saved my bits of extras to use the light teal color on the backside to add a little depth to my cards.
The dark grey material in the Cricut project should be your patterned paper.
1 – 12×12 Sheet of Coordinating Cardstock
I used the 2nd darkest color from the Red Tones Cardstock Sampler Pack.
The light grey material in the Cricut project should be cut from this cardstock.
12 – 4×6 Card Bases
The PDF has a guide for cutting 12×12 paper into three cards. I used two 12×12 white cardstock papers and two pinks from the aforementioned Reds Sampler.
1 – 8×11 White Cardstock
I use a thinner card stock for my sentiments that I bought in bulk from an office supply store. I have a white pack and a pastel pack – they both work great for printing and stamping sentiments (titles, quotes, sayings).
Cricut Fine Tip Black Pen
This black pen actually goes into the machine and will write your sentiments for you.
A Good Adhesive
I really like 3L Mounting Squares because they are initially repositionable but then become permanent. This means that I have a short period to move things if they are in the wrong spot, but then I don’t have to worry about them falling off later.
Sometimes, a square of double-sided tape won’t work. In those cases, I use one of the following depending on the material:
- Tombow Glue Runner
- Zig Glue Pen (great for thin lines and small pieces)
- Glue Dots (great for buttons)
- Elmer’s CraftBond Pen (for embellishments)
- 3D Foam Adhesives
Optional: Envelopes
You can make envelopes using your Cricut, but honestly, I buy them in bulk – unless my card is a strange size and I can’t find envelopes for them. 🙂 Typically, I try to avoid that, though. LOL!
I like this set of 100 White, Peel & Stick A6 Envelopes
Would you like to save this?
Necessary Tools:
You know, when you’re crafting, I find that I have some go-to tools that I use time and again. And I respect that each person is unique in their crafting techniques and needs. But, if you’re asking me, these are the tools I use–you do you, though don’t let me dictate how you craft your unique creations! LOL!
The title of the items below links to find them on the official Cricut website. However, I know some people are so used to Amazon these days and like getting things within a few days. So, at the end of each description, I have also included an Amazon link. 🙂
- Cricut Explore Air 2 You can just use a 12-inch trimmer, wavy cutter, and circle cutter for most, except the sentiments. You could use a stamp set, though, for your sentiments. (Get it on Amazon)
- Light Grip Cricut Cutting Mats You will put your mats into the machine three times for this project, so having extra is nice. (Get it on Amazon)
- Essentials Tool Set – This is my go-to. I can’t imagine not having the spatula for removing things, the weeder for small bits, and the amazing 12-inch trimmer for cutting & scoring the card bases. (Get it on Amazon)
You can actually find my entire list of card-making wants, needs, and have here, and my craft room must-haves here (there may be some overlap).
Card-Making Tips and Tricks:
Invest in Multiple Cutting Mats!
It really helps to have multiple mats so that you can be weeding and removing from one while the other is printing and cutting. Having multiple mats really speeds up the entire prepping process.
Keep Your Mat Clean!
Look, I know how it is. You want to craft and bah! to the consequences. But the Cricut mats really do need to be free of lint and dust to hold onto your paper. So, take a little soap and water to your mats after you use them with anything that might be dirty.
Shop My Homeschool Room:
The following homeschool picks of mine can be found on Etsy or Amazon. Simply click the image that interests you – yes, they do contain affiliate links.


Can I Make These Handmade Christmas Cards Without a Cutting Machine?
Yeah, you can absolutely make these by hand with a craft knife and a lot of time. But, given that I’ve actually done that, let me tell you that making more than one card would be, well, a whip. So, maybe if you want to make one, sure.
But, if you want to learn how to craft with a cutting machine (because really, no one wants to cut a million little pieces without one), then I’ve got some resources you need to check out.
- Easy Beginner Cricut Project: Grinch Book Stack
- Cricut EasyPress 2 Review and How to Use the EasyPress
- Comparing the Cricut Explore Air 2 vs. Silhouette Cameo 2
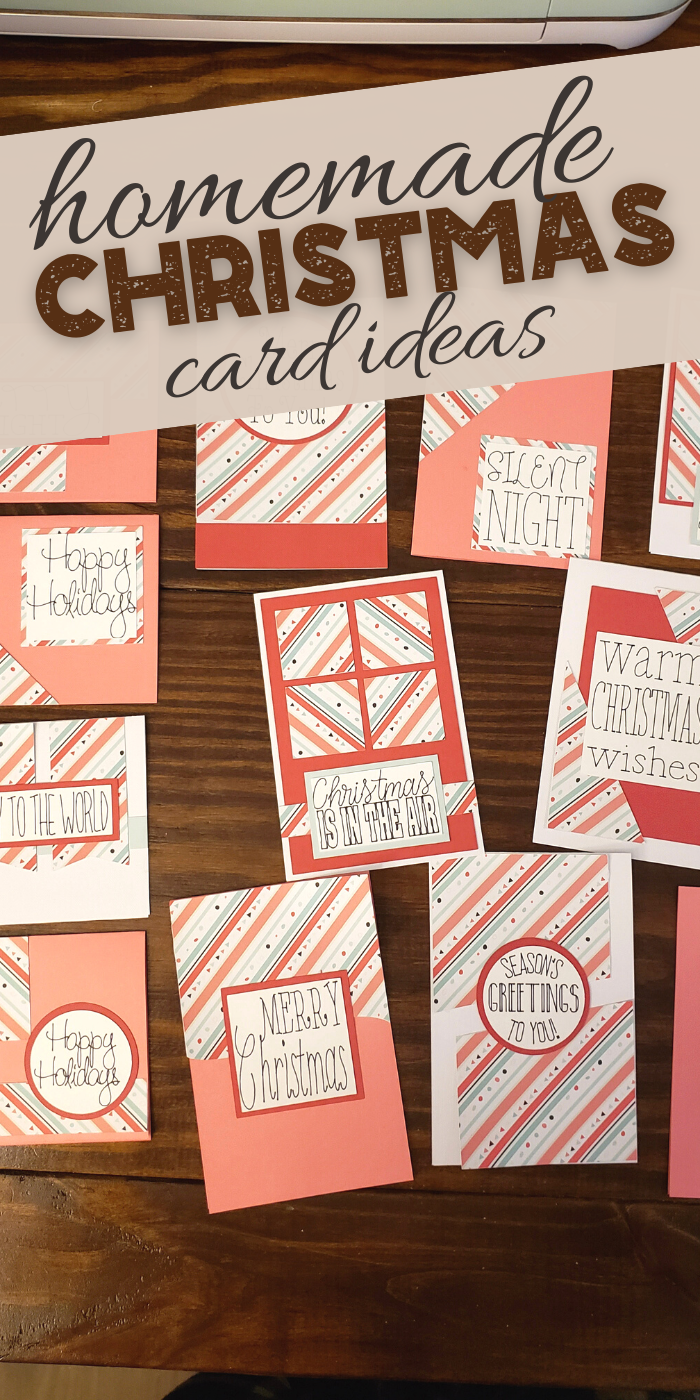
More DIY Christmas Card Ideas:
- 50+ Christmas Crafts for Kids (including several DIY holiday cards)
- How to Use Clothespins and Twine to Display Christmas Cards
- Kid-Made Reindeer and Tree Christmas Cards
- 20+ Free Font Pairings for Christmas Cards and More!

Easy DIY Christmas Cards
Equipment
- Cricut Explore Air 2
- Light Grip Cricut Cutting Mats
- Essentials Tool Set
Materials
- Downloadable Files
- 2 – 12 x12 Sheets of Matching same Patterned Paper or Cardstock
- 1 – 12 x12 Sheet of Coordinating Cardstock
- 12 – 4 x6 Card Bases
- 1 – 8 x11 White Cardstock
- Cricut Fine Tip Black Pen
- A Good Adhesive
- Optional: Envelopes
Instructions
- Print the PDF to refer to upon construction of the cards.
- Cut all the pieces from the Christmas Card Cuts Cricut Project
- Print and Cut all the pieces from the Christmas Sentiments Project
- Sort and Match all the pieces according to the pdf.
- Assemble each card by following the templates in the printable pdf.
- Share with someone you love!
Now, if you’re interested in making more than just paper crafts with your cutting machine, be sure to come back because we’re gearing up to bring you some of the most fun Cricut crafts in the coming year!