I recently expanded my design-cutting abilities and decided to take a minute to compare the Cricut Explore Air 2 versus the Silhouette Cameo 2 to better understand what they can each do.
When I initially bought my first cutting machine, I had one goal in mind: make precise cuts quickly so I don’t have to worry about nipping the end of my finger off again with a knife blade.
I had no idea what a die cutter was or rotary blades or anything else. All I knew was, I wanted to make pretty things fast.
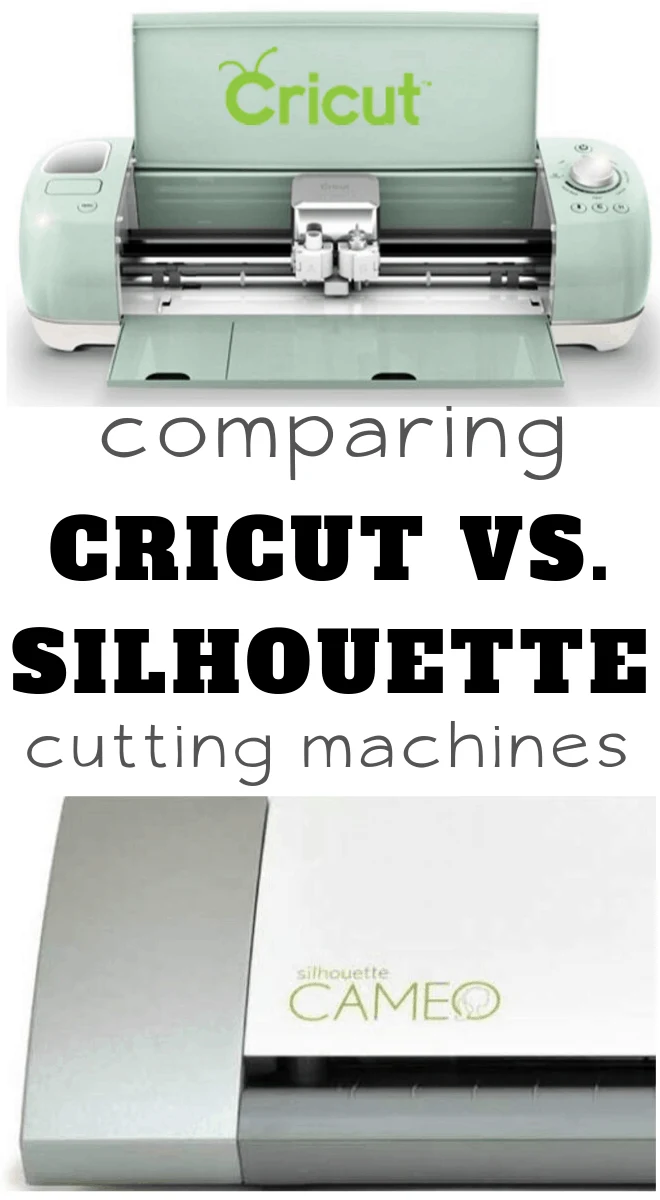
Now I have added to my little family of cut and embossing machines and I’m ready to come out with why I picked a different to try and what the hubub is about each of them. Because they’re both pretty cool–and have some drawbacks worth thinking about.
So, what’s the difference between the Cricut versus Silhouette? Let’s dig in.
Comparing Cutting Machines
Let’s start with the obvious stuff: the screen vs. button situation and the wires–or no need for them.
What’s the most major difference between the Cricut Explore Air 2 vs. Silhouette Cameo 2?
Silhouette Cameo 2 Touchscreen vs. Cricut Explore Air 2 Buttons
The screen…or lack thereof, is the most obvious difference I note right off the bat. On the Cricut Explore Air 2, there are 3 easy buttons that flash when it’s time to push them and get your project going.
On the other hand, the Silhouette Cameo 2, there is a touchscreen that shows 3 buttons. Which I don’t hate, but then again…
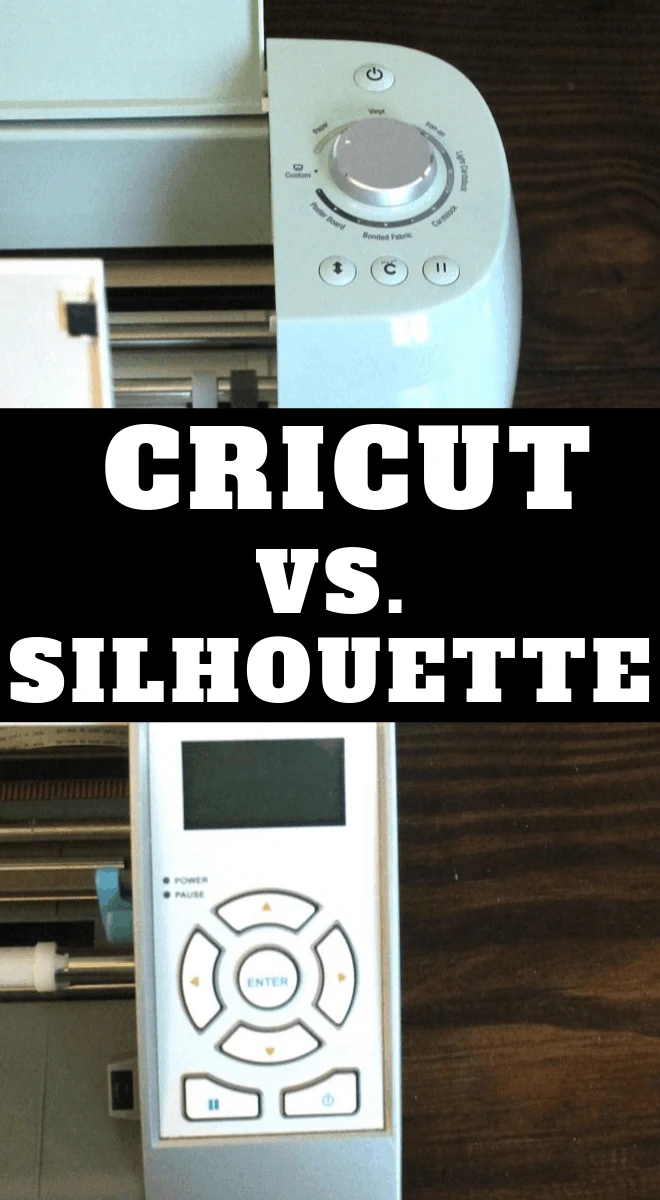
Now, this may seem pretty minor, but in fact, it’s kind of a major difference. The buttons on the Cricut cutting machines flash when the time comes to push each button and they’re lit from underneath, so even if you’re using your Cricut a million times and the button images wear off, the lights underneath never will.
The touchscreen on the Silhouette is a different case, though. You could wear that screen out, crack it, or just bend it out of whack. So, I’m just really careful with it. It’s not covered like on the Silhouette Cameo 3, so even when I store the Silhouette Cameo 2, I am very careful with that touchscreen, because it’s the only way to use your cutting machine.
Does the Cricut Explore Air 2 come with Bluetooth? What about the Silhouette Cameo 2?
The Cricut Explore Air 2 has a bluetooth option (yipppeeee!) for those of us who would prefer to send our cut files via bluetooth and not have to find the USB cord or, gasp, get off our duff to go grab the computer–because it’s so much easier to just use your phone sometimes.
And no, the Silhouette Cameo 2 does not have the option to do bluetooth, so there’s that.
What does this mean? Well, you still have to be WITH your Cricut Explore Air 2 to slide your materials in and push those buttons we were talking about. But the honest truth is, if you have a device that doesn’t accept USB connections, like an iPad or tablet, but still has an internet connection, you can still use the Cricut.
If you want the Cricut machine that I have, you can get it here: Cricut Explore Air 2!
And if you’re cutting fabric for a quick project, having the ease of using my phone comes in so handy.
Because the Silhouette Cameo 2 doesn’t have this capability, you can’t use anything but a computer, laptop or chromebook with USB capabilities.
Now, the Silhouette Cameo 3 does have bluetooth as an option, but I haven’t used it yet, so I’m not sure if the machine works the same or if the Cricut has a longer range, or what might be the differences.
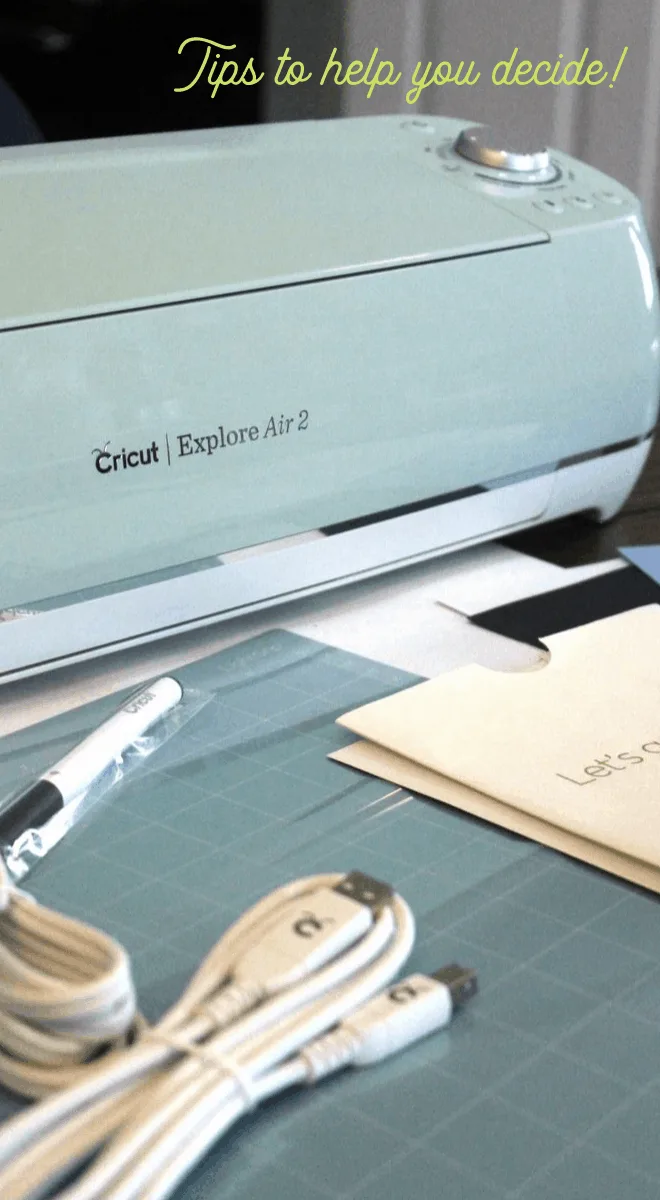
What are the Hidden Differences between the Cricut Explore Air 2 and Silhouette Cameo 2?
What Can the Cricut Explore Air 2 Cut?
The Cricut Explore Air 2 has a cutting strength (or cutting force) of 350 grams. What does that mean? That means that the Cricut Explore Air has 350 grams of cutting power, so it can cut a wide range of materials that have a lower strength. It can obviously cut paper, but an example of some of the other materials the Cricut cuts are:
- Paper/Cardstock (to make cards, for example)
- Tissue paper
- Vinyl (like for making decals)
- Iron-on transfer (what I like to use for t-shirts)
- Lightweight fabric
- Denim
- Leather
- Poster Board
- Burlap
- Birch Wood (yeah, you read that right)
- Canvas
- Duct Tape
- And so many more I’m tired of writing them. You can cut over 100 things with the Cricut Explore Air.
The Cricut machine can cut any of these materials at 12 inches wide by 24 inches long. So, pretty long, considering the wide variety.
If you want the Cricut machine that I have, you can get it here: Cricut Explore Air 2!
What Can the Silhouette Cameo 2 Cut?
The Silhouette Cameo 2 has a cutting strength of 210 grams, so the variety of materials that it can cut are restricted to those which also have a lower strength. An example of these materials are:
- Paper/Cardstock (to make cards, for example)
- Tissue paper
- Vinyl (like for making decals)
- Iron-on transfer (what I like to use for t-shirts)
- Lightweight fabric
The Silhouette machine has a cutting size of 12 inches wide by 10 feet long. So, quite a bit longer than the Cricut.
But one thing that I keep asking myself is: when will I need to cut designs of that length? Maybe for a banner one day? That can’t be segmented?
I don’t know, honestly.
How do the cuts they make compare?
A study was conducted which ran through some pretty typical crafting materials to determine which of these two cutting machines could cut. You can see the results of this study here FYI THIS IS A SHARE A SALE LINK (NOT MINE–SOMEONE ELSE’S) YOU NEED TO REPLACE WITH YOUR TAG, or you can just check out this handy table I put together to summarize it all for you.
| Material | Cricut Explore Air | Silhouette Cameo |
| Foam | Cut | No Cut |
| Cork | Cut | No Cut |
| Leather (Hard and Soft) | Cut | No Cut |
| Chipboard | Cut | No Cut |
| Magnet Sheet | Cut | No Cut |
| Aluminium | Cut | No Cut |
Now, you’re probably like “wait–those were probably really weird materials that were clearly skewed to the Cricut.” I honestly thought the Exact. Same. Thing.
But, when you look into that study, you can clearly see that they went to Hobby Lobby and Michaels, just like you and I would, to buy the exact same materials that we’d buy.
So, I feel like these are pretty trustworthy results, on material I’d actually use.
In fact, I’m almost certain that I’ve used all of these materials crafting at one point or another, so I feel pretty confident that I’ll use ’em all again!
I would like to say that the Silhouette Cameo CAN cut some of these materials, but clearly not at the thickness that the testers used. So, as an example, while you can’t cut a regular magnet sheet on the Silhouette, but you can use Silhouette’s magnetic paper. And there are a lot of options for materials made specifically for the Silhouette (and Cricut) to cut.
Comparing Cutting Machine Software
Now, behind the scenes, there’s a lot more still going on with these two cut machines than you realize when you first buy one.
I’m so glad that I know what I do about graphic design, because, if I hadn’t known just a little bit about that, I would have felt so overwhelmed.
What is Cricut Design Space?
One of the reasons that I am falling a little in love with the Cricut Explore Air 2 is the ease of use with the Cricut Design Space.
Because , even with the little bit of knowledge I have of graphic design, I really enjoy the user-friendly interface and basic design of Cricut Design Space.
Use of Cricut Design Space is completely free. And you can upload your designs that you make outside of the Design Space for free, too.
The files you can upload into the Cricut Design Space are .svg, .png, .dxf, .gif, .bmp and .jpg. Which is basically every file you’d ever want to cut. Ever.
If you want the Cricut machine that I have, you can get it here: Cricut Explore Air 2!
What is Silhouette Studio Designer?
The Silhouette Studio Designer is a little more on the intermediate graphic design side. There are a lot more options and you can create your own designs inside the Designer if you have some graphic design skill.
It’s nice to be able to create things right there and instantly send them to the machine to cut.
But, if you’re like me, you’re probably making things in paint or Adobe. So, making them in Silhouette Studio Designer is almost a duplicating work, which is so not the point of why I wanted the cutting machine in the beginning. So, I just make my designs where I make them, then import them into Studio Designer.
You can download the Silhouette Studio Designer basic version for free and upgrade (at a cost) to the more advanced version, if you want. In either software, you can upload the designs you make for free.
The restrictions are that you can upload only jpg, bmp, and png files to the basic Silhouette Studio Designer version. If you want to use .svg files, you have to upgrade ($50) to the more advanced version. But that is the extent of the file types allowed.
What Else Can Cutting Machines Can Do?
Because these cutting machines are expensive and kind of a specialty item, they have to do more than just cut designs out. I mean, that would just be silly if they only did the one thing.
So, handily enough, they are, in fact, designed to do more than just cut. You can swap out the blade for a marker (and depending on your craft supplies, you may have a marker that fits already).
You can also scan things and then have it cut them.
And, because you need to cut different materials, the blade’s depth can be adjusted.
Let me explain each of these a bit so they make more sense and compare the Silhouette versus the Cricut for each of these awesome other uses for cutting machines.
If you want the Cricut machine that I have, you can get it here: Cricut Explore Air 2!
Print and Draw
With the Cricut and Silhouette, you can swap out the knife blade for a marker. Then you upload your image to the design software applicable to your machine.
Once the design is uploaded, you go through the same steps you would typically follow to cut, but instead of telling it you’re using a knife, you tell it you’re drawing.
The machine will take it from there.
With the material you’ve chosen and the marker, the Cricut or Silhouette will draw your image onto your material with the same speed as it would take to make one pass to cut it.
Then you just remove your drawing from the machine and you’re done!
To make multi-colored drawings, simply weld the items you want with color one, then do a drawing pass with that color, then weld the items you want with color two and do a second pass with that color marker.
By switching out the color of markers, you can make a multi-colored drawing that looks wildly precise.
Because both have this capability, it’s not as much a difference between the Silhouette and Cricut as much as a similarity between the two.
Scan and Cut
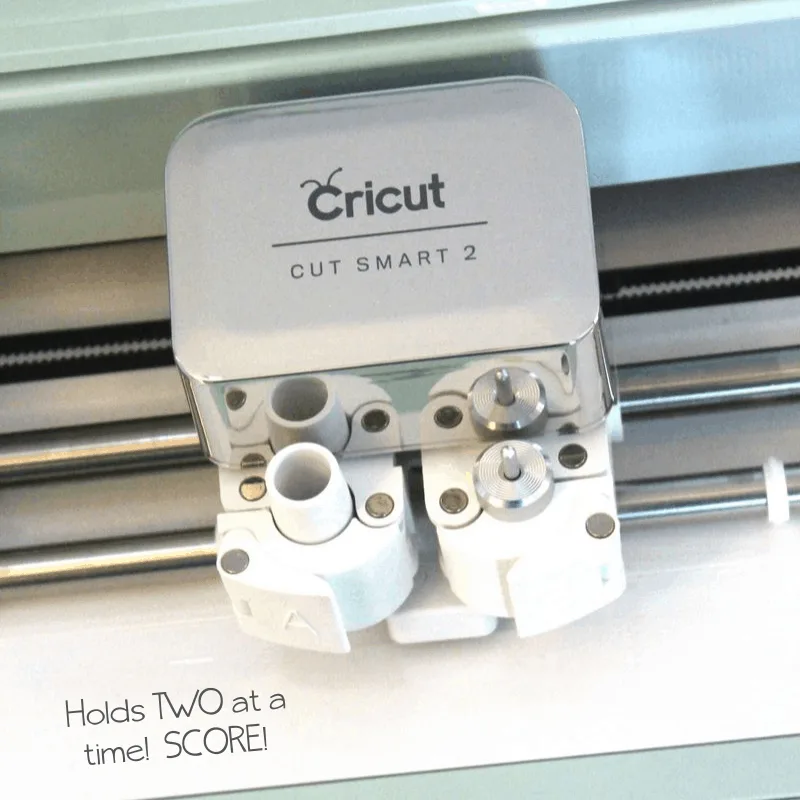
This is a really neat ability that the Cricut and Silhouette cutting machines possess. The Cricut machine uses what’s called Pixscan technology and the Silhouette uses what’s called SnapMat. They’re effectively the same tool, with the same intended result.
So, basically, you take a picture (or scan on your home scanner) an image that you want cut. Then you upload that into the Design Space or Studio Designer, depending on your cutting machine.
Once that’s done, you designate the areas you want trimmed in the software, using the tools provided and load your material into the machine.
Cutting the design is the last step–and probably the quickest!
Again, because both of the machines have the capability to scan and cut a design, this is more of a similarity between the Cricut and Silhouette as opposed to a difference.
Adjust Cutting Depth
Both the Silhouette and Cricut machines are capable of adjusting their blade depth. However, there’s a significant difference in HOW that adjustment is made.
The Silhouette Cameo 2 has an auto-adjust blade, based on the material type you’re cutting. So, you tell the machine what you plan to cut, then it will automatically adjust the depth of the blade according to the settings they have set for that material type.
The drawback of this is that your specific material may be a smidge thicker than the programmers intended. But while this may be the case, running a second cut on the same design can sometimes achieve the result of getting the cut done.
The Cricut, on the other hand, has a wheel that will allow you to set the depth of the blade, depending on your specific material and needs. So, for example, if you know that the faux leather you’re trying to cut is a little stiffer than usual or the chipboard you’re using is a little thicker, you can set the depth of your blade manually to cut a little deeper.
If you want the Cricut machine that I have, you can get it here: Cricut Explore Air 2!
Since the Cricut Explore Air 2 does not have an auto-adjust blade, but has a more powerful cutting capability, the number of passes that the Cricut can make to cut through a material is fewer. Meaning less time spent cutting, more time making fun stuff.
But this ALSO means that you need to have a good feel for what you’re cutting–and a good idea of how deep to set the blade, if you plan on working outside the suggested parameters of the manual.
Quick Side-by-Side Comparison of Cricut versus Silhouette
I hate reading a million words, although I tend to write that many in almost every post. So, if you’re like me, you’ve been scrolling for a minute, looking for a handy-dandy chart to basically summarize the million and a half works on this page.
Friend, I’ve got you covered. Here’s a handy chart for comparing the Cricut and Silhouette machines.
| Cricut Explore Air 2 | Silhouette Cameo 2 | |
| What is the Cut Width? | 12 x 24 inches | 12 inches x 10 feet |
| What is the Cut Force? | 350 grams | 210 grams |
| Can It Cut? | yes | yes |
| Can It Draw? | yes | yes |
| Can It Print & Cut? | yes | yes |
| Make Photograph Designs? | SnapMat | Pixscan |
| Does it Have Autoblade? | no | yes |
| Have a Smart Set Dial? | yes | no |
| Have a Touchscreen? | no | yes |
| Dual Carriage Heads? | yes | yes |
| Is it Bluetooth Compatible? | yes | no |
| Work without Internet? | no | yes |
| What Software Does It Use? | Design Space | Studio Designer |
| How Much Does it Cost? | $199.99 | $199.99 |
| What’s the Amazon Price? | Click Here | Click Here |
Is there a steep learning curve with either machine?
Each of them have their cons and own pros. Either are a good choice, but when it comes to a new machine, it’s important to understand that there might be a bit of a learning curve with both.
The good news is that you don’t have to be a graphic designer to use either one, and both can be used for a long time for a lot of various crafts and other fun items.

So, Which Cutting Machine is Best?
Honestly, you have to make that decision for yourself. There are classes at my local Michaels and JoAnne’s fabrics, and lots of online tutorials that will help the new user become more familiar with the machine, or that will help the potential user decide which machine is right for them.
You can also just ask the nice lady at the craft store. They’re usually into crafting just as much as you (they’re so into it, they work in a craft store for goodness sake). So, you could ask them and see if they have any specific suggestions based on what you’re interested in cutting designs for.
Now, there are other electric cutting machines out there that I’m not familiar with like the Brother ScanNCut, the Sizzix Big Shot die cutting machine, and others, I’m sure. But the Silhouette and Cricut cutting machines seem to be the most popular, for so many reasons.
If you want the Cricut machine that I have, you can get it here: Cricut Explore Air 2!
If you’ve used one of the other machines and have some detail you can provide about how they work, be sure to leave me a comment–I’m really curious how they compare.
Being able to figure out the best cutting machine is a big deal, especially for those who craft a lot.
While I did list the main difference between the two above, it’s fun to hear from people who have used them a lot of time! Cricut users, let me know if you’ve tried both machines!
Deciding between the Cricut vs Silhouette and which is a better option is a fun journey to be on! They’re both a good deal, and it’ll be fun to see of those who have one which one you think the clear winner is.
Are you team silhouette? or are you more of a fan of the Cricut’s products? Both have additional features that make them both great machines.
Focus on the the cutting speed and the design programs to figure out which is best for you. (and also do your research on their customer service to know how helpful they are if something were to go wrong! This is especially important if you’re using this for a small business!)
This is a sponsored conversation written by me on behalf of Cricut. The opinions and text are all mine.

