Easy Homemade Slime Recipes for Kids


Unleash the creativity and curiosity of young minds with the exciting world of homemade slime! Learn how to make slime at home for a great educational activity that captivates kids of all ages. By combining simple ingredients like glue, saline solution, and baking soda, children can embark on a hands-on journey into basic chemistry while having a blast.
Creating slime involves engaging steps like mixing, kneading, and experimenting with colors and textures, fostering sensory exploration and imaginative play. Homemade slime at home offers a perfect avenue for kids to express themselves artistically, enhance fine motor skills, and learn about scientific concepts in a fun and interactive way.

Dive into the fascinating realm of DIY slime-making and watch as young minds light up with wonder and excitement at the magical transformation from ingredients to gooey, stretchy slime creations!
How to make slime at home
Making slime can offer a range of educational benefits for both children and adults alike:
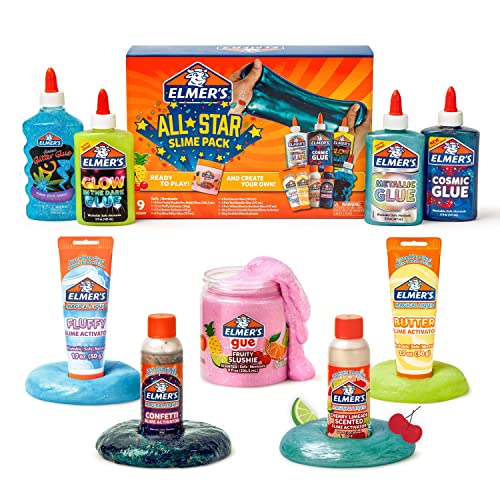
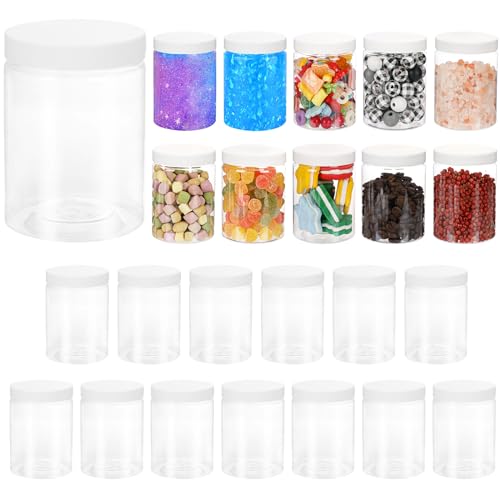
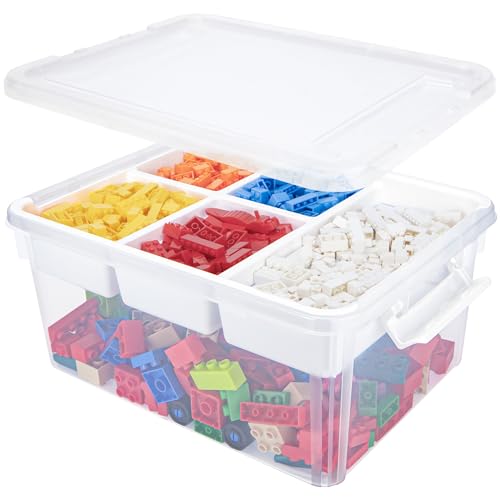
Shop My Homeschool Room:
The following homeschool picks of mine can be found on Etsy or Amazon. Simply click the image that interests you – yes, they do contain affiliate links.


- Sensory Play: Making slime involves tactile sensations like squishing, stretching, and shaping the gooey substance. This hands-on experience can help individuals, especially children, develop sensory processing skills, improve fine motor skills, and enhance sensory exploration.
- Creativity: Crafting slime at home allows for endless possibilities in terms of colors, textures, and add-ins. This creative process encourages individuals to experiment, innovate, and express themselves artistically. It fosters imaginative thinking and problem-solving skills as they explore different combinations and effects.
- Basic Chemistry Understanding: Slime-making involves simple chemical reactions between ingredients like glue, borax, or saline solution. This activity allows individuals to learn about concepts such as polymers, cross-linking, viscosity, and non-Newtonian fluids in a practical and fun way. It provides a hands-on introduction to basic chemistry principles in a safe and engaging environment.
Slime can be a valuable educational tool promoting sensory development, creativity, and understanding fundamental scientific concepts.
Classic Slime Recipe
- 1/2 cup PVA glue
- 1/2 teaspoon baking soda
- 1 tablespoon saline solution
Step-by-Step Guide:
- Prepare Your Workspace: Cover your work area with a protective surface to avoid a mess. Wash your hands before starting.
- Mix Glue and Baking Soda: Pour 1/2 cup of PVA glue into a mixing bowl. Add 1/2 teaspoon of baking soda to the glue. Mix well until the baking soda is evenly distributed.
- Add Saline Solution: Add one tablespoon of saline solution to the glue mixture. Stir continuously as you pour in the saline solution.
- Stir and Knead: Keep stirring the mixture until it starts coming together and becomes harder to mix. At this point, you can start kneading the slime with your hands to help it fully form.
- Adjust Consistency: If the slime is too sticky, add a few drops of saline solution and knead it in. If it’s too stiff, add a drop or two of glue and continue kneading until you reach your desired consistency.
- Play and Store: Once the slime is ready, have fun playing with it! Store it in an airtight container when not in use to keep it fresh.


Safety Tips:
- Always supervise children during slime-making because small parts could be a choking hazard.
- Avoid getting slime in your eyes, mouth, or on clothes. Wash hands after playing with slime.
- If skin irritation occurs, discontinue use immediately.
Variations:
- Color: Add a few drops of food coloring or acrylic paint to the glue mixture to create colorful slime.
- Texture: For a unique sensory experience, experiment with different textures by adding foam beads, glitter, or confetti to the slime mixture.
Enjoy creating your classic slime using this simple recipe, and don’t hesitate to get creative with colors and textures for a personalized touch!

Edible Slime Options
Marshmallow Edible Slime
Ingredients:
- 1 cup mini marshmallows
- 1 tablespoon coconut oil or vegetable oil
- Food coloring (optional)
Would you like to save this?
Step-by-Step Guide to Making Slime at Home:
- Melt Marshmallows: In a microwave-safe bowl, heat the mini marshmallows in short intervals until they are fully melted. Stir in between each interval to ensure even melting.
- Add Oil: Add 1 tablespoon of coconut or vegetable oil once the marshmallows are melted. Mix well until the oil is fully incorporated.
- Color Your Slime: If desired, add a few drops of food coloring to the mixture and stir until you achieve your desired color.
- Let it Cool: Allow the mixture to cool slightly before handling. It will initially be sticky but become less sticky as it cools down.
- Play and Enjoy: Have fun playing with this edible slime! It’s safe for kids of all ages and can be a tasty sensory experience.
Cornstarch Edible Slime
Ingredients:
- 1 cup cornstarch
- 1/2 cup powdered sugar
- 3/4 cup water
- Food coloring (optional)
Step-by-Step Guide:
- Mix Dry Ingredients: Combine 1 cup of cornstarch and 1/2 cup of powdered sugar in a bowl. Mix well.
- Add Water: Slowly pour 3/4 cup of water into the dry mixture. Stir continuously as you incorporate the water into the dry ingredients.
- Color Your Slime: Add a few drops of food coloring to the mixture if you want to give it some color. Mix until the color is evenly distributed.
- Adjust Consistency: If the slime is too runny, add more cornstarch. If it’s too thick, add more water until you reach the desired consistency.
- Play and Explore: This cornstarch edible slime is safe for little ones to play with and taste. Enjoy a worry-free sensory playtime with this fun recipe.
These edible slime at home recipes provide a safe and enjoyable sensory experience for younger kids, allowing them to explore and play without concerns. Have a blast creating and playing with these fun and non-toxic slime options!


Science Behind the Slime
Several fascinating chemical reactions occur when making slime, particularly when using recipes involving ingredients like PVA glue and borax or saline solution. Here’s a simplified explanation to enhance the slime-making experience:
Formation of Polymer Chains:
- PVA Glue: Polyvinyl acetate (PVA) glue is a polymer with many repeating units called monomers. A chemical reaction occurs when you mix PVA glue with a cross-linking agent like borax, saline solution, or baking soda.
- Cross-Linking: The borate ions in borax or the boric acid in saline solution interact with the hydroxyl groups in the PVA molecules. This interaction links the PVA molecules through bridges, forming a 3D network of polymer chains.
- Viscoelastic Properties: As the polymer chains intertwine, they create a substance with viscous (liquid-like) and elastic (solid-like) properties. This gives slime a unique texture that can stretch, squish, and flow like a liquid while maintaining its shape.
Mini Educational Lesson:
- Polymers: Explain to participants that polymers are large molecules of repeating subunits known as monomers. In the case of slime, the PVA molecules form long polymer chains when cross-linked by the borate ions or boric acid.
- Non-Newtonian Fluid: Slime exhibits non-Newtonian fluid behavior, meaning its viscosity changes under stress. When you apply force to slime by stretching or squishing it, the polymer chains align differently, causing the slime to behave like a liquid and a solid.
By understanding these basic chemical reactions, participants can appreciate the science behind slime-making and how simple ingredients can come together to form a fascinating and interactive polymer creation. It adds a fun educational element to the sensory play experience!
Cleanup and Storage Tips
- Use Natural Cleaning Solutions: To remove slime residue from surfaces, use natural cleaning solutions like warm water and vinegar or mild dish soap. These solutions are effective without harsh chemicals.
- Soak and Wipe: Apply the cleaning solution to the affected area and let it soak for a few minutes to loosen the slime. Then, gently wipe away the slime with a damp cloth or sponge. Repeat as needed until the surface is clean.
- Avoid Drains: To prevent clogs, do not wash large quantities of slime down the drain. Instead, dispose of excess slime in the trash before cleaning up.

Storing Slime to Keep It Fresh:
- Airtight Containers: Store slime in airtight containers to prevent it from drying out. Mason jars, plastic containers with secure lids, or resealable bags work well for storing slime.
- Avoid Direct Sunlight: Keep slime away from direct sunlight and store it in a cool, dry place. Sunlight and heat can cause slime to become sticky and lose its texture over time.
- Separate Colors: If you have different colored slimes, store them separately or in individual containers to prevent color mixing and maintain their vibrant hues.
- Refresh with Moisture: If stored slime starts to dry, add a few drops of water or saline solution and knead it to restore its stretchiness and consistency.
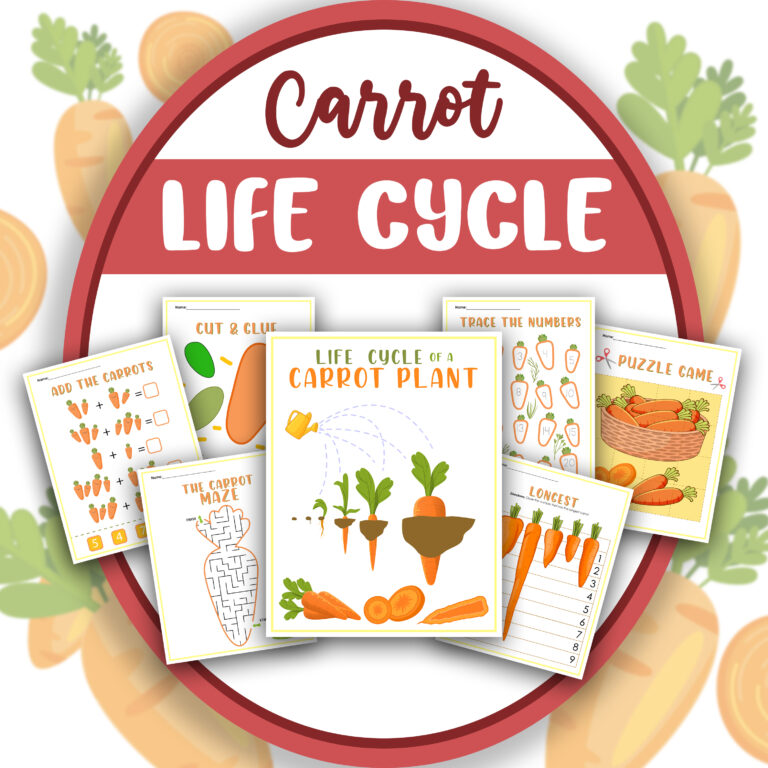
Learning Printables and Activities
These are excellent resources for kids! They’ll love being a part of the learning process from start to finish.