How to Organize Recipes in a Binder Without the Clutter
Organizing recipes in a binder should make dinner easier, not give you another beautiful project that nobody wants to maintain. A useful recipe binder gives loose printouts, magazine pages, and frequently used family recipes one dependable home. If you are still deciding which kind of system you need, start with my complete recipe organization guide.
I keep the bulk of my working recipe collection digitally now, but paper still has a place in my kitchen. Some recipes are easier to use on a full page, while a few handwritten family recipes are too meaningful to treat like ordinary printouts. The trick is to build a binder for recipes you actually cook, while protecting irreplaceable originals somewhere safer.
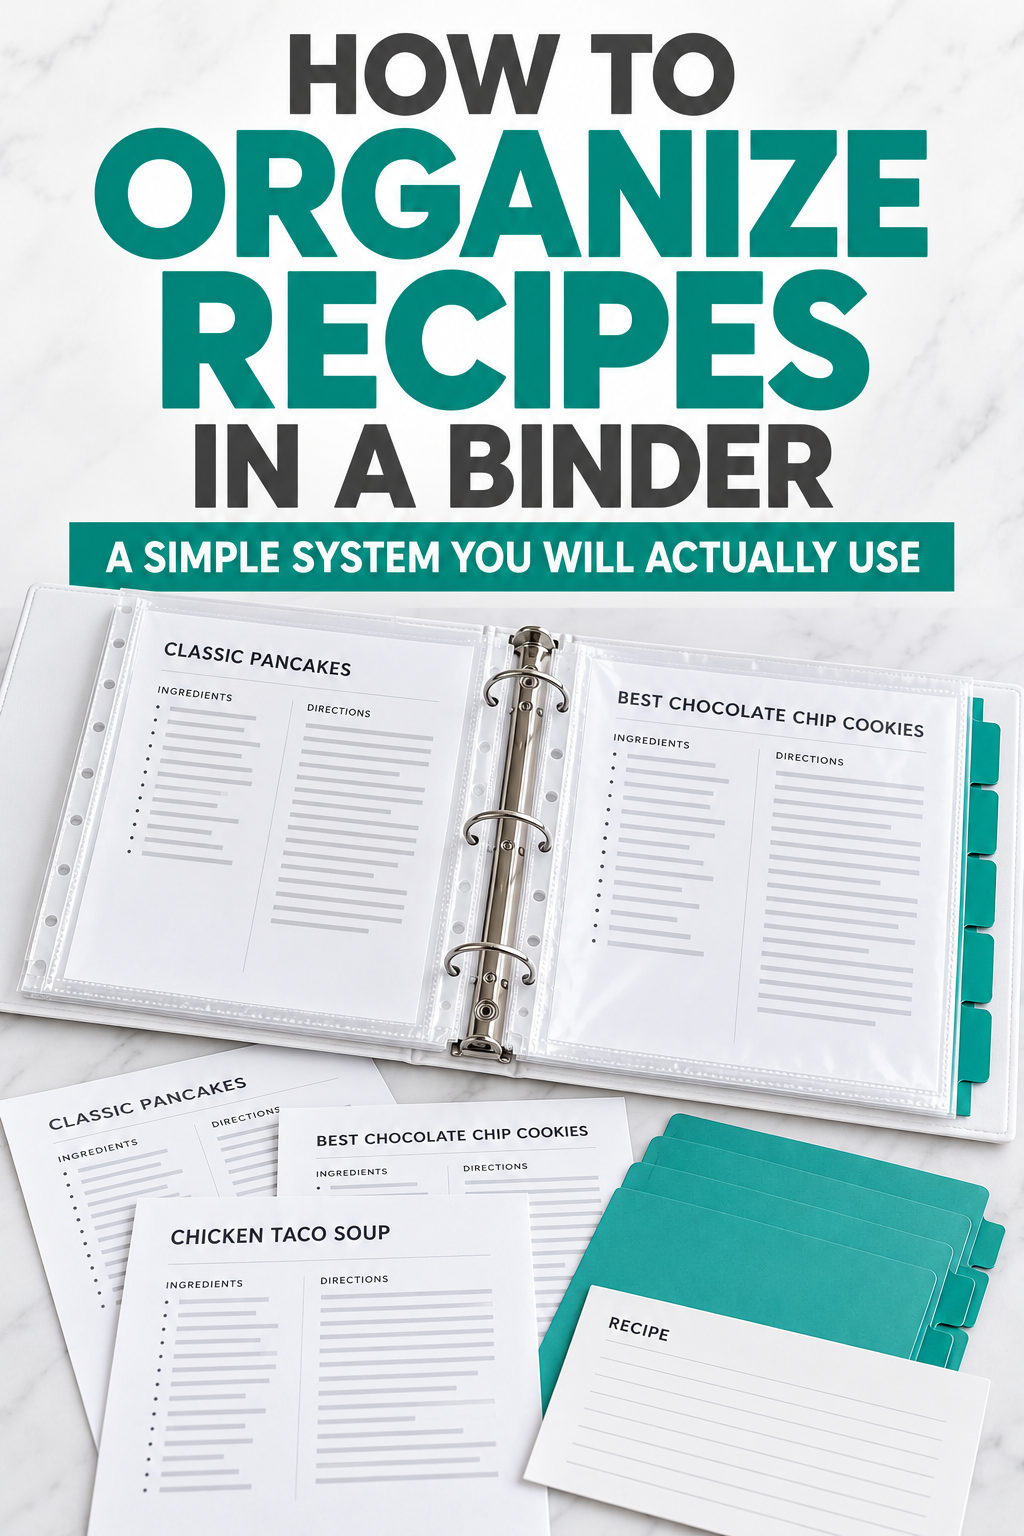
You do not need scrapbook paper, coordinated stickers, or hours of free time. You need a binder that opens flat, categories that match the way your family eats, and a five-minute routine for filing new recipes before they become kitchen clutter.
What Problem Should a Recipe Binder Solve?
A binder works best for paper recipes you want to cook again. It is not automatically the right home for every recipe you have saved, every cookbook you own, or every handwritten card passed down through your family.
- Printed recipes you use often
- Magazine or newspaper recipes worth keeping
- Family recipes that have been typed or copied
- Meal ideas with your handwritten changes
- Recipes waiting to be tested before you save them digitally
The binder test
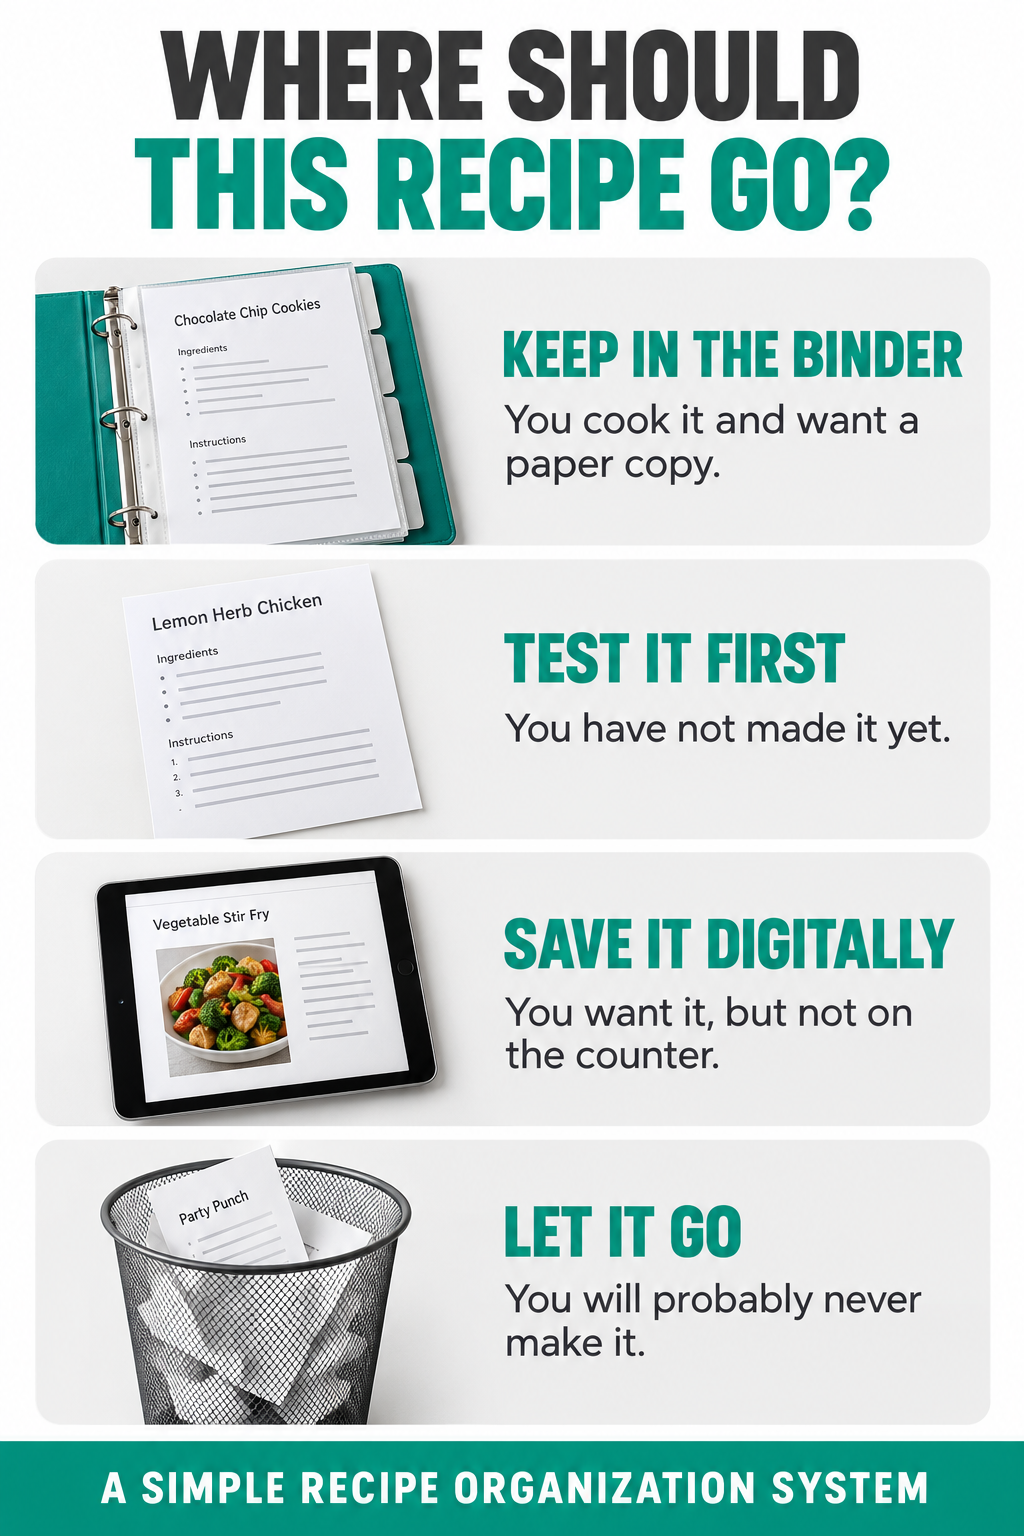
If you can imagine cooking the recipe within the next year, it can earn a place in the binder. If you are keeping it only because you might want it someday, save it digitally or let it go.
Choose a Binder That Can Handle a Real Kitchen
A standard three-ring binder is usually more practical than a specialty recipe album because you can add pages, rearrange categories, and replace damaged sleeves. Choose one that is sturdy enough to stand on a shelf but not so large that it becomes heavy and awkward on the counter.
A two-inch binder is a sensible starting point
A one-inch binder fills quickly. A three-inch binder can become a dumping ground. Starting with two inches gives you room for a useful collection without encouraging you to save everything.
Use wipeable page protectors
Full-page protectors keep flour, grease, and wet hands away from recipes. They also let you store a printed recipe without punching holes through it. For small cards, use photo-pocket pages or attach a copy to a full sheet of paper before sliding it into a protector.
The Best Recipe Binder Categories
The best categories are the ones you can choose without stopping to debate where a recipe belongs. Start broad. You can always add a divider later if one section becomes difficult to use.
- Breakfast for pancakes, casseroles, muffins, and brunch dishes
- Appetizers and snacks for dips, finger foods, and party recipes
- Main dishes for beef, pork, poultry, seafood, and meatless meals
- Soups and salads for lighter meals and make-ahead options
- Side dishes for vegetables, rice, potatoes, and breads
- Desserts for cakes, cookies, pies, candy, and other treats
- Family favorites for the recipes people request by name
If your family cooks by method, categories such as slow cooker, air fryer, freezer meals, and thirty-minute meals may be more useful than traditional cookbook sections. Organize around how you search, not how someone else thinks a cookbook should look.
How to Organize Loose Recipes Step by Step
- Gather every loose recipe. Check drawers, cookbooks, the refrigerator, and the stack near your printer.
- Remove obvious trash. Recycle duplicates, recipes you disliked, and pages you cannot imagine using.
- Separate keepsakes from working recipes. Handwritten originals and fragile family papers need archival storage, not daily kitchen use.
- Make one test pile. Give untried recipes a temporary section instead of filing them permanently.
- Sort the keepers into broad categories. Do this before buying or labeling dividers.
- Place each recipe in a sleeve. Add your changes, ratings, and the date you last made it.
- Create a short index. List the recipe name and section so family members can find what they need.
Would you like to save this?
What to Do With Handwritten Family Recipes
I own a few handwritten recipes that are sacred to me. One is my Meema’s broccoli rice casserole, scribbled on a small piece of notebook paper. My paternal grandmother really could not cook, but that was the one dish everyone requested. I copied it into my own recipe box, but I still have her original paper.
When I first got married, I sat with my maternal grandmother for hours and copied recipes from her box onto blank cards. I had been married twenty years before she finally gave me the secret family recipes. One of those was written in her oldest sister’s hand. Those are not ordinary pieces of paper, and I would not put the only originals into a binder that gets handled beside dinner.
Protect the original. Use the copy.
- Scan or photograph both sides of the original.
- Save the full-resolution file in at least two places.
- Print a working copy for the binder.
- Store the original in an acid-free sleeve or archival box.
- Write down who created the recipe and why it matters.
If you want to turn selected copies into a meaningful gift, see the scrapbook recipe book I made for my sister-in-law Ravan. That project is for the recipes with a story. The everyday binder has a different job.
Use a Test Section to Stop Recipe Clutter
The most important divider may be one labeled Try Next. Put new printouts there instead of sorting them into permanent categories. Once you make a recipe, decide immediately whether it deserves a place in the binder.
- Keep: Your family liked it and you expect to make it again.
- Revise: It needs changes, so write them down before filing it.
- Digitize: It is worth saving but does not need counter space.
- Discard: Nobody liked it or it was not worth the effort.
When a Digital Recipe Organizer Works Better
A binder is excellent for a focused physical collection, but it is not how I manage the bulk of our meals anymore. I use Plan to Eat for my everyday recipe organization. I can plan on my computer, check everything on my phone, show the meal plan on our Skylight through Google Calendar, and send ingredients to Walmart or Instacart.
That gives each format a clear purpose. The binder holds the paper recipes I want available in the kitchen. My recipe box protects a few meaningful cards. Plan to Eat holds the larger working collection and turns those recipes into a meal plan and shopping list.
How to Keep the Binder Organized
A recipe binder fails when filing becomes harder than adding another page to the nearest pocket. Keep the maintenance routine small enough to repeat.
- File loose recipes once a month.
- Remove one unused recipe whenever a section becomes crowded.
- Write your changes directly on the working copy.
- Move proven everyday recipes into your digital system if that makes planning easier.
- Review the test section before printing anything new.
A good binder is not the one with the prettiest dividers. It is the one your family can open, understand, and use without asking where everything belongs.