
Flag Finger Painting Craft


Work on patriotic fun and fine motor skills with this Flag Finger Painting Craft! It’s great for little hands to dig in, with creative, messy play! Perfect for red, white, and blue activities and a simple DIY craft.
Use this fun patriotic craft as a DIY home decor idea, or put on some old clothes and let the kids have fun. They’ll be impressed with their ability to be so creative!

I love having craft ideas like this that can be started at any point in time. All you need are a few simple supplies to get started – and the finger paint flag will be done and ready in no time at all!
How can I make finger painting for kids less messy?
Finger painting can be a wonderfully creative activity for kids, but the mess can sometimes be a bit overwhelming. Here are some tips to keep the mess under control while still letting the kids have fun:
- Use a Drop Cloth or Old Sheet: Lay down a plastic tablecloth, an old sheet, or even newspapers to protect your floors and tables.
- Dress for the Mess: Have kids wear old clothes or an art smock. You can also use oversized t-shirts as makeshift aprons.
- Contain the Paint: Use small, shallow containers or muffin tins to hold the paint, minimizing spills.
- Pre-Set Boundaries: Tape the paper to the table or surface to keep it from sliding around.
- Use Washable Paints: Opt for non-toxic, washable paints that are easy to clean off skin and surfaces.
- Wet Wipes and Towels on Hand: Keep a stack of wet wipes or a damp cloth nearby for quick clean-ups.
- Limit the Paint: Give kids small amounts of paint at a time to minimize the risk of large spills.
- Glove It Up: If the kids are okay with it, let them wear disposable gloves to keep their hands clean.
- Outdoor Fun: If the weather permits, take the activity outside where cleanup is easier.
- Set a Cleanup Station: Have a bucket of soapy water or a sink ready for washing hands and tools immediately after the activity.
With these tips, you can make finger painting a fun and less stressful experience for everyone involved!
This post contains affiliate links, which means I earn a commission when anything is bought. This is at no additional cost to you.
Shop My Homeschool Room:
The following homeschool picks of mine can be found on Etsy or Amazon. Simply click the image that interests you – yes, they do contain affiliate links.


Supplies needed for this preschool flag craft:
- Painters Tape
- White construction paper
- Newspaper or other scrap paper
- Red Paint
- Paint brushes
- Blue Construction Paper
- Star stickers


How long does it take for finger paints to dry on paper?
The drying time for finger paints on paper can vary depending on a few factors, but generally, it takes 1 to 2 hours for the paint to dry to the touch. Here are some factors that can influence drying time:
- Thickness of Paint: If the paint is applied in thick layers, it may take longer, up to several hours or even overnight.
- Type of Paper: Thicker, more absorbent paper (like cardstock) may dry faster than glossy or non-porous paper.
- Humidity and Temperature: In a warm, dry environment, paint dries faster. High humidity can slow down the process.
- Type of Paint: Some washable or non-toxic finger paints are designed to dry quickly, while others may take a bit longer.
If you’re in a hurry, you can speed up the drying process by placing the artwork in a well-ventilated area or using a fan to circulate air around it. Avoid using heat sources like hair dryers, as they may cause the paint to crack or warp the paper.
How should I display the painted flag?
Displaying your painted flag can be a fun and creative way to showcase your kids’ artwork and celebrate the Fourth of July! Here are some ideas to proudly display the masterpiece:
Frame It
- Place the flag in a simple frame to give it a polished look. You can use a clear acrylic frame or a shadow box for added depth.
- Hang it on a wall or prop it up on a mantel or shelf.
Would you like to save this?
Hang It Like a Banner
- Punch holes in the corners of the paper and thread a ribbon or string through them.
- Hang it on a wall, door, or even outside on a porch for a festive touch.
Create a Gallery Wall
- Add the flag to a collection of other patriotic crafts or family photos to create a themed gallery wall.
Use a Clipboard
- Clip the flag onto a decorative clipboard and hang it on the wall. This makes it easy to swap out artwork for future projects.
Attach It to a Stick
- Tape or glue the flag to a wooden dowel or stick to create the illusion of a real flag.
- Kids can wave it around during celebrations, or you can place it in a vase or jar for display.
Laminate It
- Laminate the flag to preserve it and use it as a placemat for holiday meals or picnics.
Pin It to a Corkboard
- Use push pins to display the flag on a corkboard in your home or classroom.
Decorate Outdoor Spaces
- If the paint is weather-resistant, you can hang the flag on a fence, gate, or front door to greet guests.
Create a Patriotic Collage
- Combine the flag with other crafts, such as stars or fireworks, to create a larger piece of art.
Gift It
- Frame or laminate the flag and give it as a gift to grandparents, teachers, or friends as a keepsake.
These ideas not only display the artwork beautifully but also make it a memorable part of your Fourth of July celebrations!
Summer Learning Printable Activities
Check out these fun summer worksheets for the kids! Excellent to combat the summer slide!


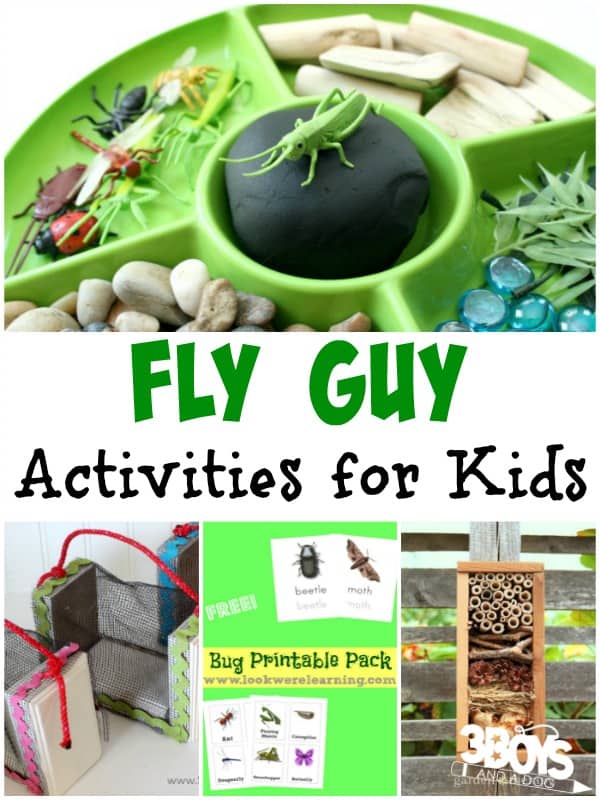
More Fun Crafts for Kids

Flag Finger Painting Craft
Materials
- Painters Tape
- White construction paper
- Newspaper or other scrap paper
- Red Paint
- Paint brushes
- Blue Construction Paper
- Star stickers
Instructions
- Tape the white construction paper onto the newspaper.
- Put the painters tape in rows on the white paper to make sections like the flag has.
- Let your little one paint the entire paper with the red paint. (even have them paint right over the painters tape, too!)
- After the stripes are all painted in, allow the project to dry for about 20-30 minutes.
- Then CAREFULLY pull up the painter’s tape. It will take the top “layer” of paper off, but that’s okay! I found if you pull back at an angle, the paper tears less.
- After you’re all done removing the painter’s tape, glue on a square of blue construction paper in the corner.
- Add the star stickers – and you're done!


2 Comments