
How are the raspberries looking in your neck of the woods? They are ripe and ready for the picking here in Pennsylvania. My mother in law was kind enough to pick a bunch for me last week, but by the time they made it home… they were a little mushy. Of course, my preschool kids would not even THINK about touching mushy raspberries, so I set out to find a recipe to make some raspberry jam.
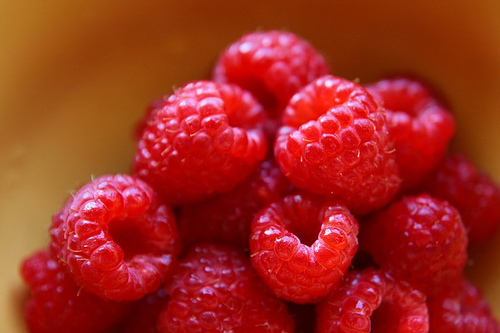
Flickr Photo: All rights reserved by memm74
I found a super simple recipe over at Epicurious and was shocked to find you only need two ingredients: sugar and raspberries!
I set little Monkey up on the counter and away we went! I love spending time in the kitchen with the kids. One of the benefits of homeschooling is the freedom to experience some “old-fashioned traditions” on a regular basis.
Well, here we go!
What You Need:
- Equal parts raspberries and sugar (recipe suggests 4 cups of each)
- Oven safe bowl
- Potato Masher
- Spoon
- Sterilized Jars
What You Do:
Now, you can leave it to me to botch up a super simple recipe. It seems I never have the right ingredients or enough of the right ingredient. I’ve adopted a sort of “make do” attitude… and let me tell you, it doesn’t always pay off. 🙂 In this case, things turned out quite nicely in the end, but you’ll have to follow along to get the full details!
To begin, we measured 4 cups of sugar into a bowl. Be sure to let your little one count as you dump in the sugar. We used a 1/2 cup, so Monkey could get a little extra practice. I was really surprised to find he can count all the way to seven! We put the bowl in a 250 degree oven, because as the recipe tells us, warm sugar mixes in better with the berries.

After the sugar, we measured out the berries. Now, in retrospect, I probably should have done this first. The recipe seems to be a 1:1 ratio, and as you can see, I only have about 2 1/2 cups of berries. Oops.
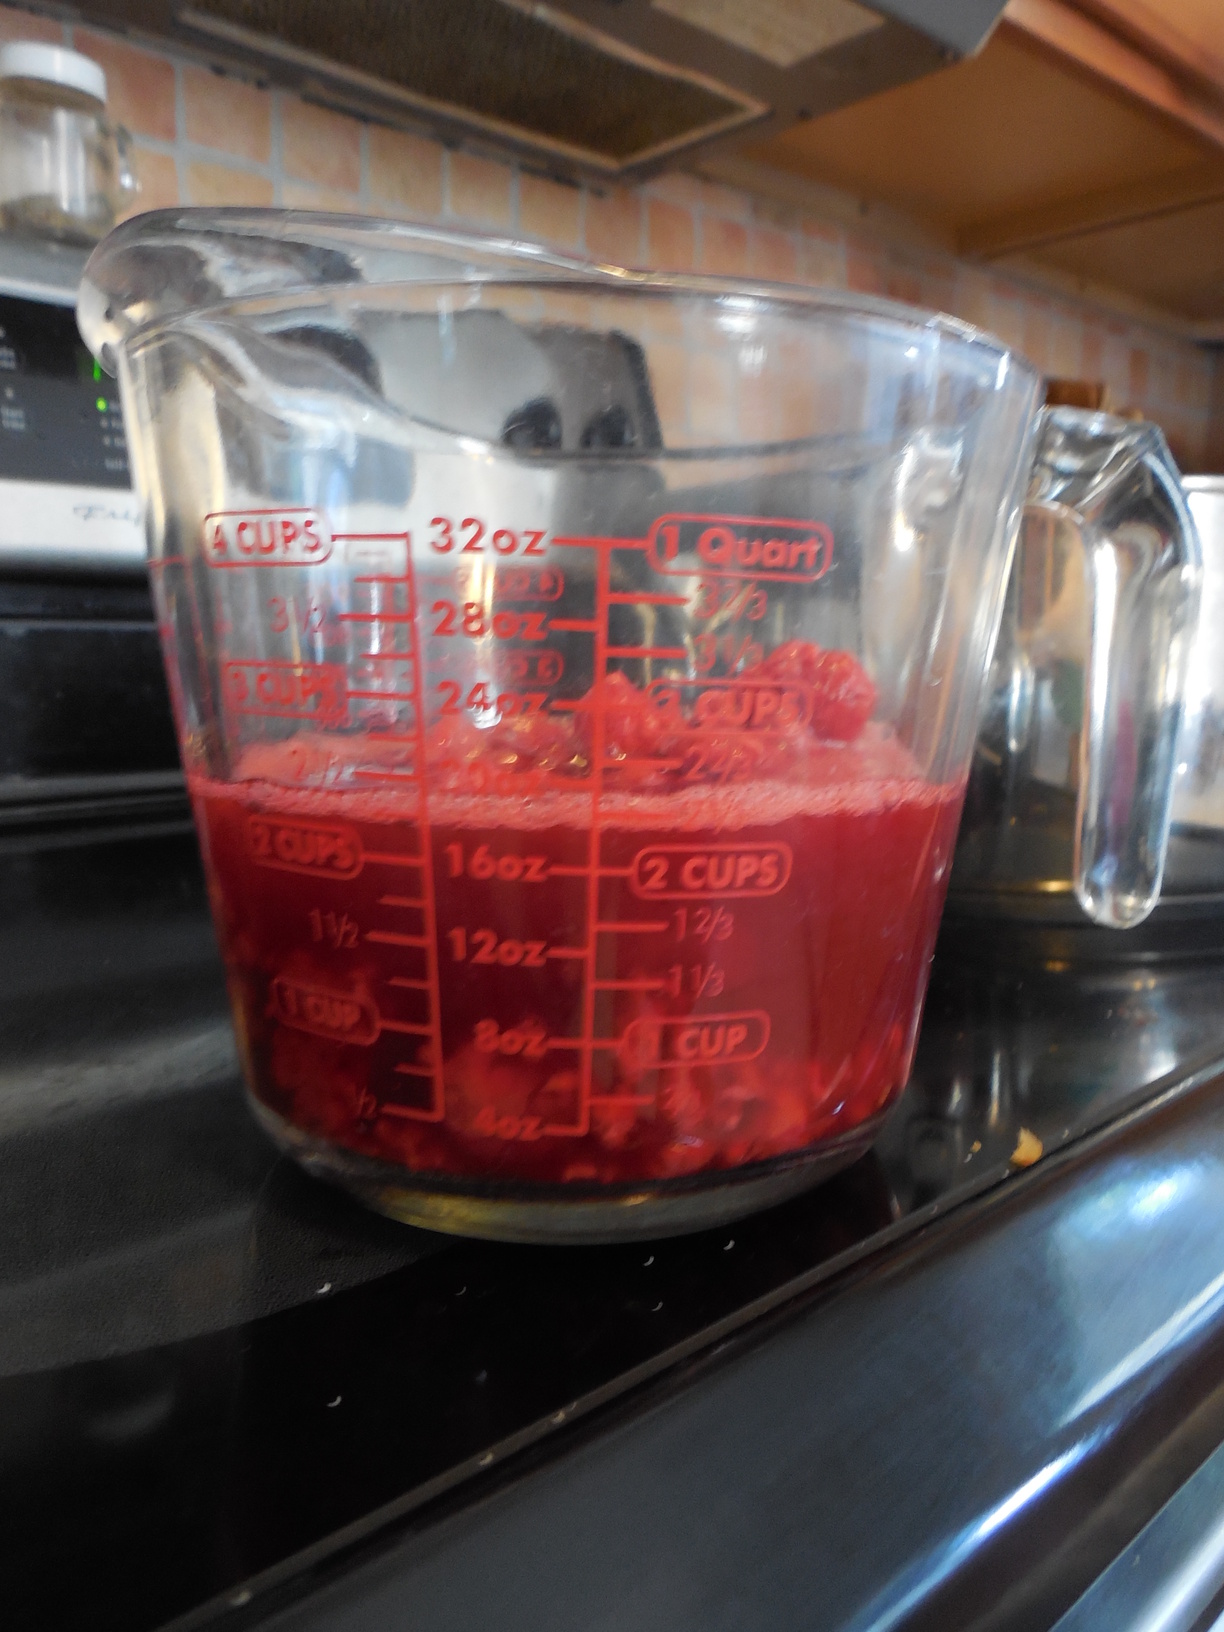
Never fear! I just added in some blueberries and took about 1 cup of sugar out of the bowl we just stuck in the oven. Onward!
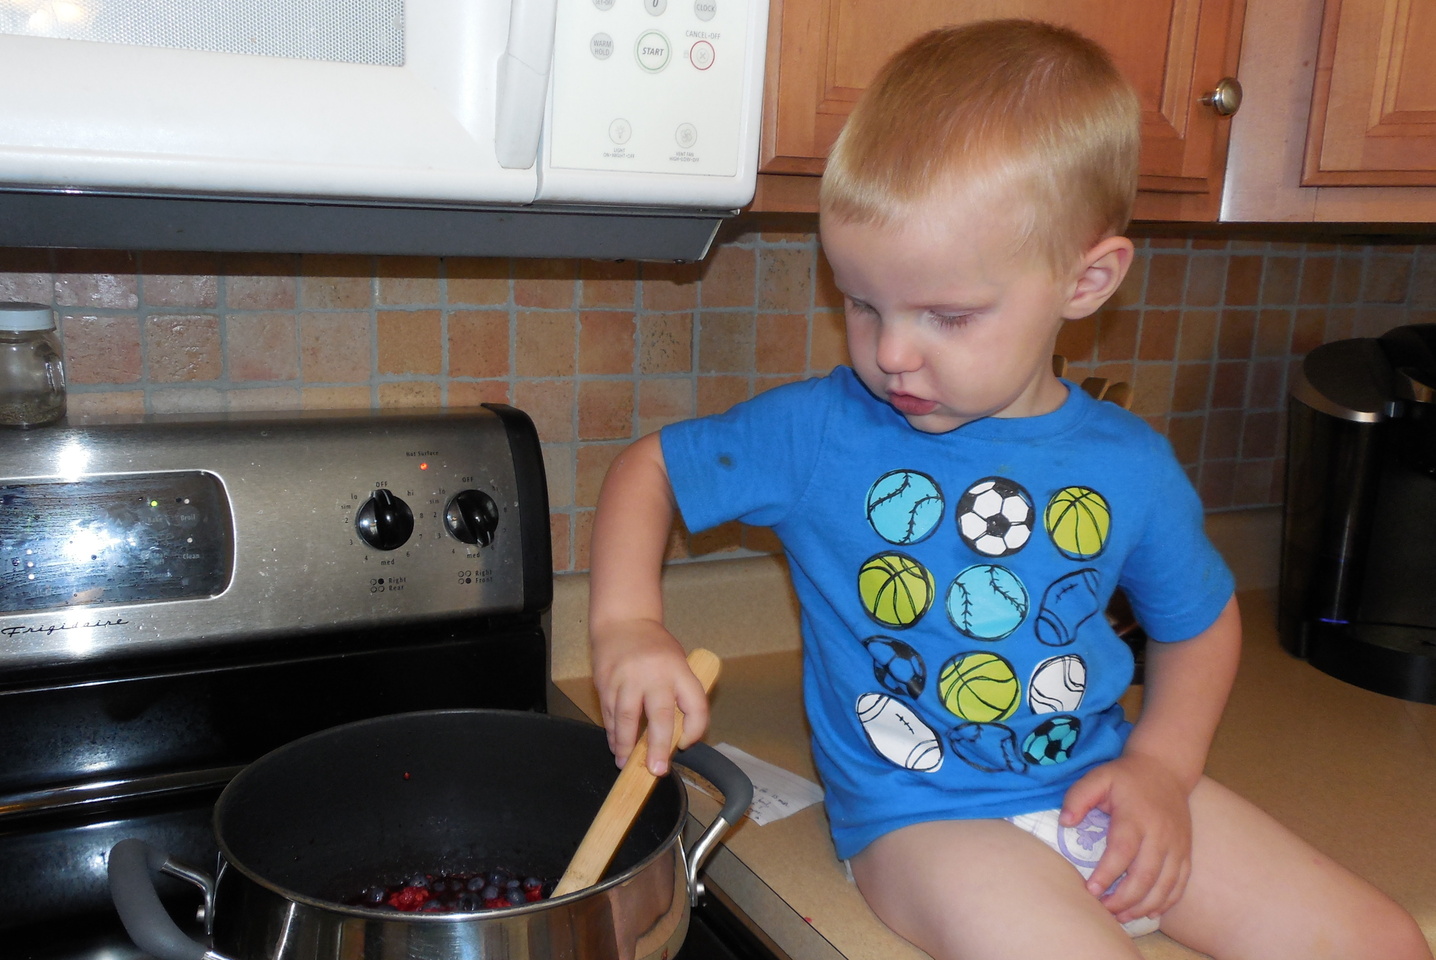
After the berries are measured, put them in a pot and heat to boiling. You should mash as the berries heat. I do not have a potato masher, so I used my pastry blender. I’m still not sure if this was a good idea or not. Keep stirring and bring the berries to a hard boil and boil for one minute.
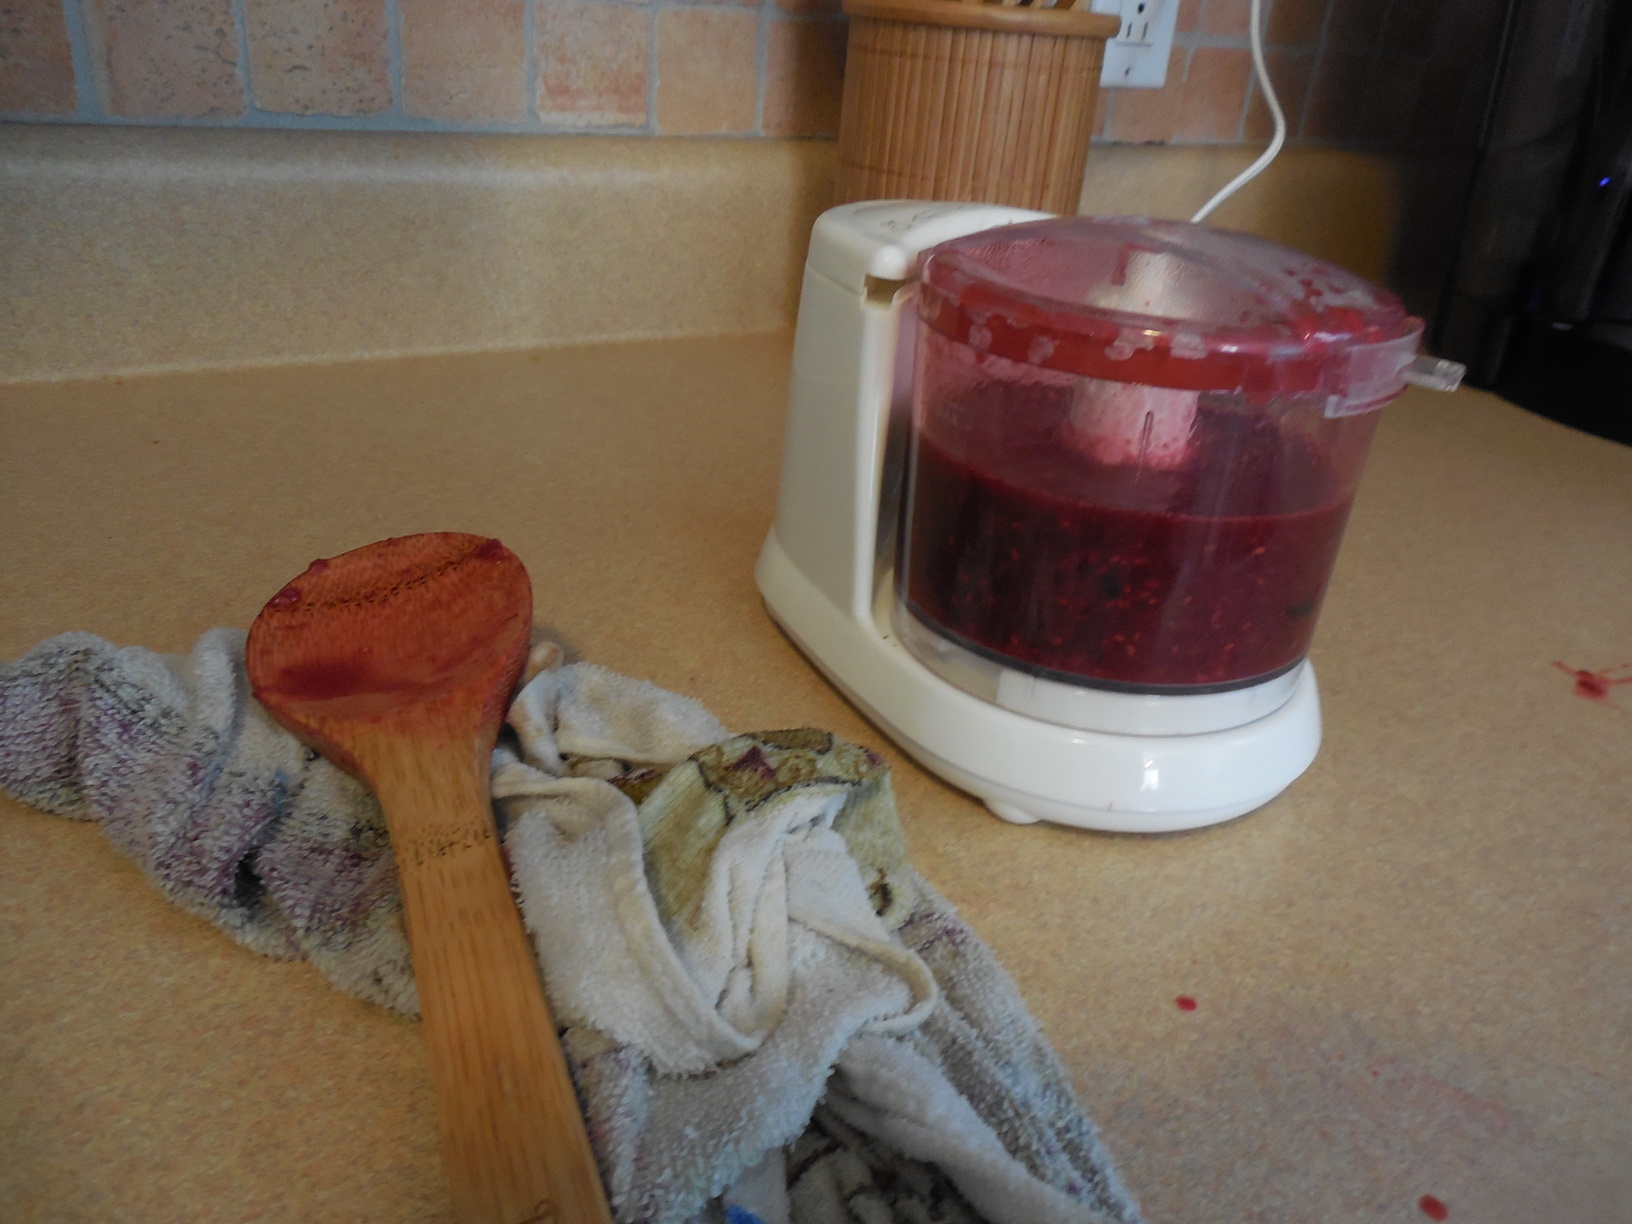
At this point, I noticed the blueberries hadn’t really mashed up, so I had to mix them in my mini chopper by batches. You, I’m sure, will follow the recipe, so you won’t have to worry about this step. 🙂
If you have older kids, you could talk about about why the raspberries mashed up but the blueberries did not. My 2 year old Monkey was not interested in such discussions.
Okay, back in the pot!
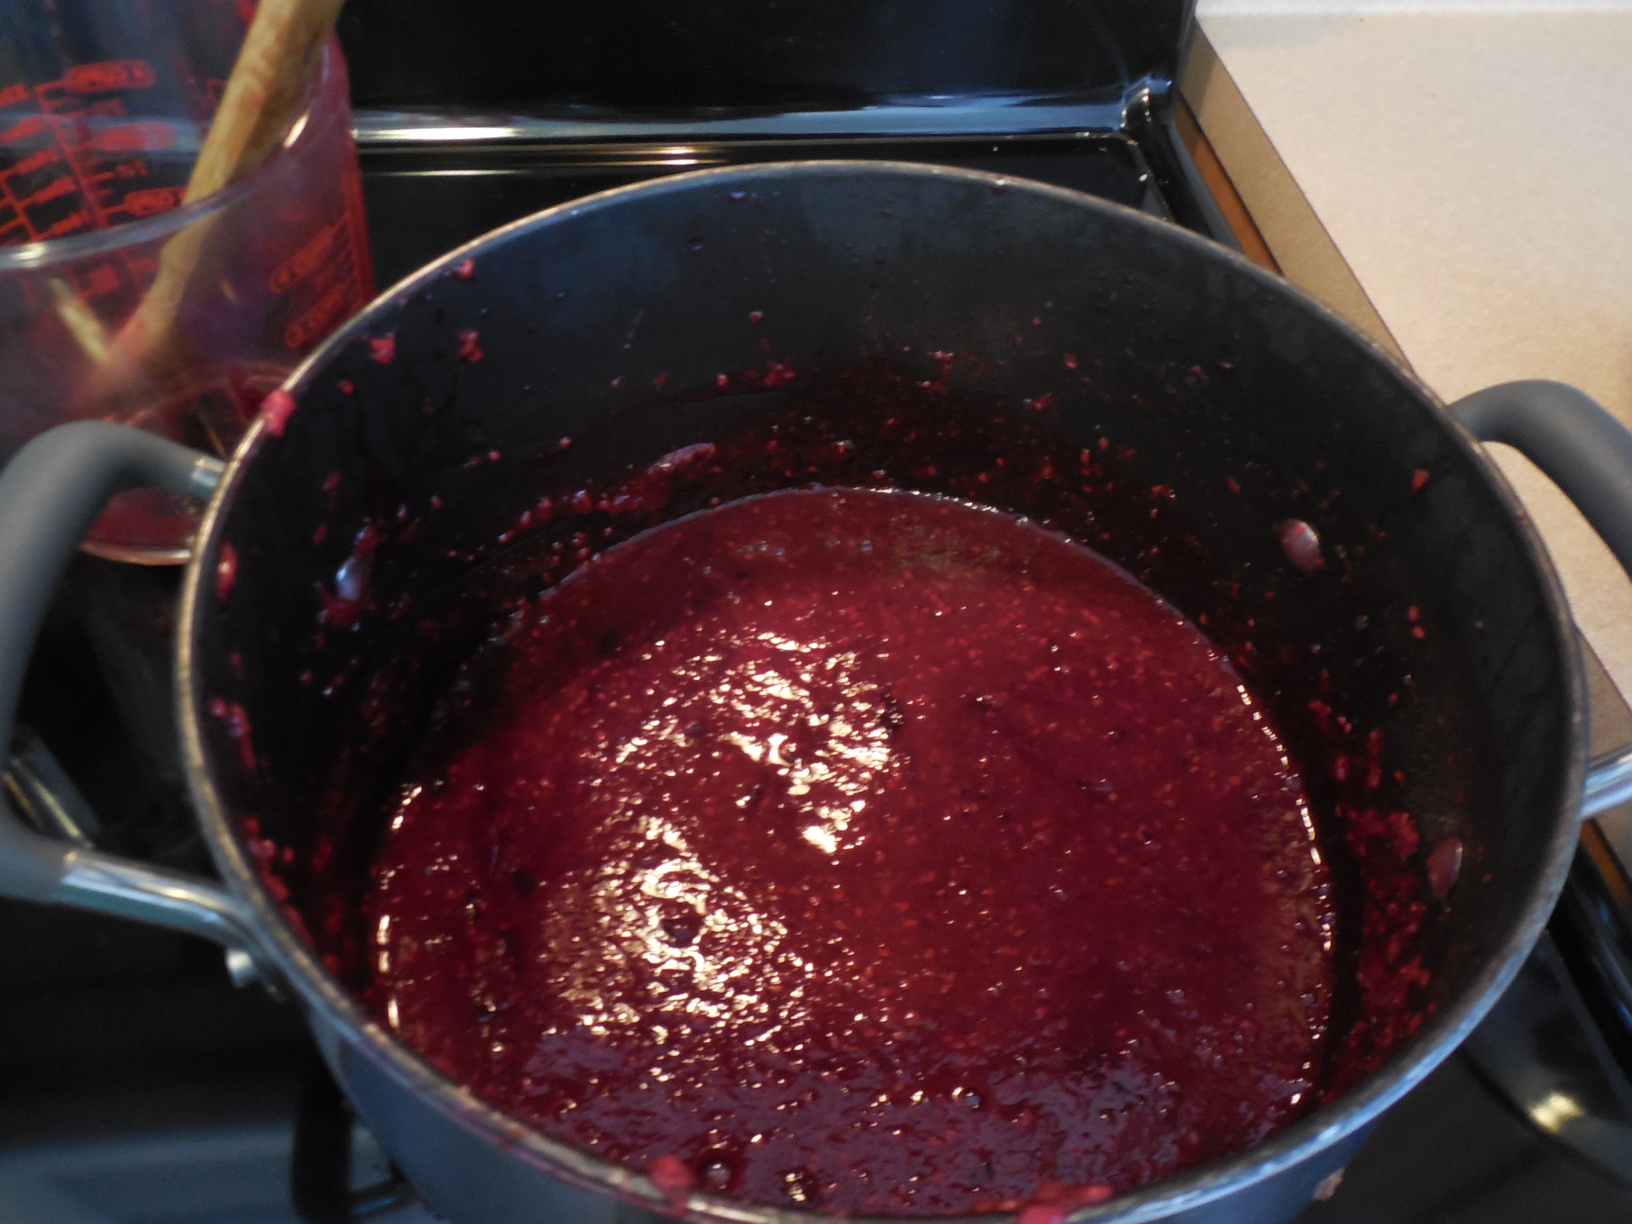
Looking good!
At this point, the mixture was pretty cool, so Monkey decided to taste it a bit.

Hmmm…
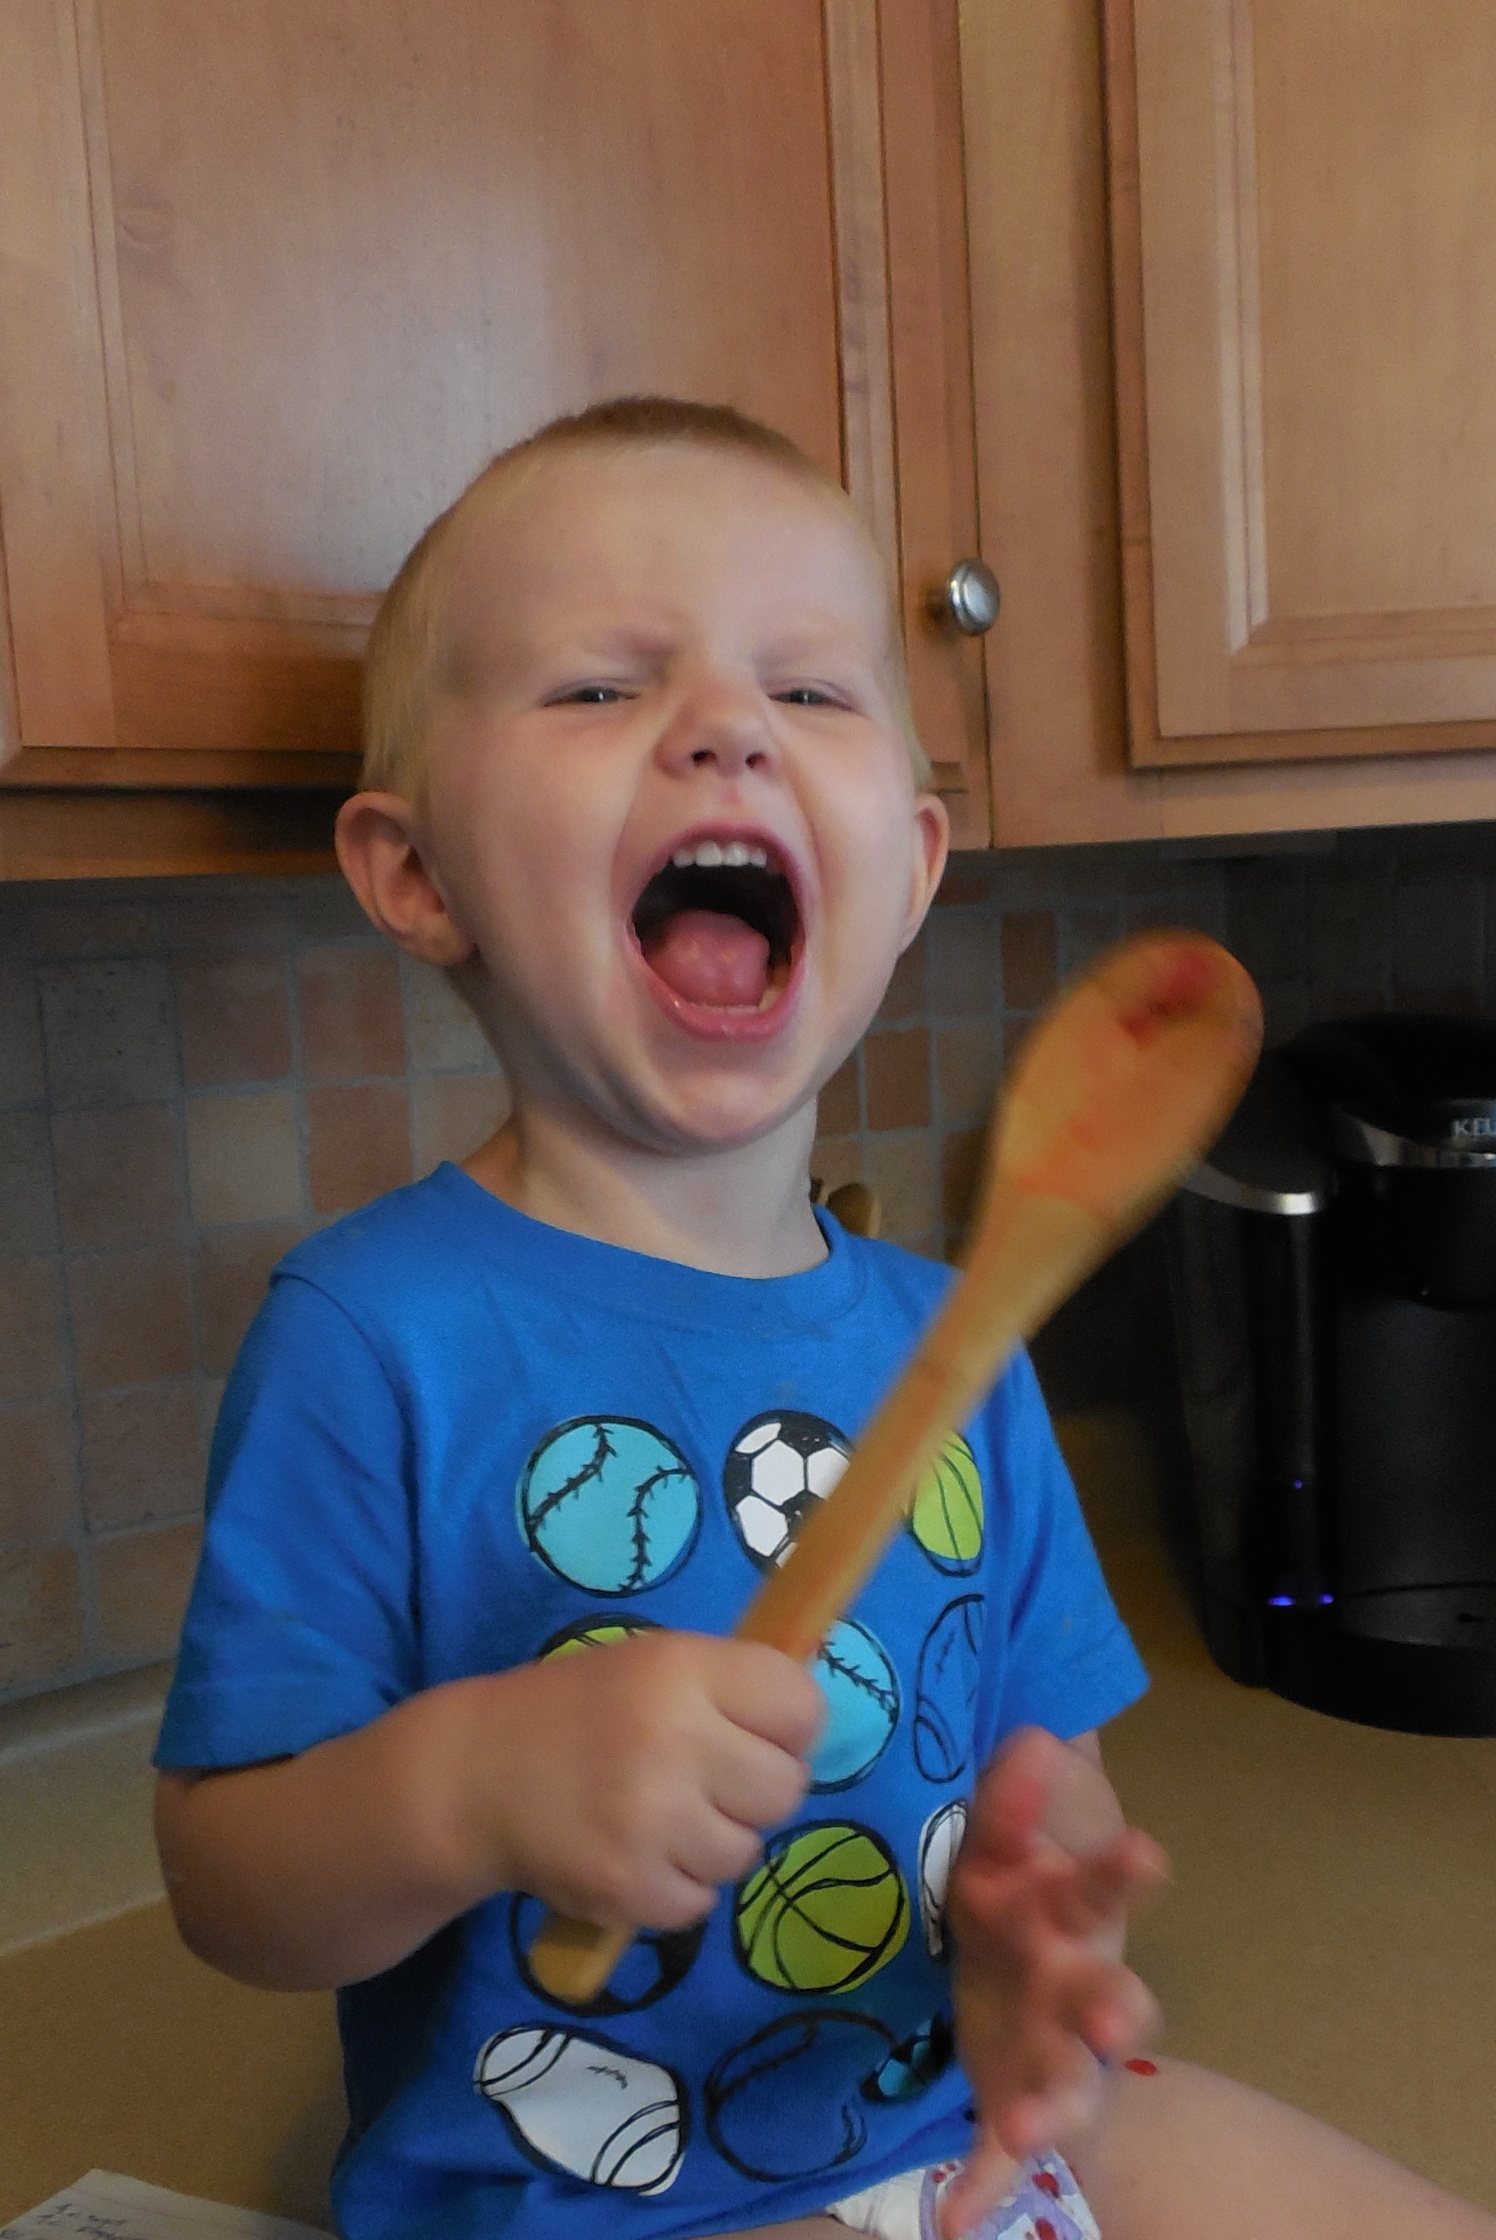
Delicious!!
Now, we added in the warm sugar and brought the mixture back to a boil. Boil it for about five minutes and then ladle it into sterilized jars. Or, in my case, clean Pampered Chef prep bowls.
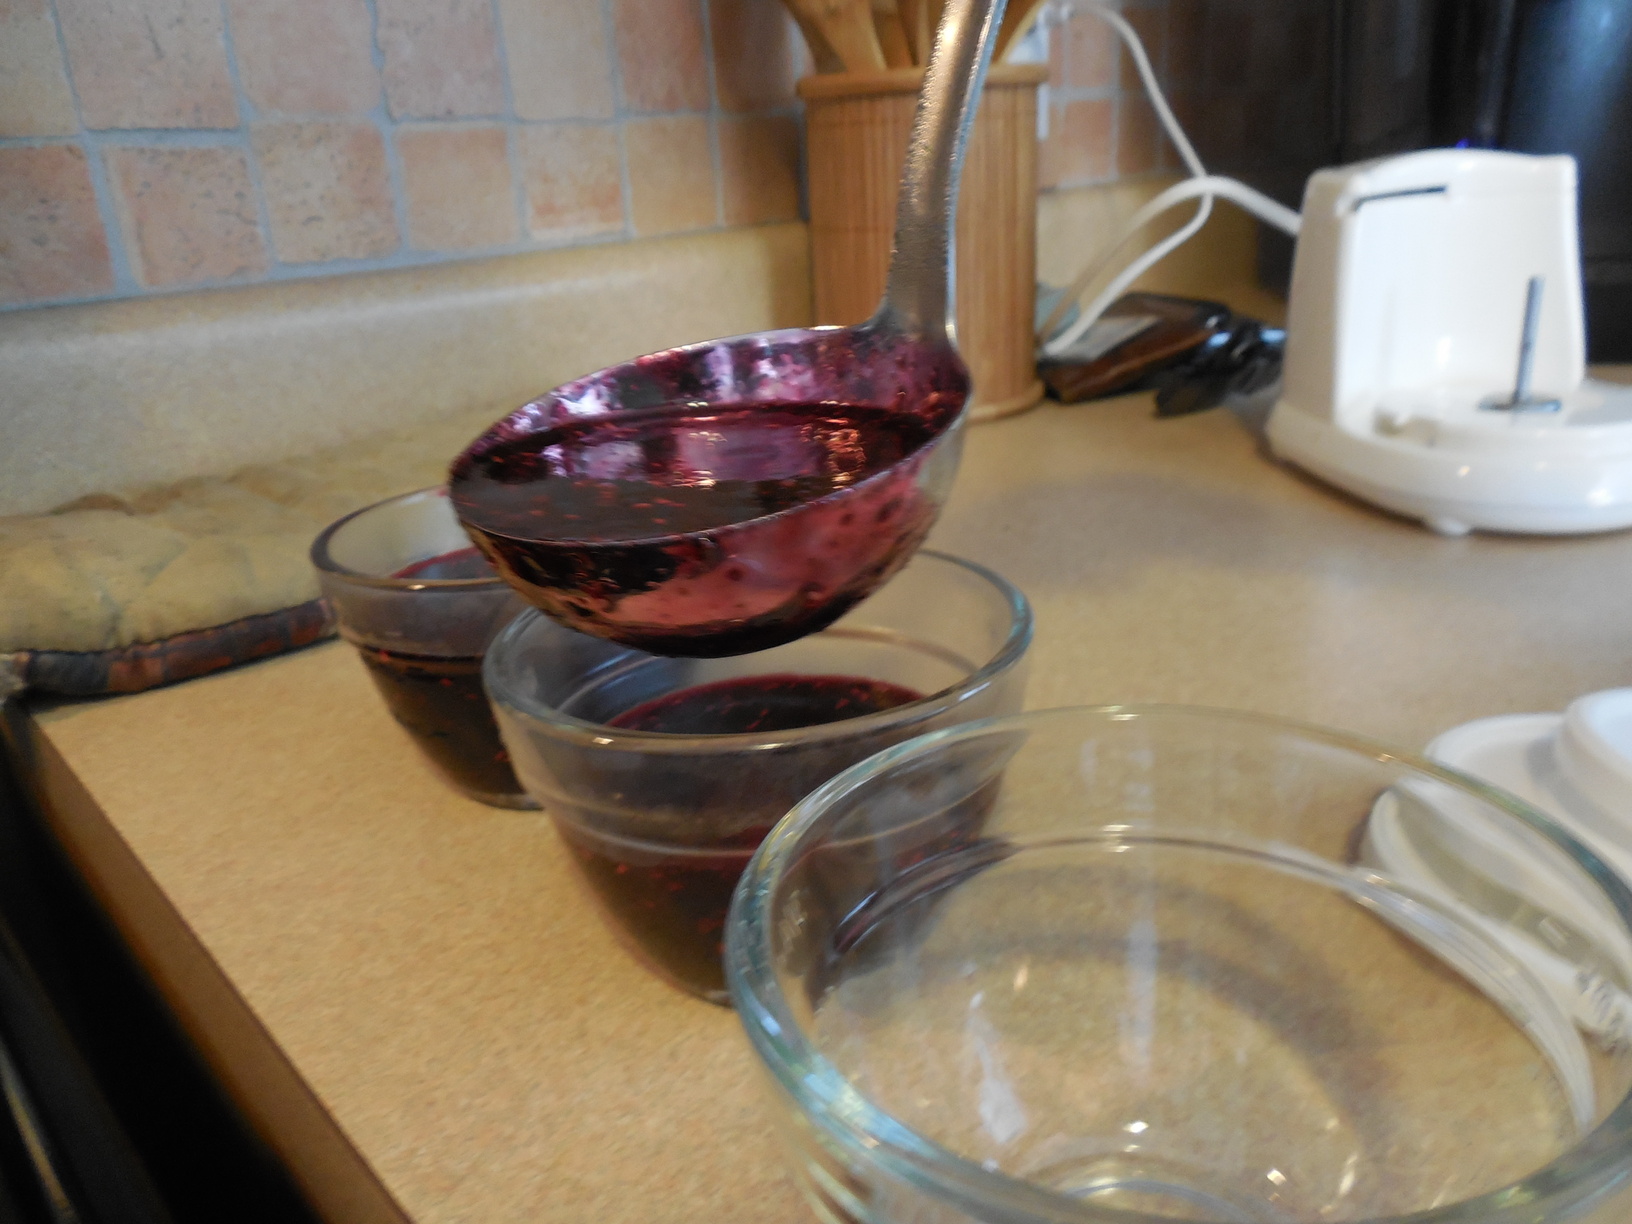
I really need to learn to be better prepared.

I cannot wait to try it out on our English muffins tomorrow!
What About You?
Are you picking raspberries this year? What great recipes have you found?
About the Author
 Lindsey Whitney is a mom of two, home day care provider and blogger over at Growing Kids Ministry. Growing Kids Ministry is a blog designed to help parents, teachers, and Children’s Ministry workers who want to help the kids they love grow in their faith. You can connect with her via twitter or on facebook.
LindseyW
Friday 19th of July 2013
Just found these free Monster Printables too: http://www.3dinosaurs.com/printables/packs/monster.php