

This is a sponsored conversation written by me on behalf of Cricut. The opinions and text are all mine.
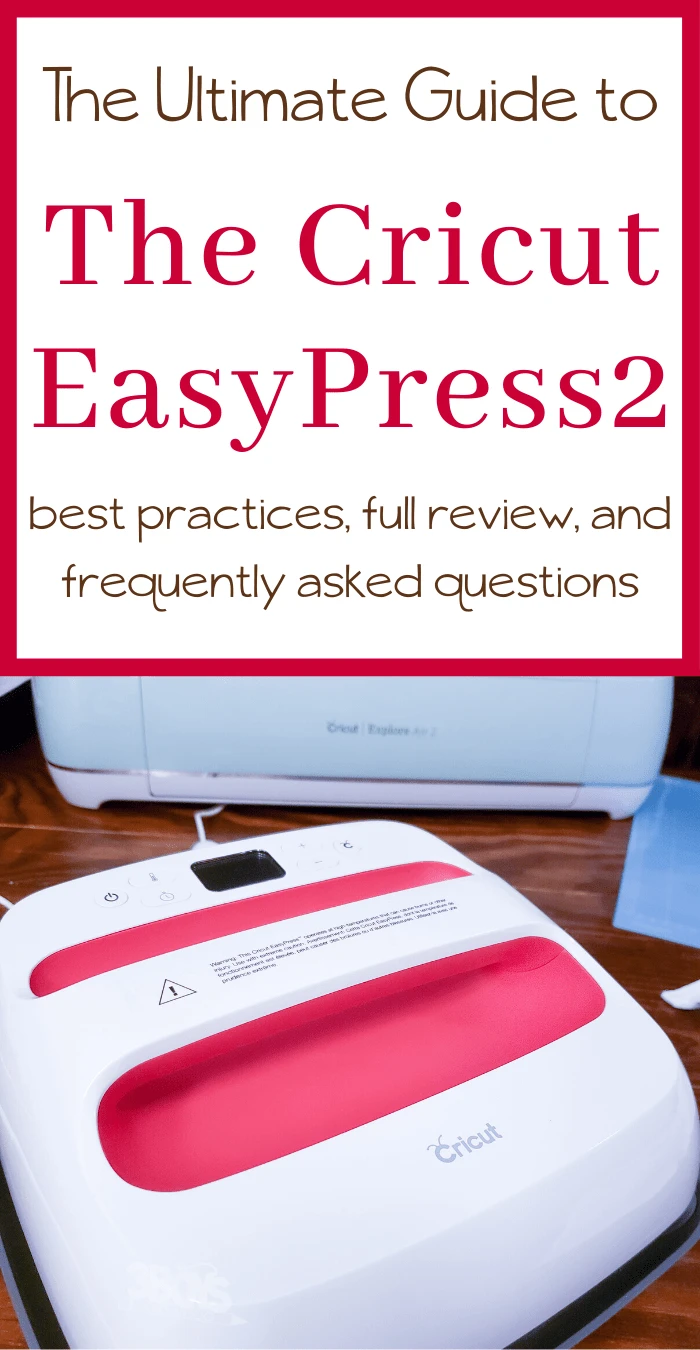
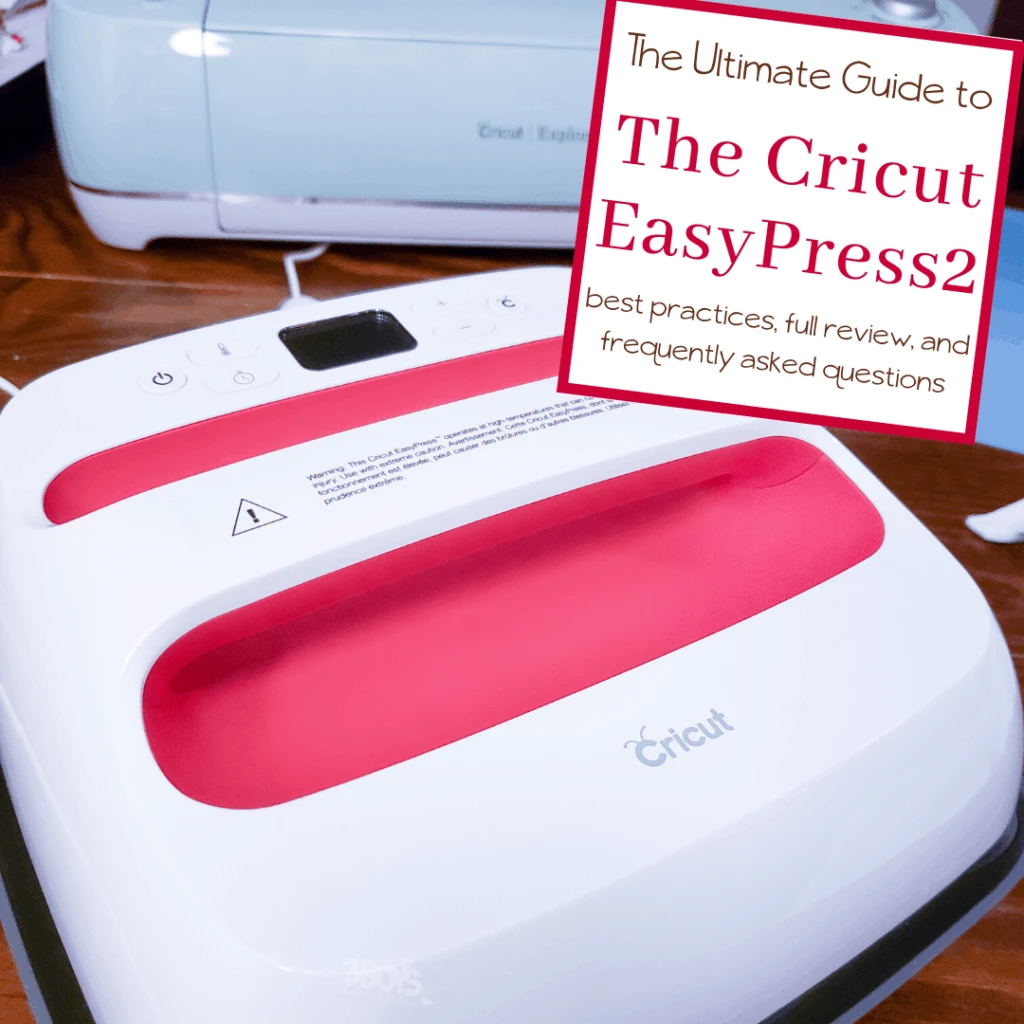
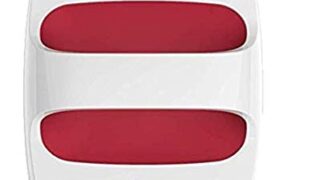
When I got the Cricut Explore Air 2, I also got another new piece for my digital crafting tools collection: a Cricut EasyPress2 in the 9×9 size.
I’d like to take a second and share with you why I really feel like the Cricut EasyPress2 is definitely worth the money–but there are definite reasons why.

Disclosure: I work with Cricut as a Brand Ambassador. This post also contains affiliate links.
Cricut EasyPress Review
I want to take a quick second and say that, until I tried the EasyPress 2, I was using an iron. Just a standard household iron. And it worked ok.
I honestly didn’t realize why sometimes my projects didn’t adhere well and I felt a little confused.
But then I learned a little bit about the EasyPress 2 and thought I’d give it a try.
Wow was I impressed by the fast and foolproof results. So, if you’re ready to learn more about this awesome Cricut tool and get results that really stick, let’s get crafting!
What Is the Cricut EasyPress?
It’s a heat press, which is basically a machine that gets hot, like an iron, on a plate surface that can be pressed down onto a heat transfer vinyl, providing the heat necessary to make the transfer process happen.
What’s the Difference Between the Cricut EasyPress and a Traditional Heat Press?
The most obvious difference between a traditional heat press and the EasyPress 2 is the EasyPress 2’s compact size.
The largest EasyPress 2 has a 12″x10″ heating area, meaning you can likely slip it right into any drawer or cabinet. Comparatively, traditional heat presses, even the smallest ones, are generally based on much larger frames and are far more bulky. So, they’re not as likely to fit nicely in a craft room.
Plus, the EasyPress is about 5 pounds for the largest so you definitely get an ease of use there since you don’t have to lug anything around.
But, that smaller size does have some drawbacks. the traditional heat press will generally have a much wider high-temperature range and be able to take on a lot more projects.
Since the EasyPress is so much smaller, though, it can heat up SUPER FAST. Just over a minute for the EasyPress Mini and just under 3 minutes for the EasyPress. Pretty quick if you ask me, especially considering that the conventional heat press can take anywhere between 5 to 10 minutes to come to temp.
And finally, probably the most obvious difference besides size is that for a traditional heat press, you lock the lid down and wait until the heat press has done it’s job and then you open and remove your item. The EasyPress requires that you apply some downward pressure for the entire pressing time.
What’s the Difference Between the Cricut EasyPress and an Iron?
A typical handheld iron has just one heating element specifically designed to steam fabric and remove wrinkles. So, there ends-up being a big hotspot in the center and cold spots all around the edges and unevenly all across the heating surface.
The Easypress has a very different internal design. It has two heating elements that work their way around and through the entire ceramic heating plate. The result is that you get an even heating surface that can apply heat more consistently across the flat face–without steam and the moisture that comes with it.
How to Use Cricut EasyPress
To turn on the EasyPress, you just push the power button on the left side of the display (or just the left side of the pressing machine, with the couple of models that don’t have a full display).
When the device is on, place your item on a flat, heat-resistant surface. That base doesn’t have to be anything fancy–a cutting mat, the Cricut mat or even a silicone foam mat. Just anything super flat and steady. Then simply set the time and temperature settings to meet the requirements of your heat transfer material.
Cricut has an awesome reference chart you can look at to help you determine what you need.
You’re not going to have to wait long for your device to heat all the way to temp. The original model takes about 2 minutes and 40 seconds, while the mini takes less than a minute.
The EasyPress will automatically beep to let you know that it’s ready to use.
It’s a good idea to preheat your base material to work out any wrinkles.
At this point, you’re ready to put your vinyl or sublimation design onto the blank. Take the EasyPress off its safety base and place the heat press directly onto the vinyl decal.
For the versions of the EasyPress, you then press the green Cricut button to start your timer. For the Mini, set your stand-alone timer however you do that.
Hold the heat press in place and apply gently press down until your timer dings, being as still as humanely possible throughout the whole process.
Pop your heat press back on the base and let your liner cool off enough to peel it off your blank–well, not blank now!
I love the auto shutoff feature and the fact that I can get awesome professional results in 60 seconds or less. The conventional speed of a heat press might be faster, but frankly, combining the speed of the Easy Press and the convenience, I’m down for it.

Will the Cricut EasyPress Work with Silhouette?
Yes. Just because you cut the material with a different cutting machine doesn’t mean that the heat press won’t work.
What matters is the material that you’re using to affix–and the Easy Press is compatible with major brands. So, read what the material needs and if it will work within the parameters of the EasyPress, you’re good to go!
Can Cricut EasyPress do Sublimation?
Oh my, yes. The Cricut Easy Press does sublimation in a wonderful way–because the heat is consistent across the entire plate, you get a perfect final result.
Just like a traditional heat press, you get professional iron-on results, because the heat is spread across the entire face of the heat plate so evenly.
It’s like using a tool built just for sublimation that happens to also work on heat transfer vinyl. Ha!
Can You Use EasyPress on Wood?
Yes, indeed. You can use the EasyPress on wood, leather, cloth, craft foam and any other type of material that isn’t likely to be damaged by the application of brief 400-degree heat exposure.
Which Cricut EasyPress to Buy?
There are multiple EasyPress products, so we’ll walk through each and you can decide, eh?
I have (and am so in love with) the EasyPress 2 in the 9 x 9 size. I have the Mini on my wish list, though.
| Features | EasyPress | EasyPress 2 | EasyPress Mini |
| Size | 9″ x 9″ | 6″ x 7″ 9″ x 9″ 12″ x 10″ | 3.5″ x 2″ |
| Color | Turquoise | Raspberry | Raspberry |
| Max Heat Temp | 350 °F | 400 °F | 400 °F |
| USB Port | No | Yes | Yes |
| Heat Plate | Thinner | Thicker | Thick as the 2 |
| Heat Time | Fast | 2 minutes | Just over 1 min |
| Remember Settings | No | Yes | Yes |
| Sublimation | No | Yes | Yes |
| Timer | Yes | Yes | No |
Where Can You Buy the Cricut EasyPress?
Every size of the Easy Press is sold at every craft store. You can even buy it online at Amazon or other online retailers, and you can often get free shipping. Personally, I prefer to get my Cricut supplies directly from Cricut!
The Different EasyPress Sizes on Amazon


Bundles Make Great Gifts
Calling all husbands, boyfriends, partners and anyone else who is a craft enabler - she wants a bundle. Promise!!


Cricut Easy Press 2 Large Bundle
Heat Press Machine and Mat, Everyday Iron-On Rolls, Tote Bag and Weeder, Mint, 9x9


Cricut Easy Press 2 Small Bundle
Heat Press Machine and Mat for T Shirts, Essential Weeder Tool Kit, Mint, 6 x 7
Numan
Thursday 28th of November 2019
Great post Easypass 2 review